Project Summary
This is one of the easiest projects you can do. The only reason it even rates a "2" is because you may need to use a Sawzall to cut your pallet, and they can be more difficult to use than other saws. You're going to love how easy, yet rustic this Pallet Wall Shelf is going to look.
Level of Difficulty
Materials Required
- 1 Pallet
- Paint & Stain
- Sandpaper
- 1/8" Drill Bit
- 1 5/8" Wood Screw
Time to Complete
Tools Required
- Drill
- Orbital Sander
- Sawzall/Reciprocating Saw
- Handsaw
- Paintbrush
VIEW FULL CUT LIST

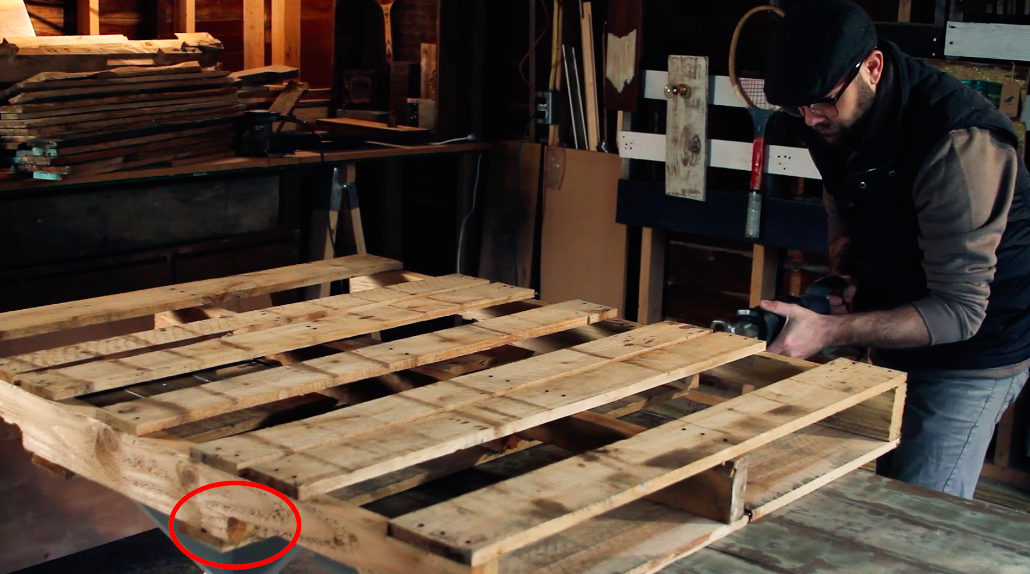
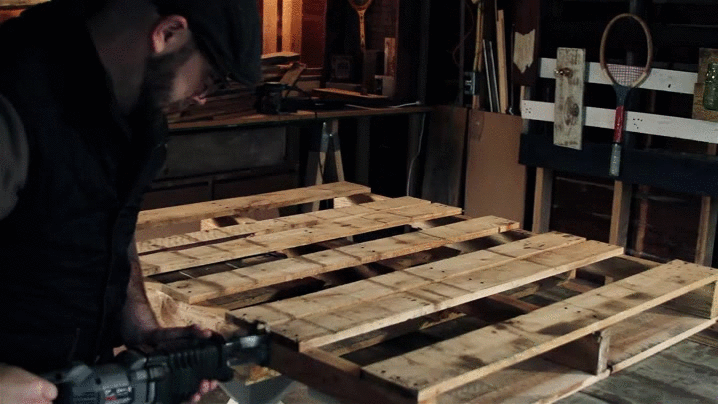
1. Cut Your Pallet
A pallet has 3 support boards running the length of it. You are going to cut through all 3 of them. The best tool to use for this is a Sawzall AKA reciprocating saw. However, you can work with a jigsaw or circular saw as well - it may just take a little longer.
Starting from the end of the pallet, you want to make your cut after the second board.
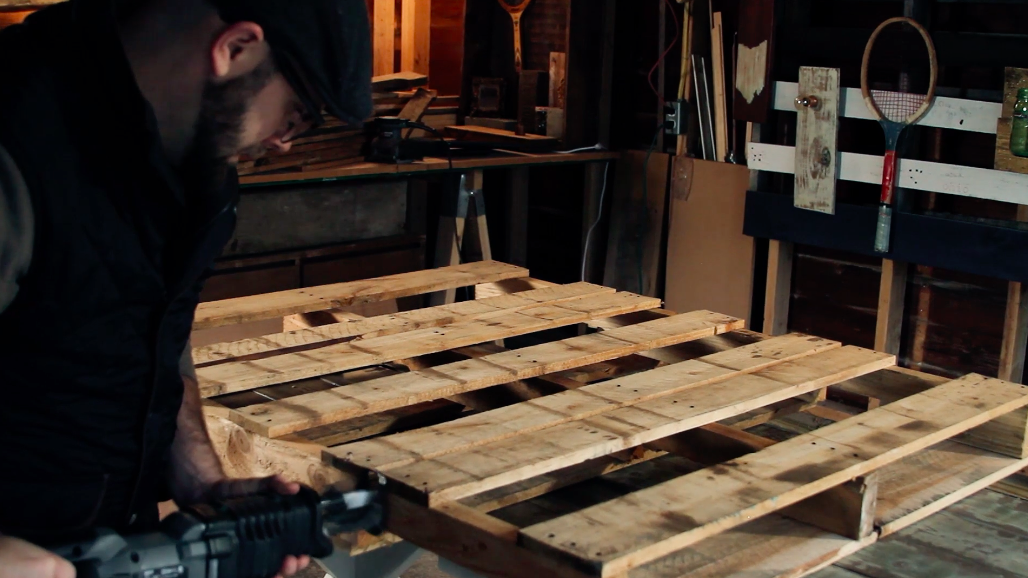
Your pallet support boards will thicker parts at the end, and in the middle. You'll want to make your cut just before you get to the thick section in the middle. I've circled the spot below where you should make your cut.
The final of your 3 cuts should be the middle support board, and this is where using a reciprocating saw would be helpful:
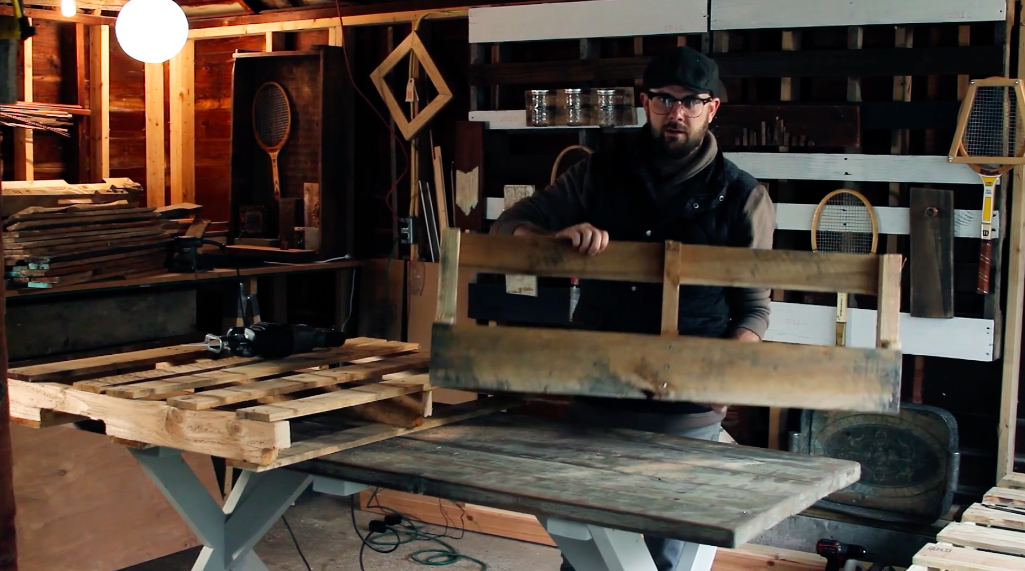
2. Detach the Piece You've Cut Off
Now, you just need to pull off the top part of the pallet after you've made your 3 cuts. It should look something like this:
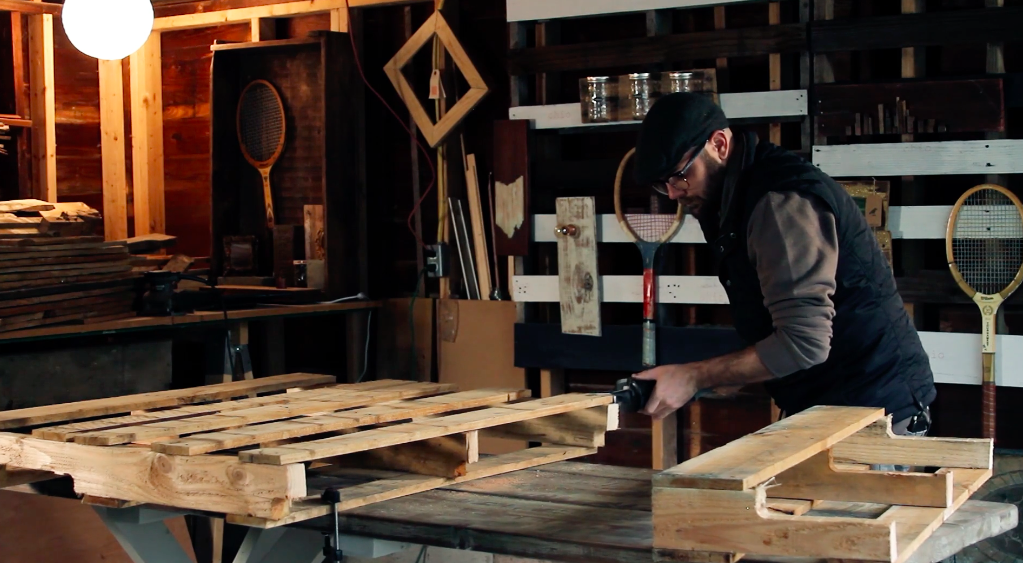
3. Cut Off 2 More Pallet Boards
If you don't have detached pallet boards laying around already, then you need to remove 2 more pallet boards.
One quick way to do that is to use your Sawzall and cut through the nails as shown below. You can also use a pallet buster to pull the boards off.
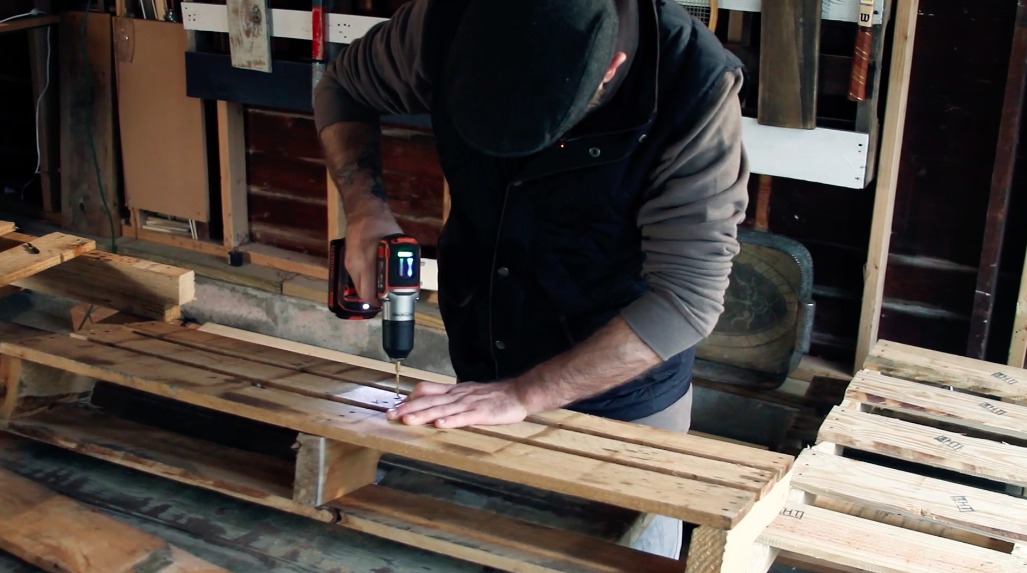
4. Attach One Board to Back of Shelf
This step is technically optional, and will depend on the spacing and size of the 2 boards that are already attached to your pallet. However in my case, I picked a pallet that had enough space between the 2 boards to add a third board:
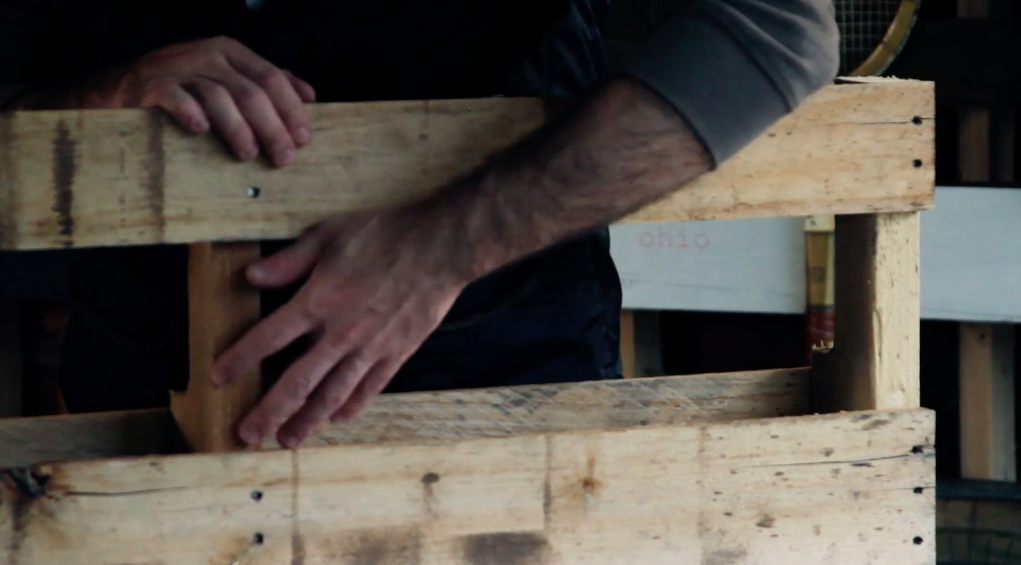
Put one of your newly detached pallet boards in place on the back of the shelf, and attach it with 1 and 1/4 inch deck screws.
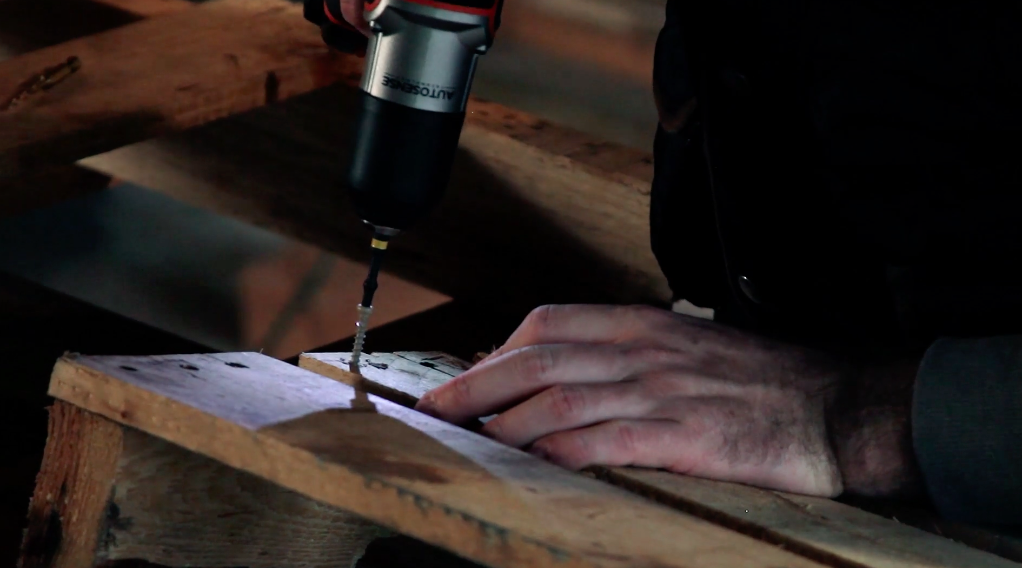
Make sure to drill pilot holes first, so your pallet wood doesn't split.
Attach your board securely by using 2 screws on each end board, as well as 2 in the middle board.
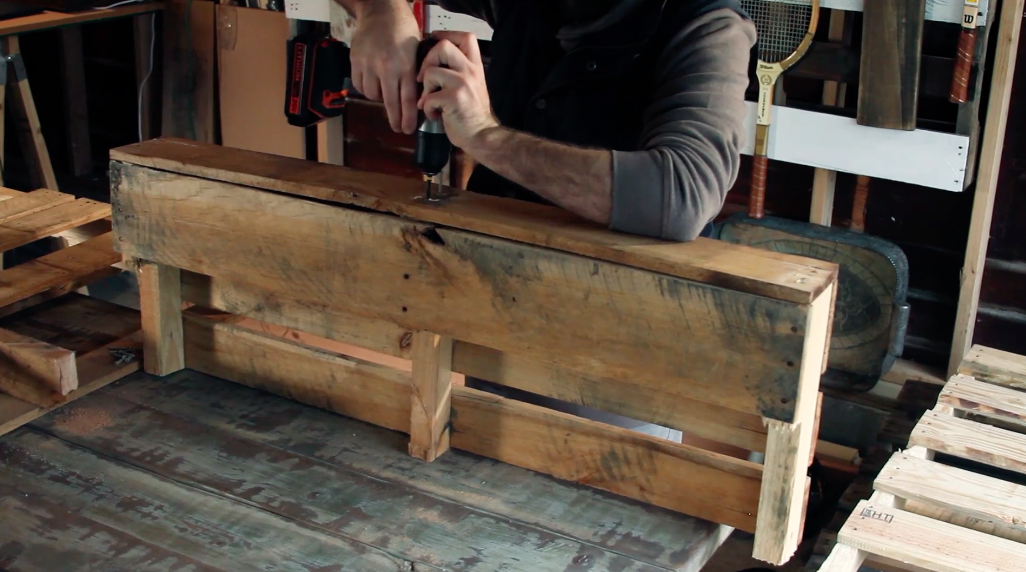
5. Attach Pallet Board to Bottom of Shelf
For your second pallet board that you detached in step 3, we're going to now attach it to the bottom of the shelf using the same kind of deck screws as before.
The purpose of this is so you can hold things inside of your shelf at the end of this process.
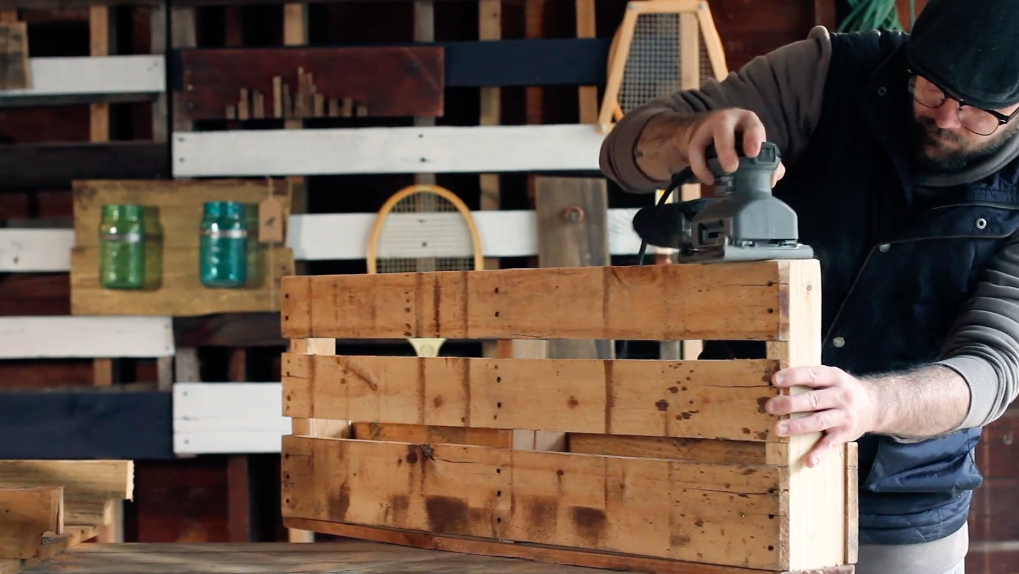
6. Sand the Shelf
Take your palm sander and sand the edges, as well as sanding all of the pallet boards as needed. The idea here is to clean it up a little bit before we stain it, so it doesn't just look like a rough cut piece of a pallet - and actually looks like a legit shelf
7. Paint and Stain
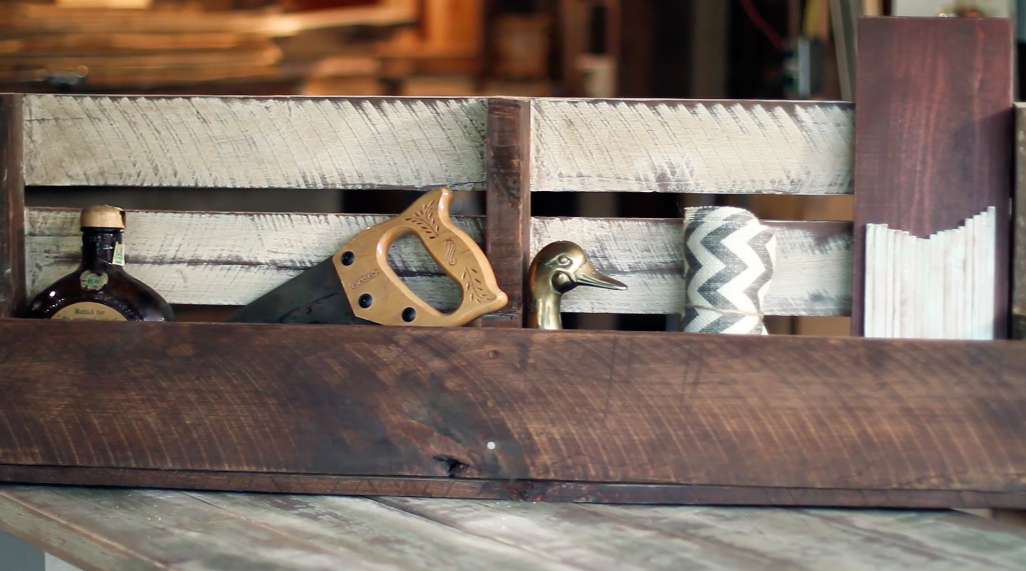
To get the look you see in our finished version, you'll want to use some white or near-white paint and paint the inside slats of the shelf.
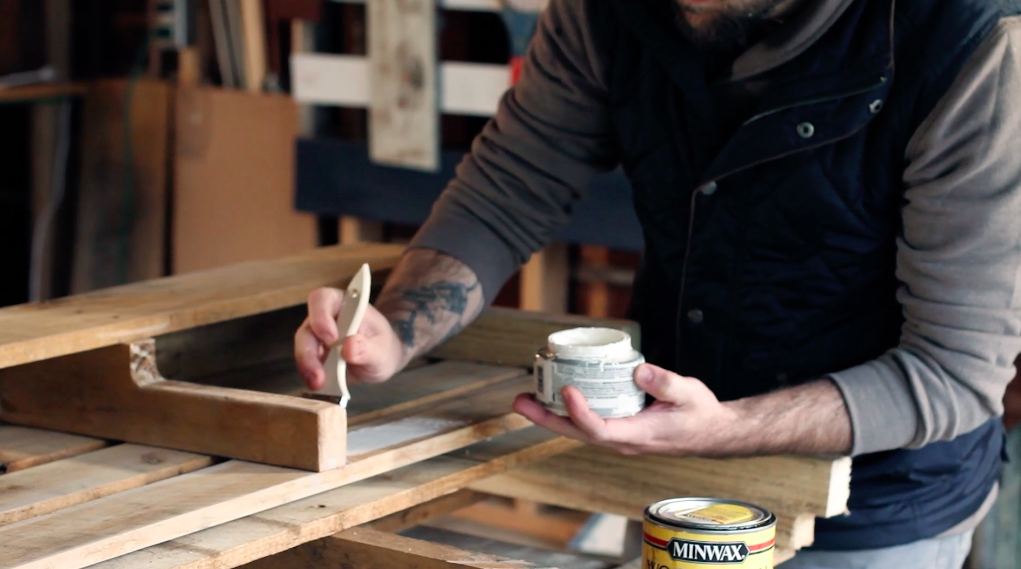
Then, use the wood stain of your choice (we used Early American from Minwax) and stain the rest of your boards on the shelf:
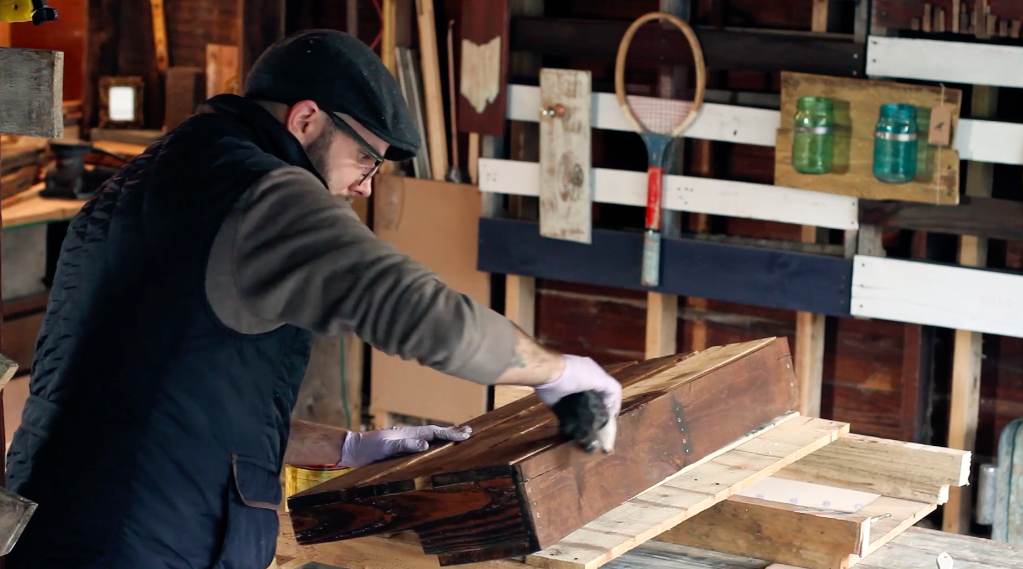
Once you've painted the inner slats and stained everything else, it's going to look like this:
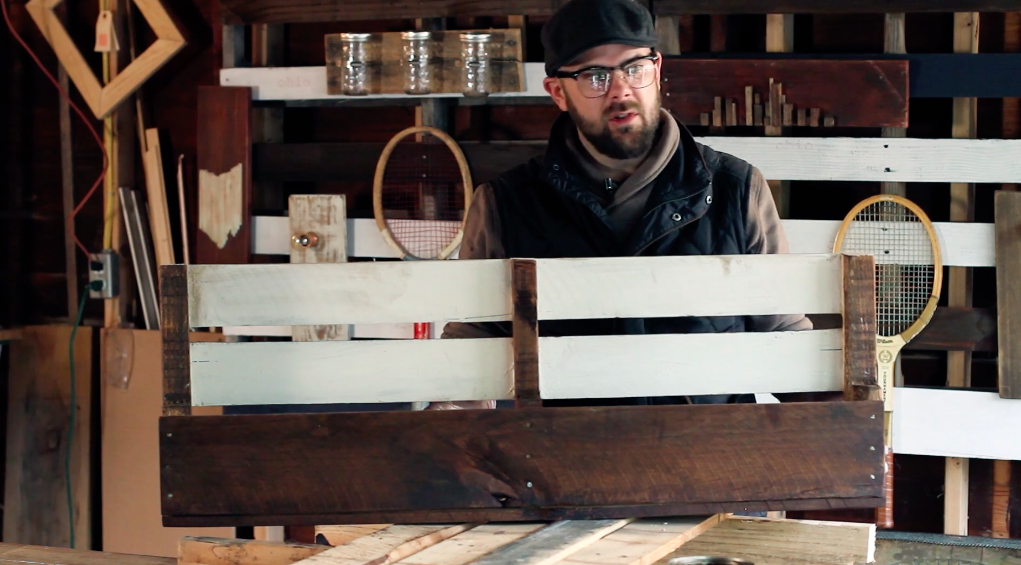
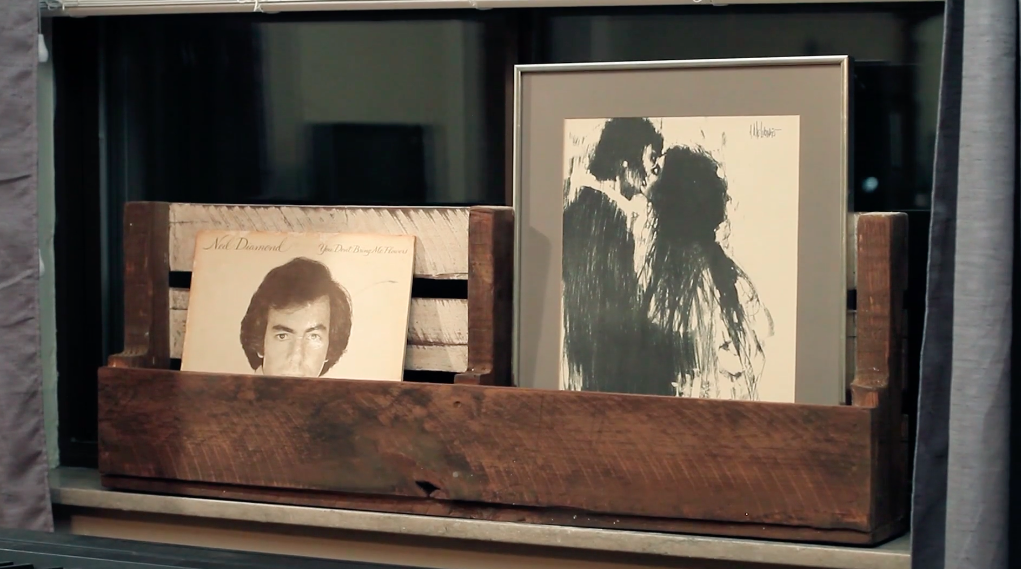
8. Re-Sand The Front
After the paint and stain dries, I'd suggest doing another light sanding on the front of the shelf. A "light" sanding is the key here - we're really just trying to bring out some of the wood grain and achieve an aged look to our shelf like this: