Project Summary
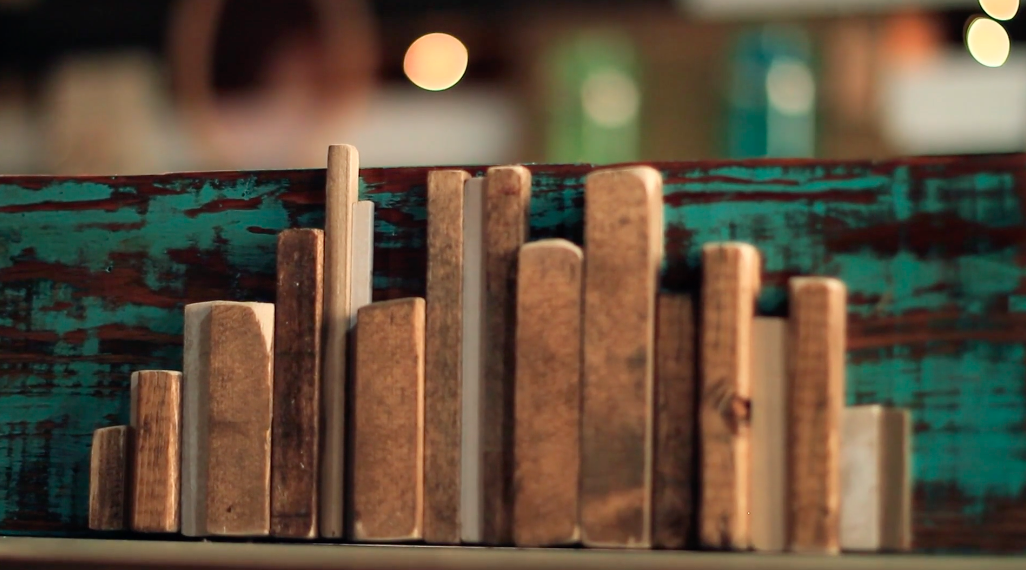
The Pallet Skyline is purely an art project. This is a really fun piece that takes hardly any time and minimal woodworking experience. This is great for first timers, and the best part, your friends will want one so it's a great project to sell. Enjoy!
Level of Difficulty
Materials Required
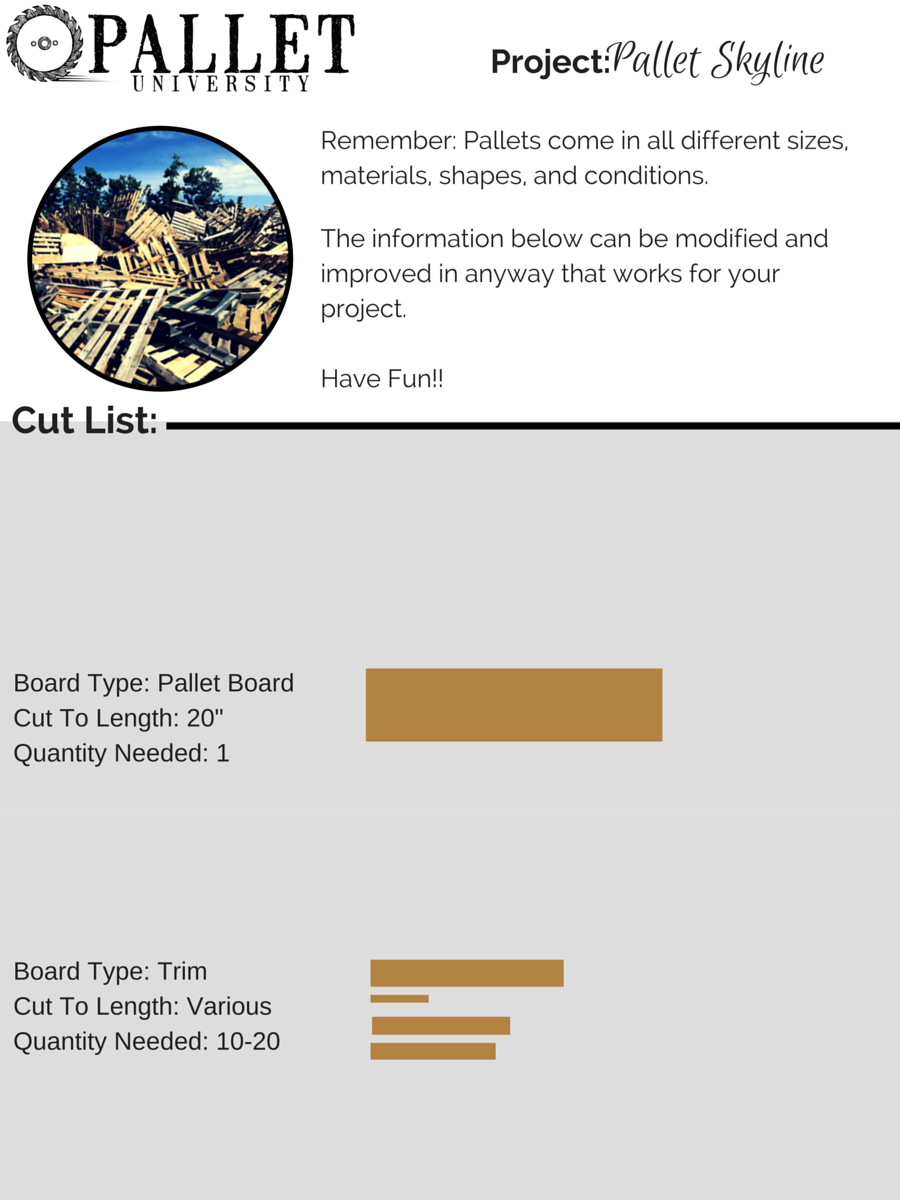
- 2x2 Pallet Board
- Varying Sized Trim Pieces
- Paint & Stain
- Sandpaper
- 1 Picture hanger
- Wood Glue
Time to Complete
Tools Required
- Orbital Sander
- Jigsaw or Circular Saw
- Tape Measure
- Hammer
- Paint Brush
VIEW FULL CUT LIST
1. Cut Your Pallet Board To Size
This skyline wall art is not confined to a single size - you can cut your initial pallet plank board to whatever length works well for your space. If you need a guideline, 12 - 16 inches long is a good size for this project.
Just grab a circular saw and cut your board.

2. Paint, Sand, & Stain Your Board
In my video, I actually did pick a piece of wood that my daughter had been painting on which had a turquoise color (along with layers of other colors underneath.)
The skyline art you saw behind me early in the video was an unpainted, stained pallet board as the background.
You can really prep however you'd like - painting and staining are optional.
However, to do things like I did, you'll want to first paint your board with your color of choice.
Then, after it dries do a light sanding using a palm sander to let some more of the wood grain show through and to make the sign look aged.
Then, I used Early American stain from Minwax and brushed it over my sanded pallet board to give it a more rich look, and really highlight the wood grain that was showing through.
3. Cut Your Scrap Wood
To make the buildings of your skyline, you'll want to use thin pieces of scrap wood. The height and width of these pieces doesn't have to be the same, nor do the colors have to be the same. Having some diversity in the pieces you use will make it look interesting.
If you don't have wood laying around, you can go to a hardware store and look for pieces of trim and filler wood to create this.
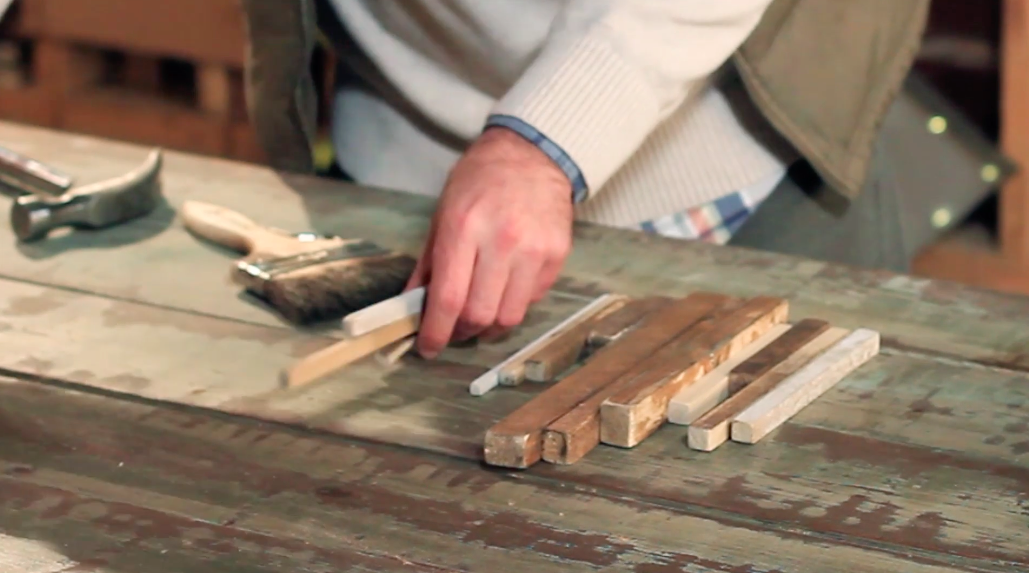
Like a downtown skyline, you want some variance in your height. I like having taller pieces toward the middle, but simply cut your scrap pieces to various lengths and start lining them up on your table until you find an arrangement that looks good to you.
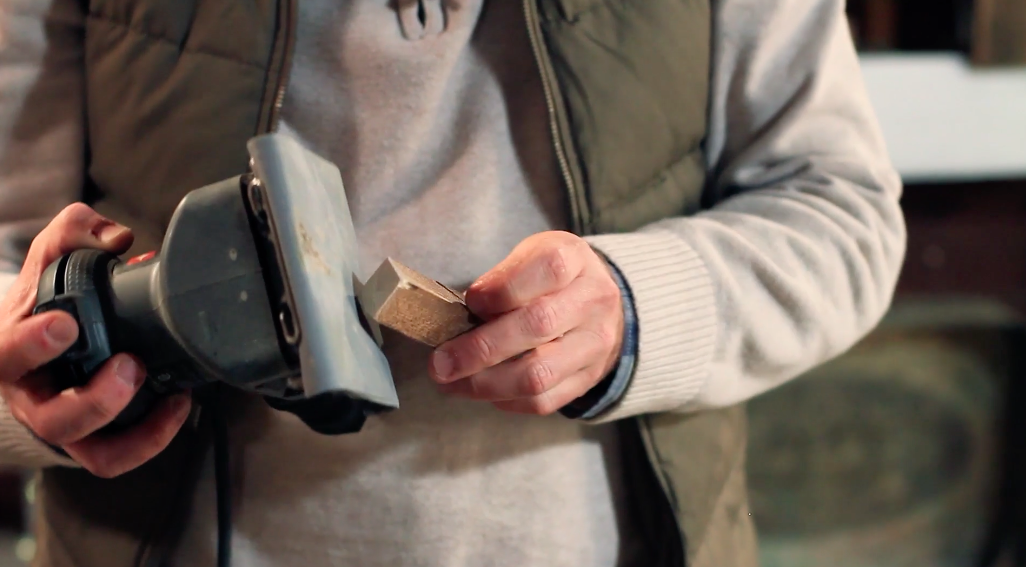
4. Sand and Smooth Edges
Once you've got your skyline pieces aligned and ready, take a palm sander and smooth the edges as needed. Some of them may have rough edges or little slivers still attached from where you made your cut - so this is your chance to make each piece of the skyline look good before you attach it to your board.
5. Glue Skyline in Place
Using some basic wood glue, put a generous bead of glue on the back of each piece and press it down onto your pallet board. The bottom of your pieces should align easily because you are going to put them on the very bottom of the board.
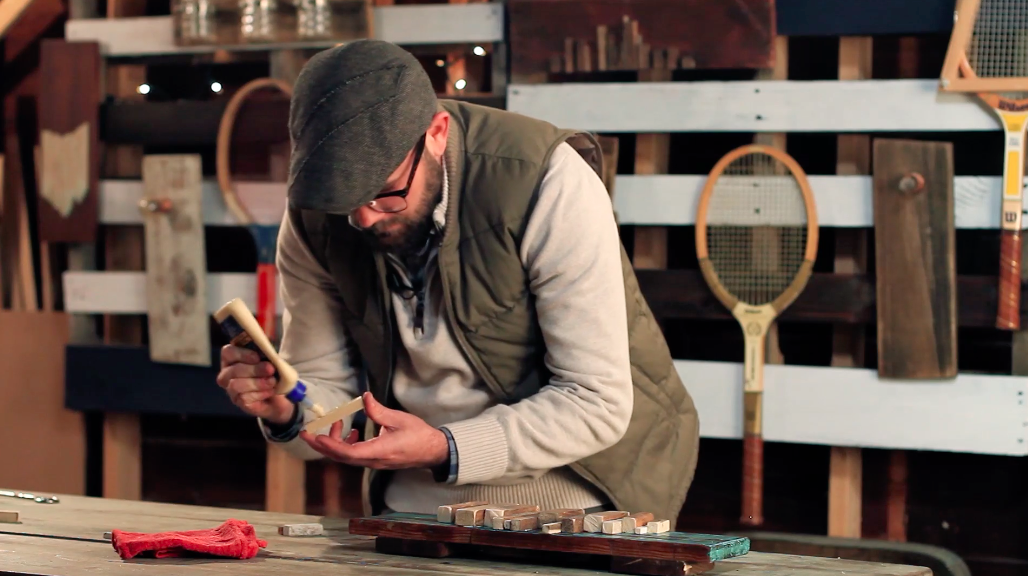
Take your time putting each piece into place, and hold it down firmly for a few seconds so it gets a nice, secure grip before moving onto the next piece:
6. Wipe off Excess Glue
Unless you are magician, you'll probably get some glue sticking out above, below, and beside the pieces of your skyline. Grab a rag and gently wipe away any excess glue and you're done!