Project Summary
The Scrap Wood Stool project is all about being creative and utilizing all that scrap wood laying around the shop (hopefully from all the other Pallet University projects). This stool is extremely sturdy and will make a great addition to your shop or next camping trip.
Level of Difficulty
Materials Required
- Scrap Wood
- Bracing Pallet Boards
- 1 5/8" and 2" Wood Screws
- Wood Glue
- 1/8" Drill Bit
Time to Complete
Tools Required
- Drill
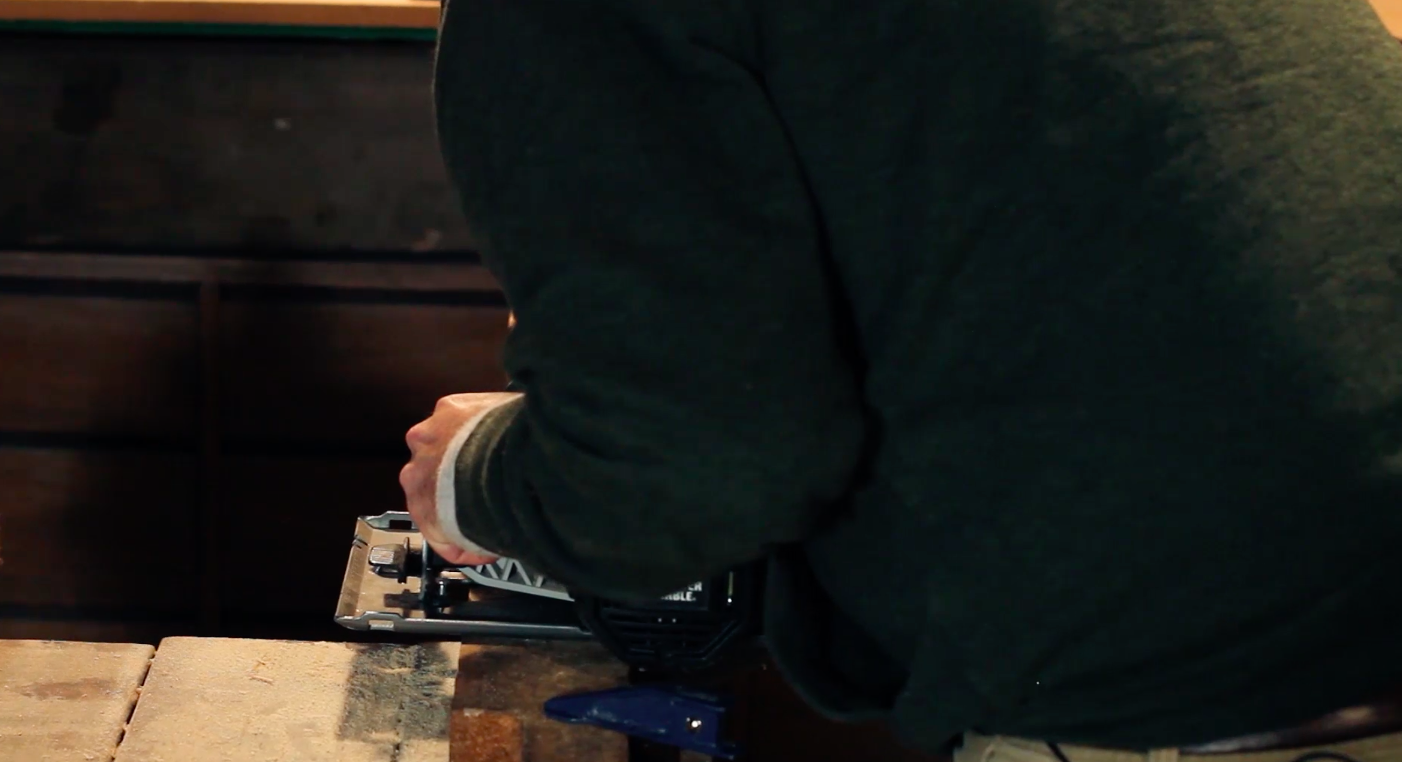
- Orbital Sander
- Circular Saw
- Clamps
- Tape Measure
1. Gather Materials
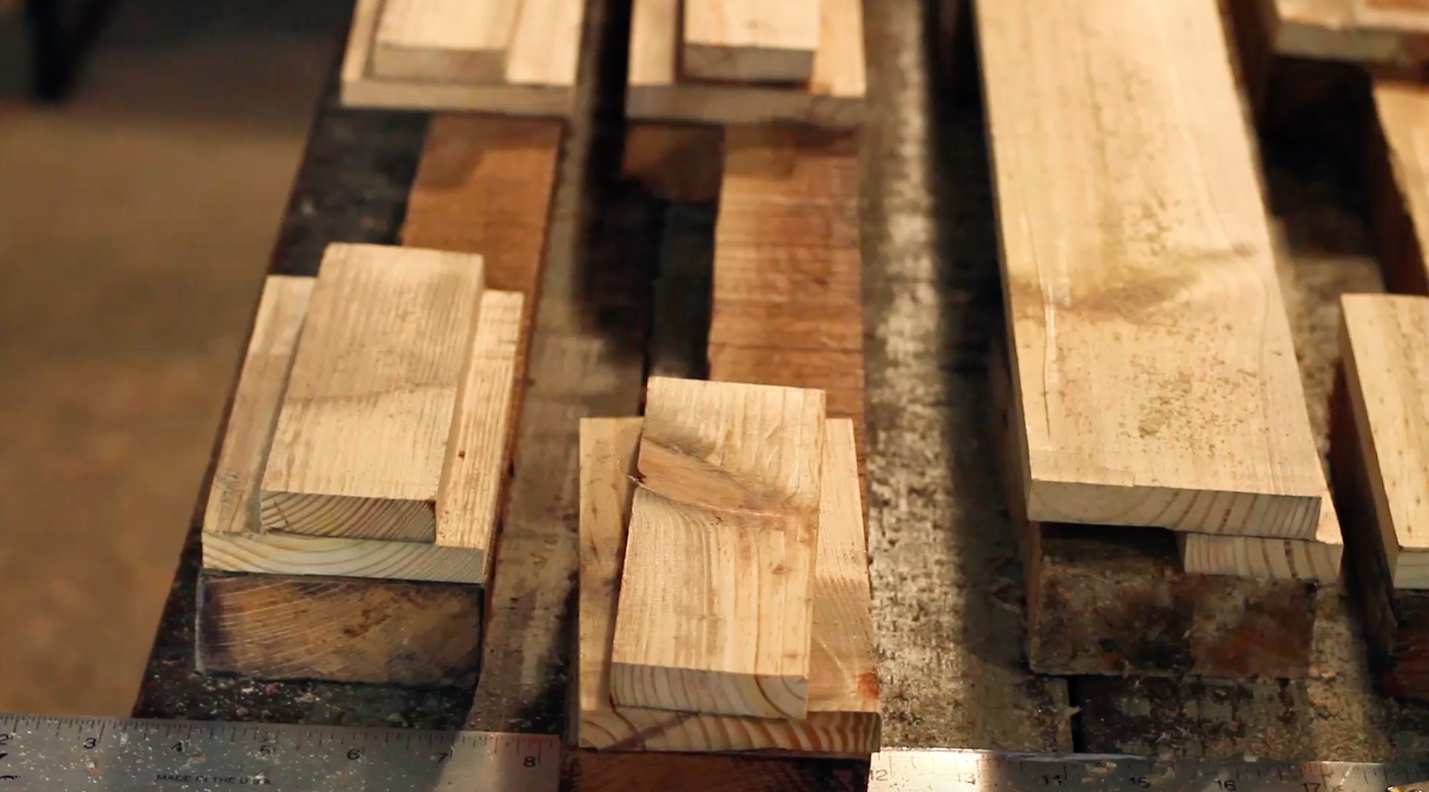
Because this is a scrap wood project, the material and dimensions are going to vary. However, if you want to base your project on this one, the base materials you will need is essentially the whole pallet.
The picture below shows the bracing board from a pallet (most pallets have 3). This piece will also be the base of our scrap wood stool.
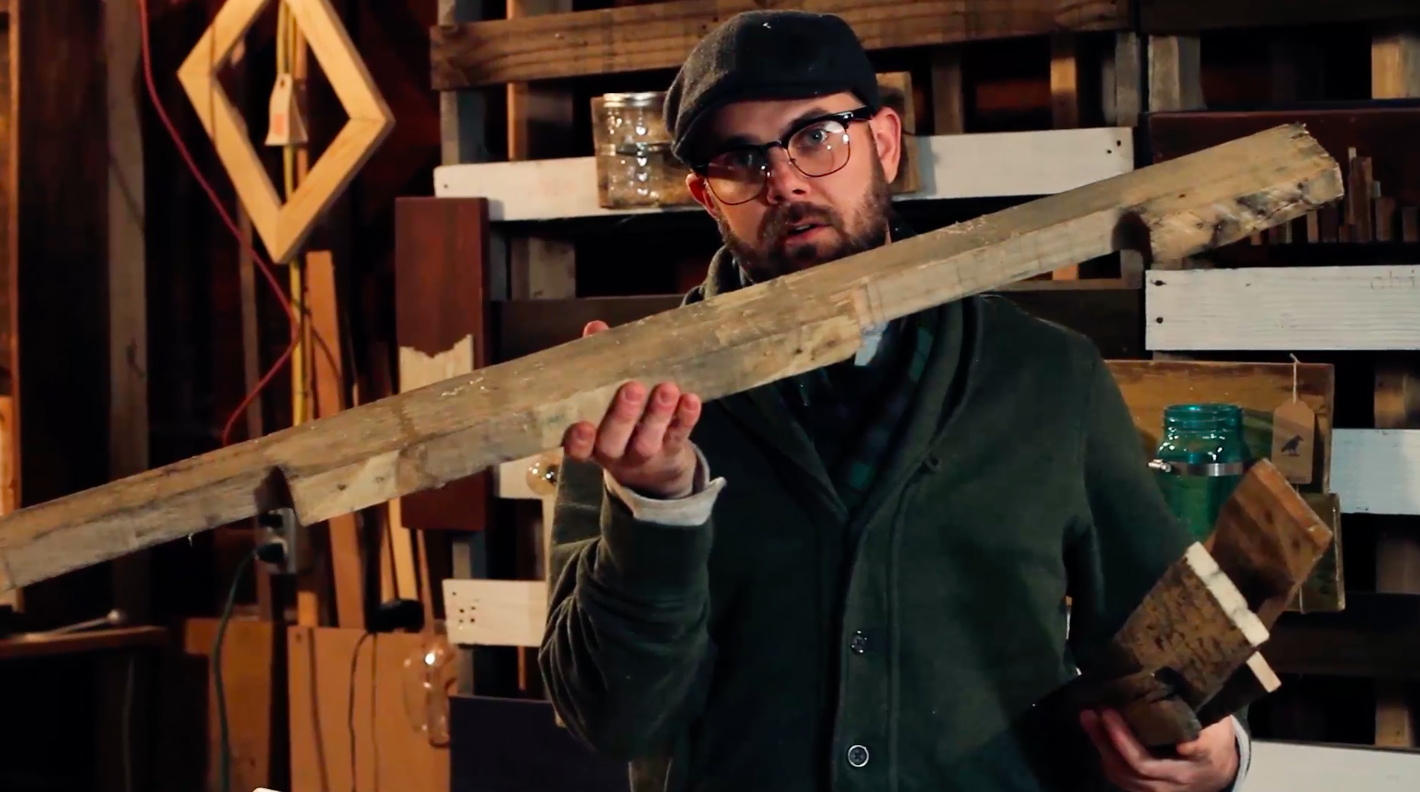
It's inevitable that when you do even a fair amount of woodwork you are going to be left with a ton of scrap wood. Don't throw them out! This is a perfect example of how you can use them.
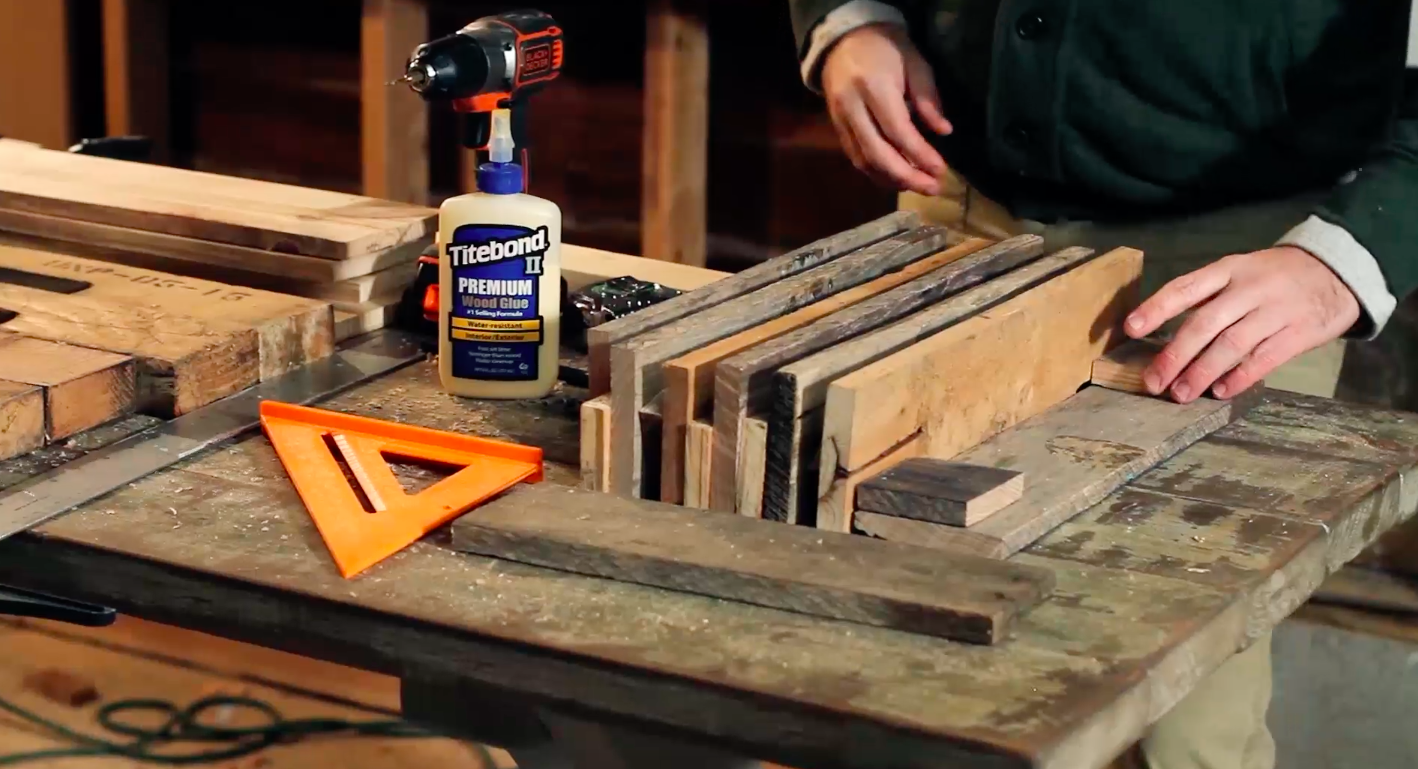
2. Build The Seat Base
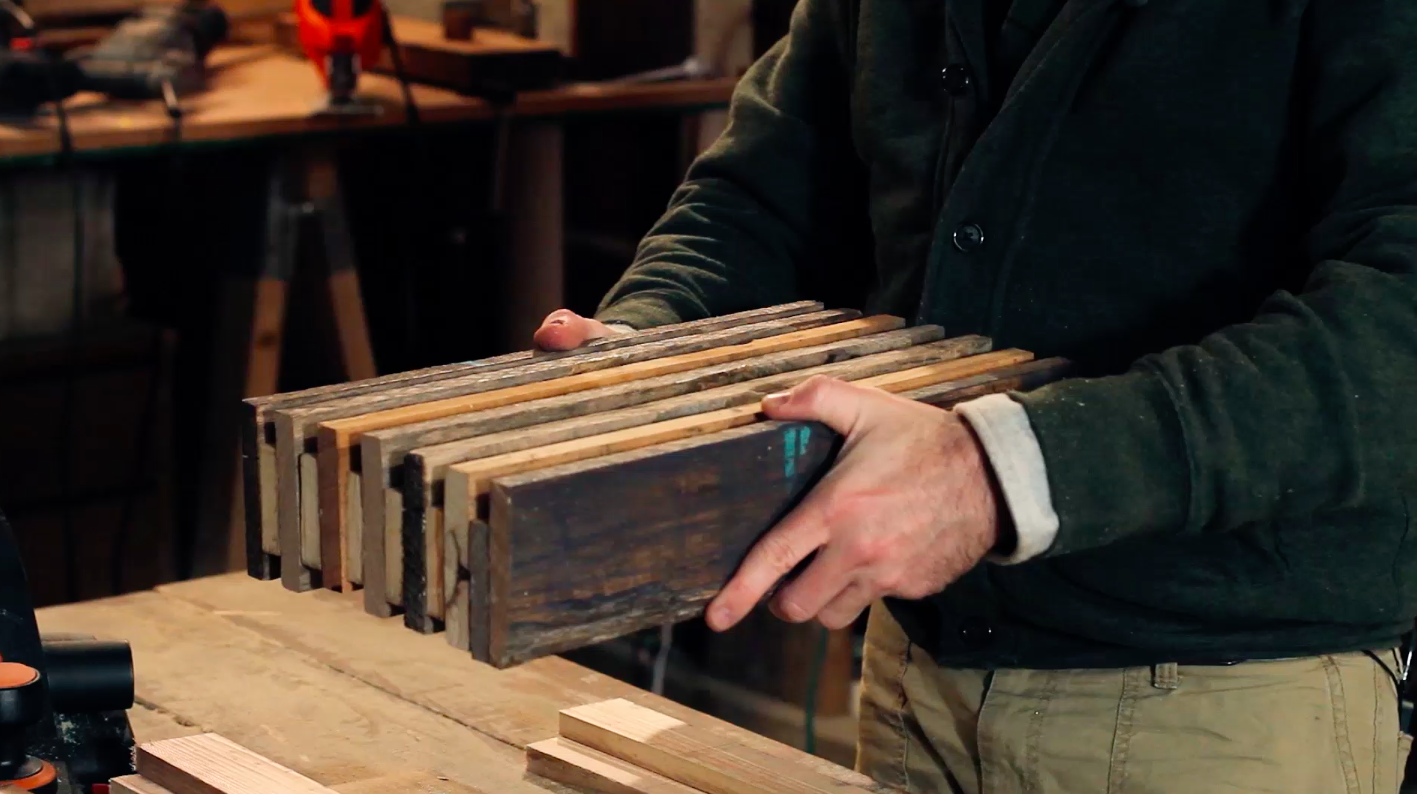
The first step is to build the seat base of your stool. Most stools will have you sitting on the broad side of the board, to make this a little different, we are going to build our seat the other way around.
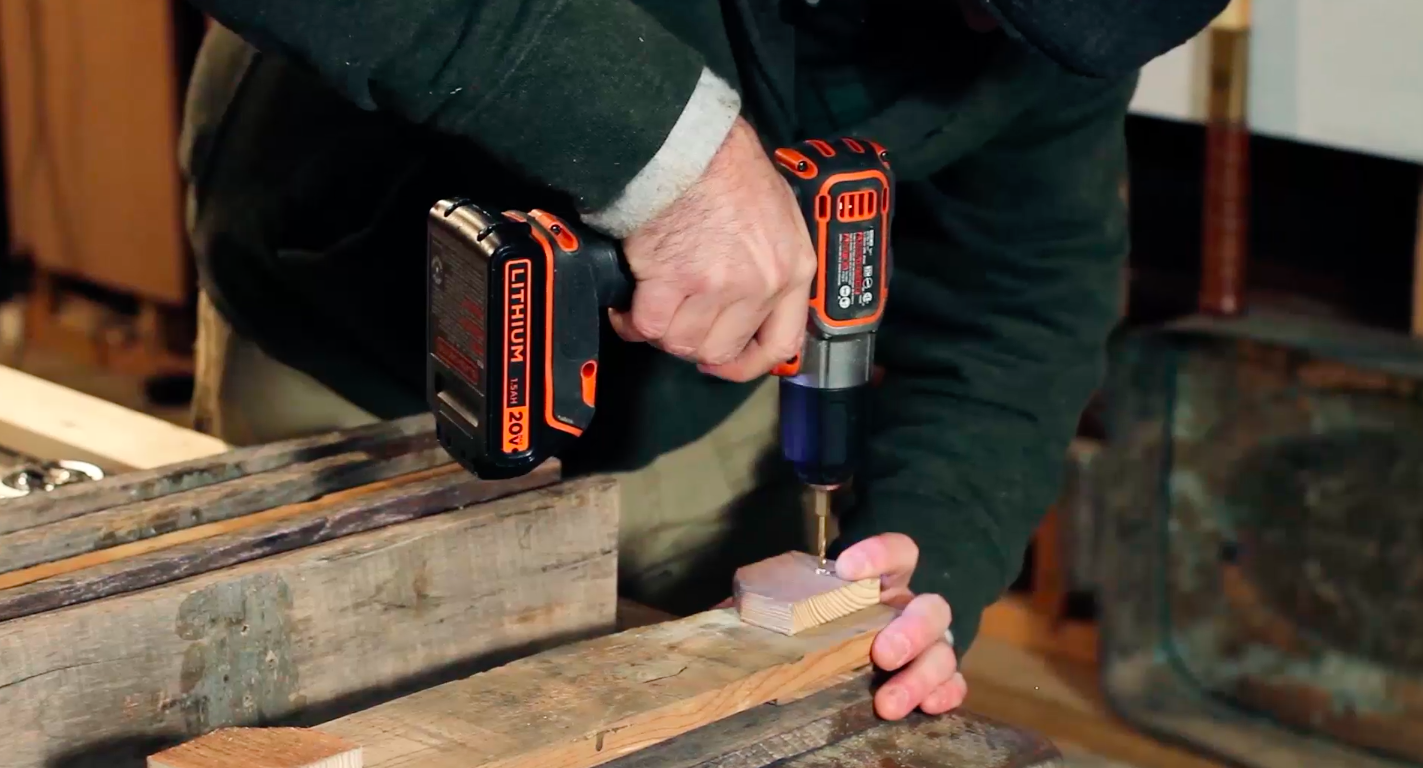
I decided my seat would be 16" wide, so I cut about 8 boards to 16". To create some space between each piece, I used some scrap wood (about 2" wide) between each piece.
Place some wood glue on each 2" scrap piece.
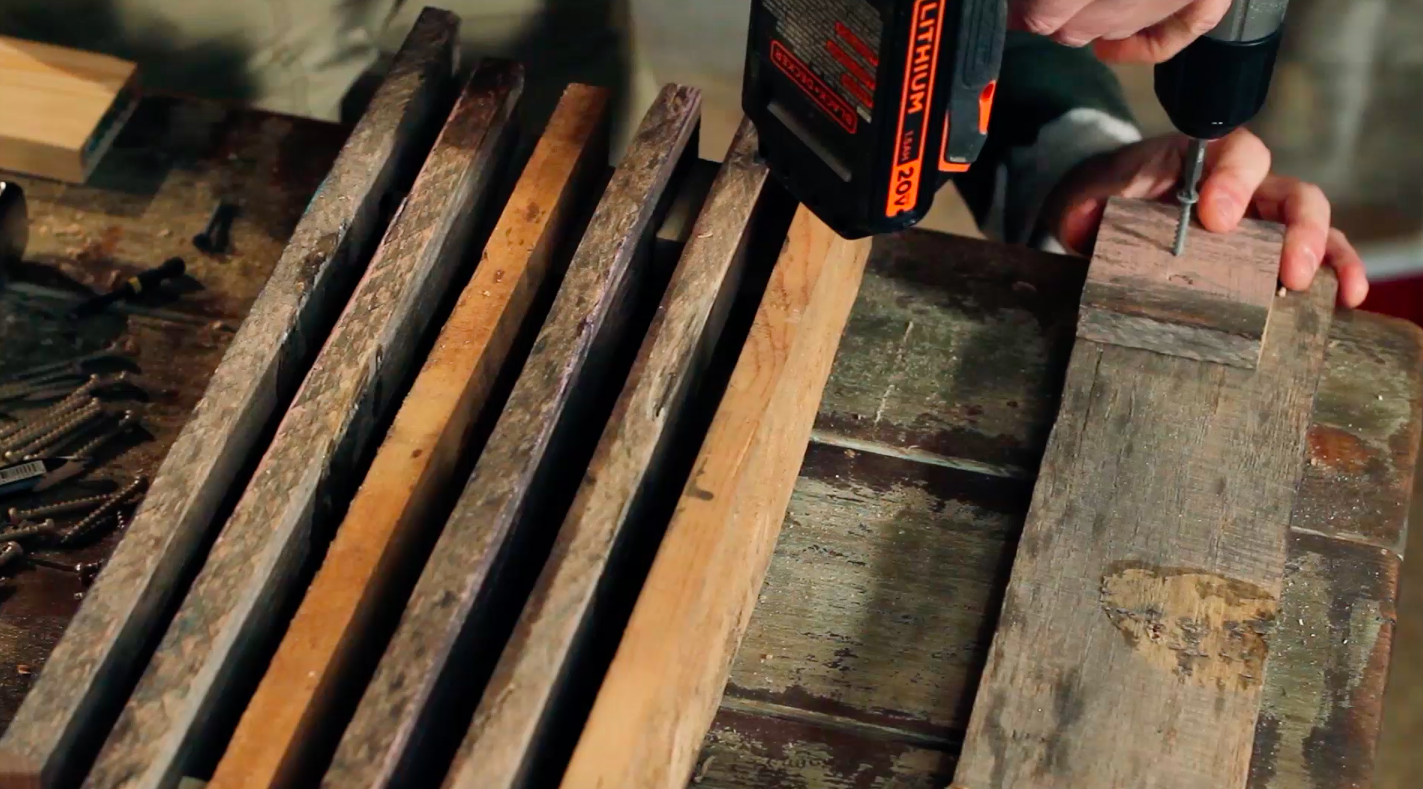
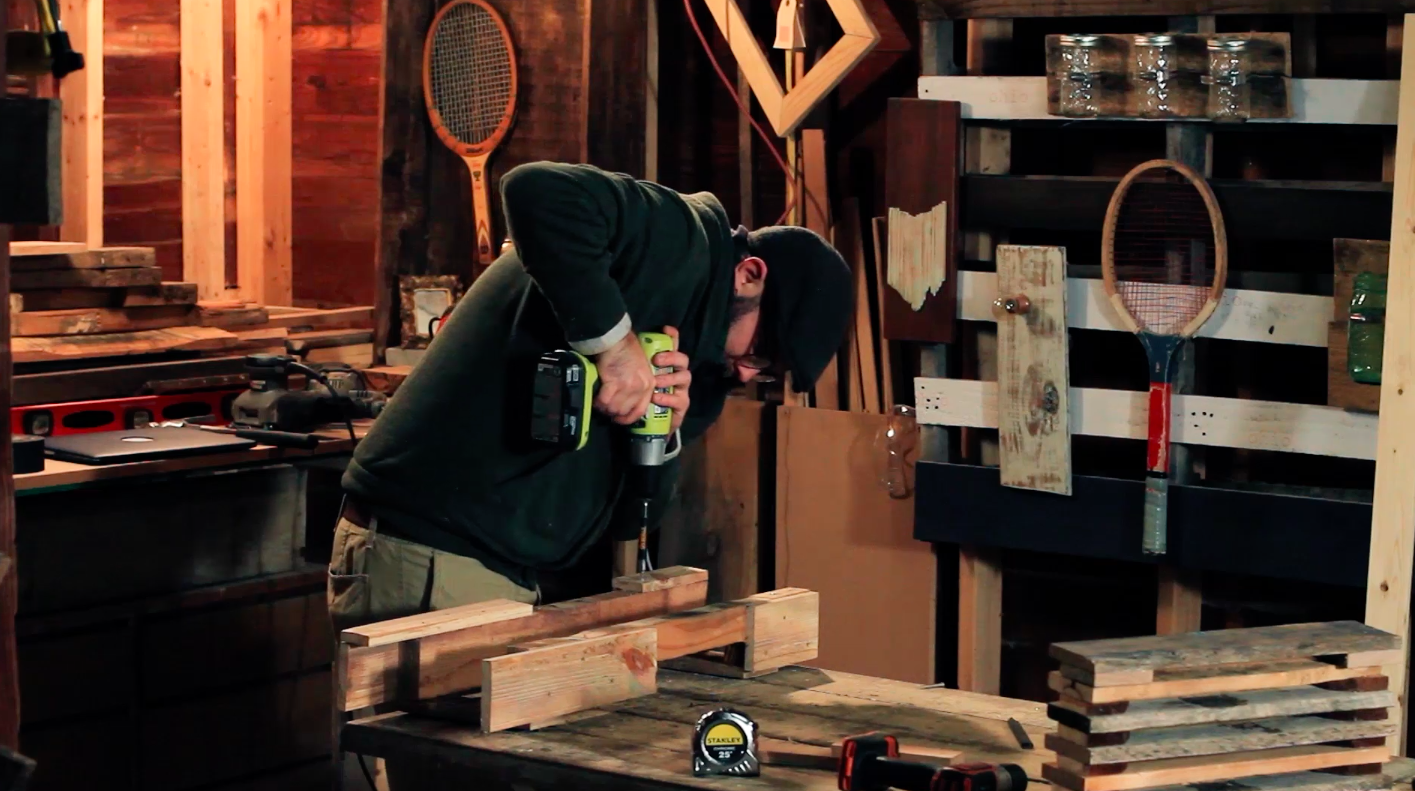
Using an 1/8" drill bit, drill pilot holes and use an 1 5/8" screw to attach each piece.
To ensure you do not drill into the screw you added in the last piece, stagger each screw from top to bottom. For example, attach the screw on the top for the first layer and on the bottom for the second layer.
Add the last 8" outside board using the same method as the previous. Wipe off the wood glue as you attach each layer so it doesn't setup.

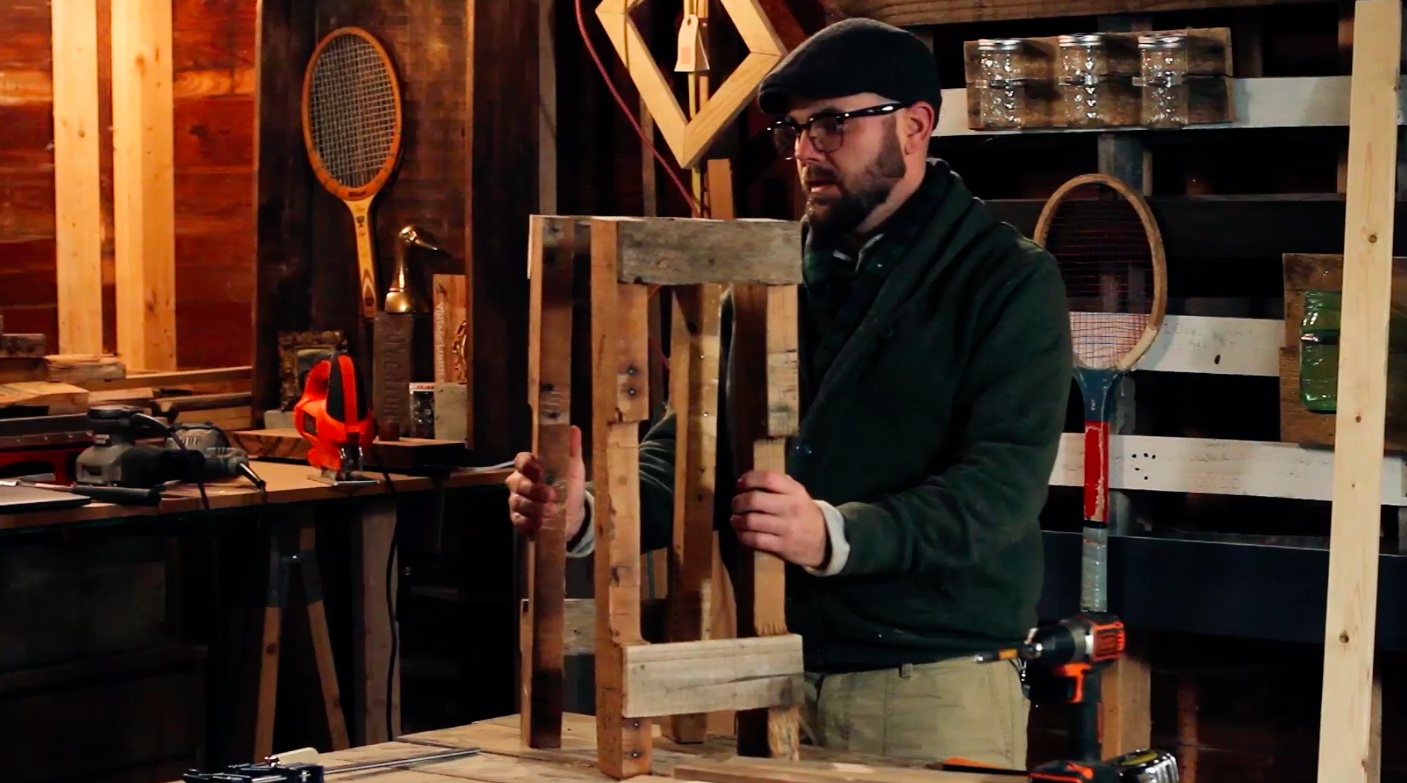
3. Build The Legs
Most stools are between 18" and 24" tall. On this particular scrap wood stool I cut the bracing pieces (the legs) to 24".
The way I built this stool was to have the seat (pictured below) sitting on top of the bracing pieces (the legs).
To build the base at the top of the legs, the first thing you need to do is cut a piece of wood to the width of the seat (about 8"). Pilot drill and screw into one side of the legs as shown below.
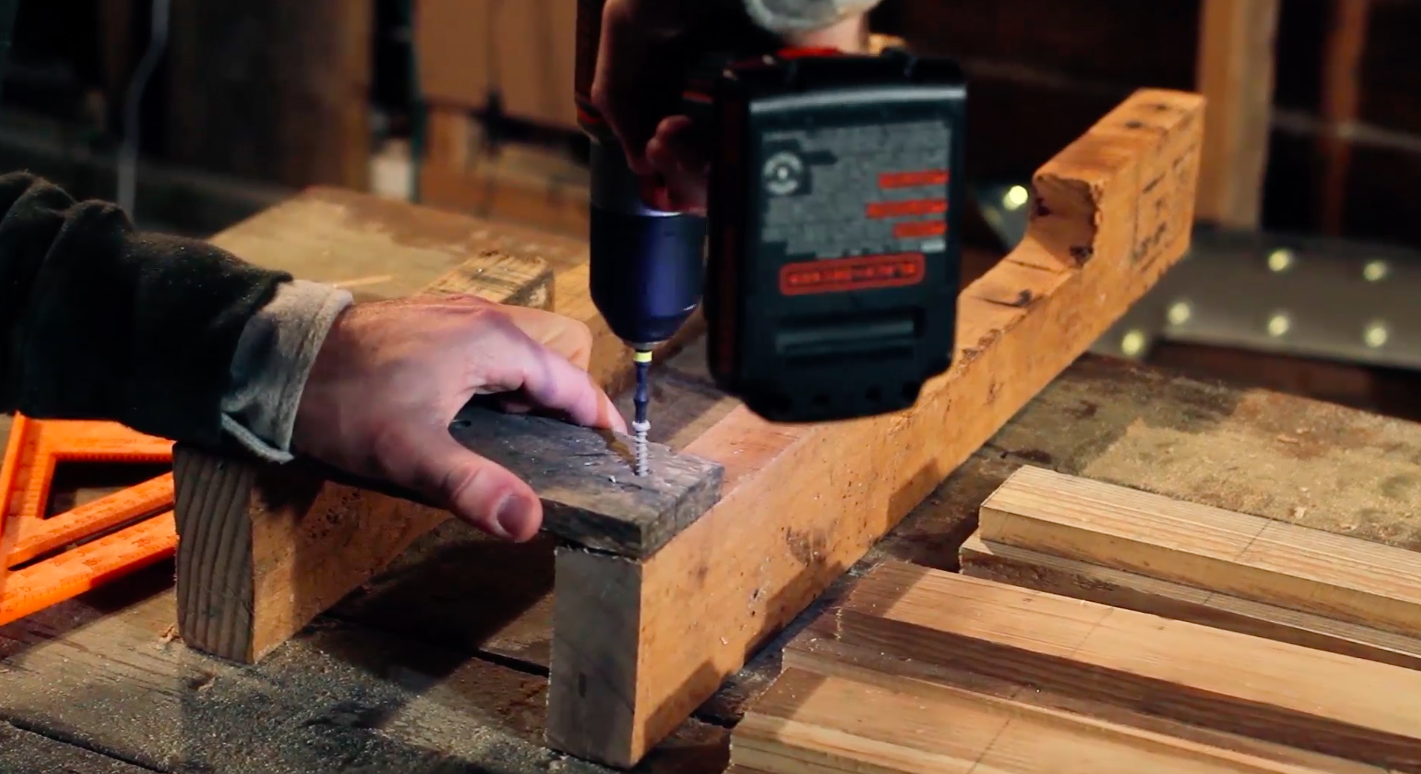
Do the same thing near the bottom of the legs as well. Repeat this process for the other 2 legs.

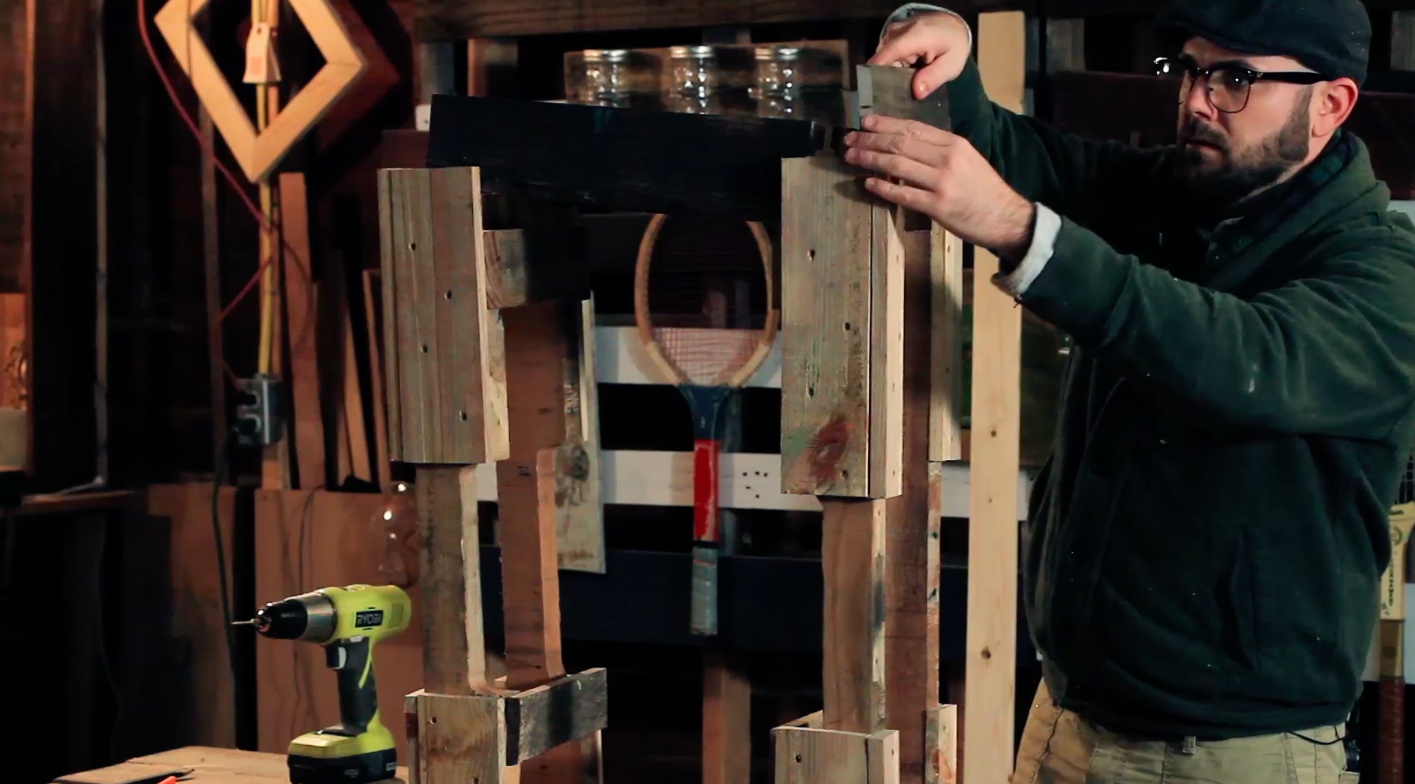
4. Trim Out The Legs
Because most of the pallet bracing pieces take a lot of abuse, they tend not to be the best looking or the most uniform wood pieces. To remedy this, I cut some scrap wood to cover the outside of the bracing pieces. This will also add a wider base and in turn, make for a steadier stool.
Almost all bracing pieces are varying sizes. Just make sure to measure accurately and remember, "measure twice, cut once".


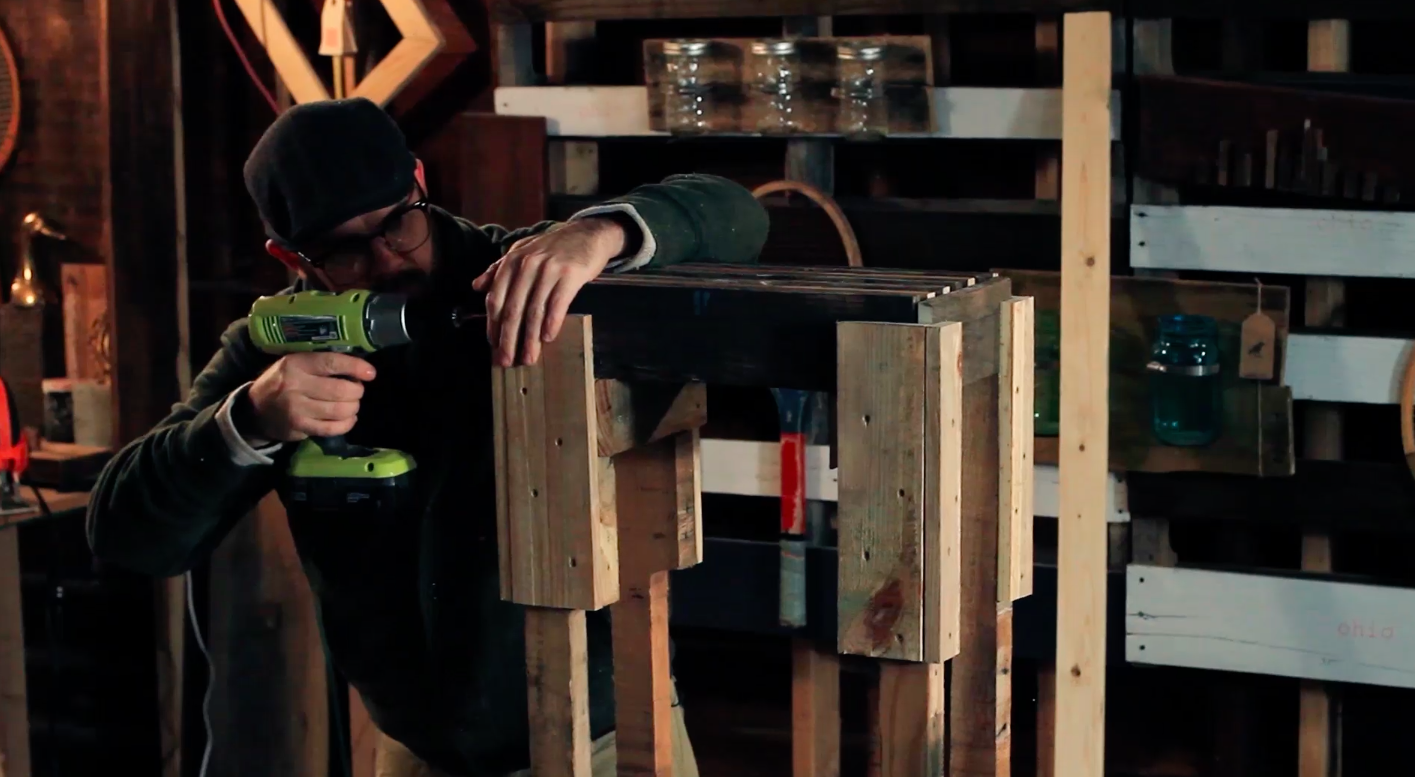
Now it's time to start attaching the outside trim pieces. Because we are resting the seat base on top of the legs, we have to extend the top trim piece about 4" above the legs. This will allow the seat base to sit on top of the legs and be attached to the trim pieces.

Pilot drill and screw the boards into place as shown below.


5. Attach The Seat Base to The Legs
I added a few scrap pieces to the ends of the base seat for aesthetics.
You're almost done!
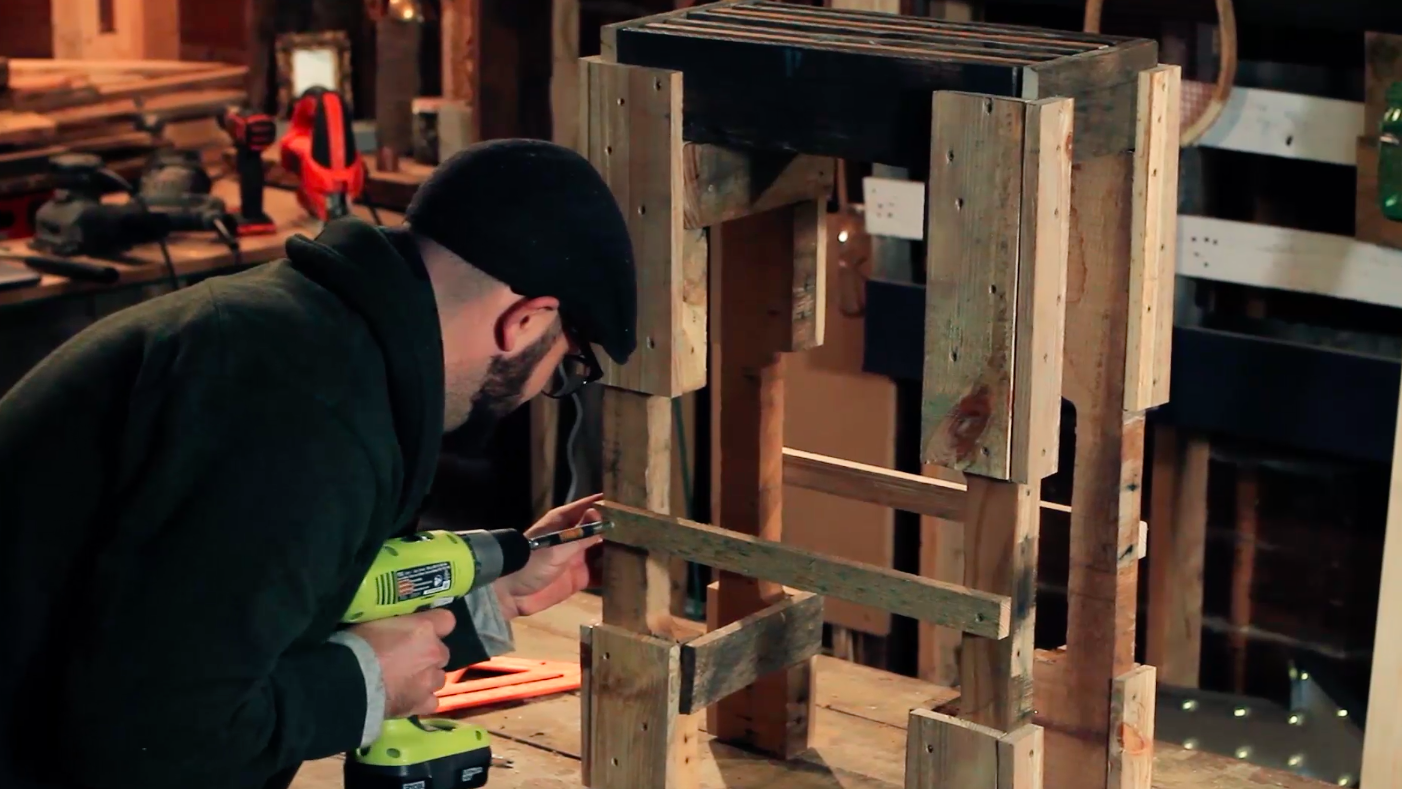
Pilot drill and attach the legs to the seat base using 2" wood screws.

Cut two 16" pieces to attach about 3/4 of the way down the face of the legs. This will give the stool even more stability by ensuring the legs do not bow.
6. You're Done!
Admittedly, this isn't the prettiest stool, but what it lacks in style, it makes up for in functionality.
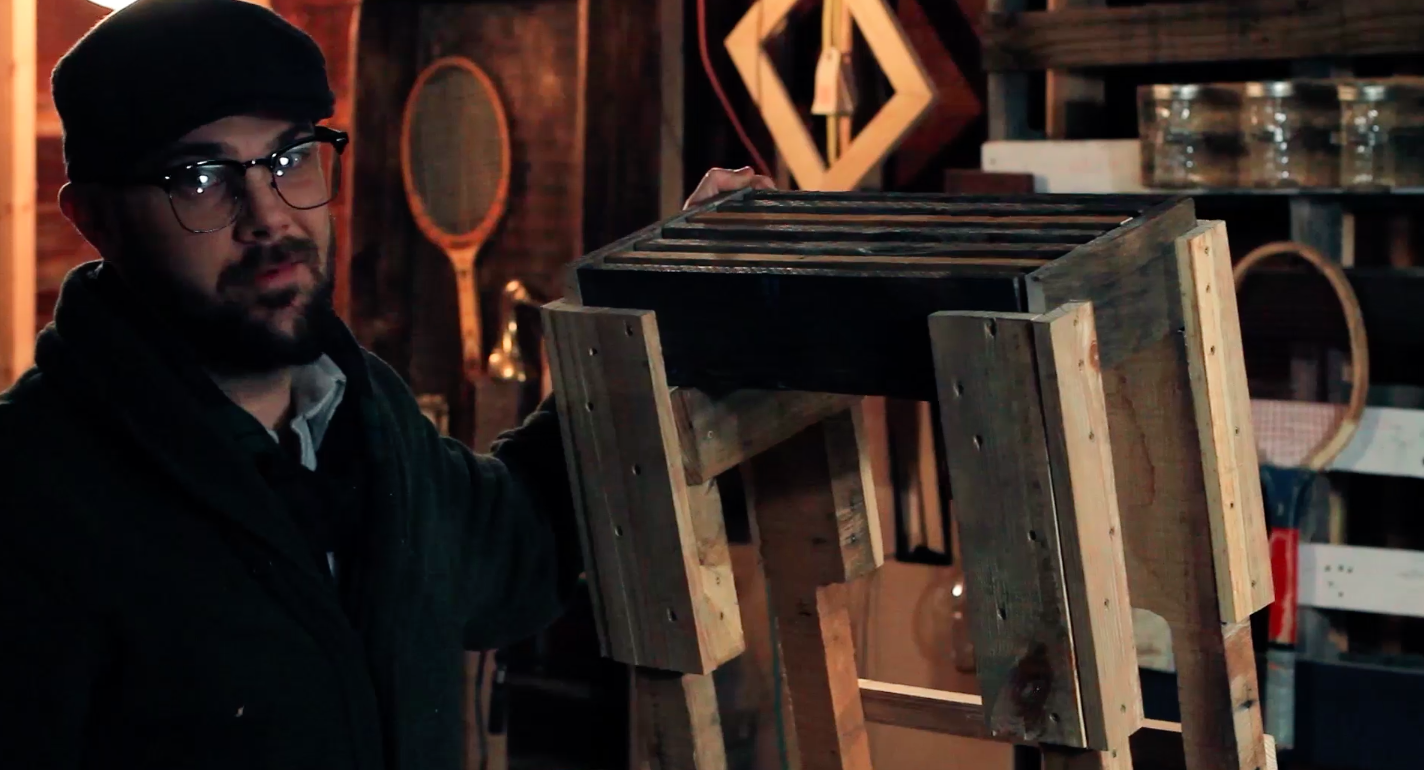


You can always add stain or paint to create a nicer piece.

Enjoy your sturdy Scrap Wood Stool!