Project Summary
This is one of the first projects I made from a pallet. It's basically a project born from walking around the hardware store and trying to figure out something unique to build. This is a great starter project because it's useful, stylish, and provides a great sense of accomplishment. Have fun!
Level of Difficulty
Materials Required
- Pallet Board
- Plug & Socket (Candelabra Base)
- Edison Bulb (Candelabra Base)
- 1 1/4" Copper Fitting
- Pushpins
- Paint & Stain
- Sandpaper
- 1 1/4" Paddle Bit or Hole Saw
Time to Complete
Tools Required
- Drill
- Hammer
- Orbital Sander
- Jigsaw
- Tape Measure
VIEW FULL CUT LIST

1. Cut Your Wood To Size
After you've assembled all the tools in the beginning of the video, the first step of this project is to cut your wood to size. The primary base for the light is just a pallet board, which you can cut to any length.
For the "feet" you'll want to use a 1x1 trim board.
To make the feet, start by making sure your feet aren't quite as wide as your pallet board. As you can see below, you should use a pencil to mark your cuts on the feet.
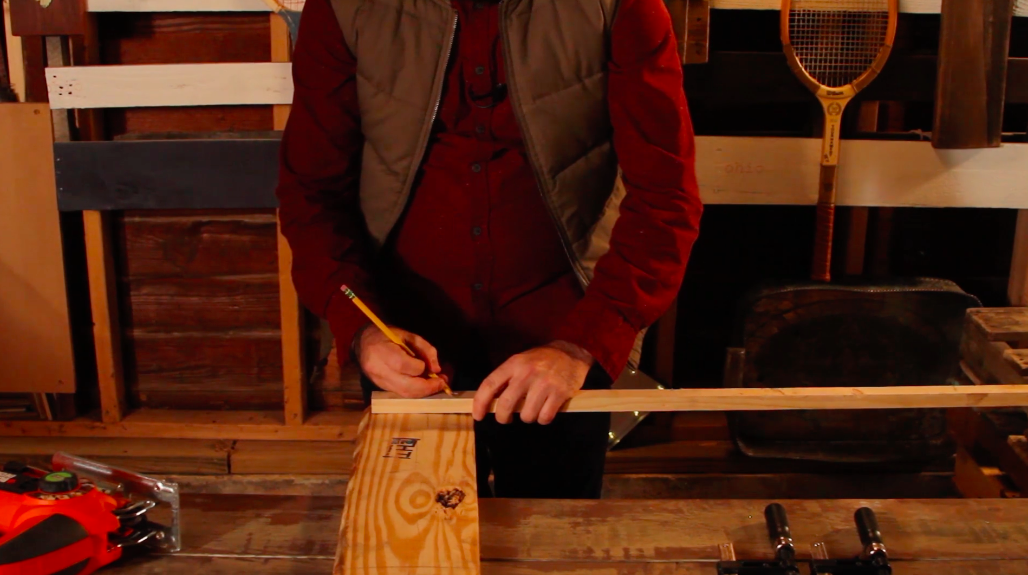
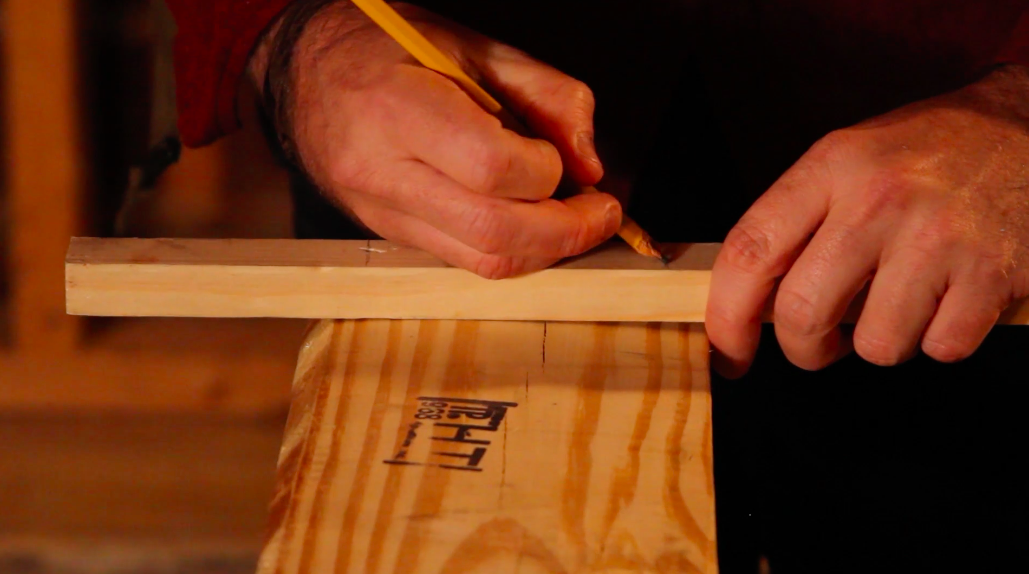
My pallet board was about 6 inches wide, so I made my feet about 5 inches wide
You are going to do this twice, since you want to have 2 feet that are virtually identical.
As mentioned earlier, the width of the pallet board is ultimately up to you - since this is really a decorative piece that you can use on a mantle, desk etc.
Our lamp base was about 14 inches wide, to give you an idea.
Whatever length you choose, grab a jigsaw or circular saw (whatever you prefer) and cut your pallet board to the desired length.
Tip: if you need help steadying your board, use clamps to secure it to a table before cutting.
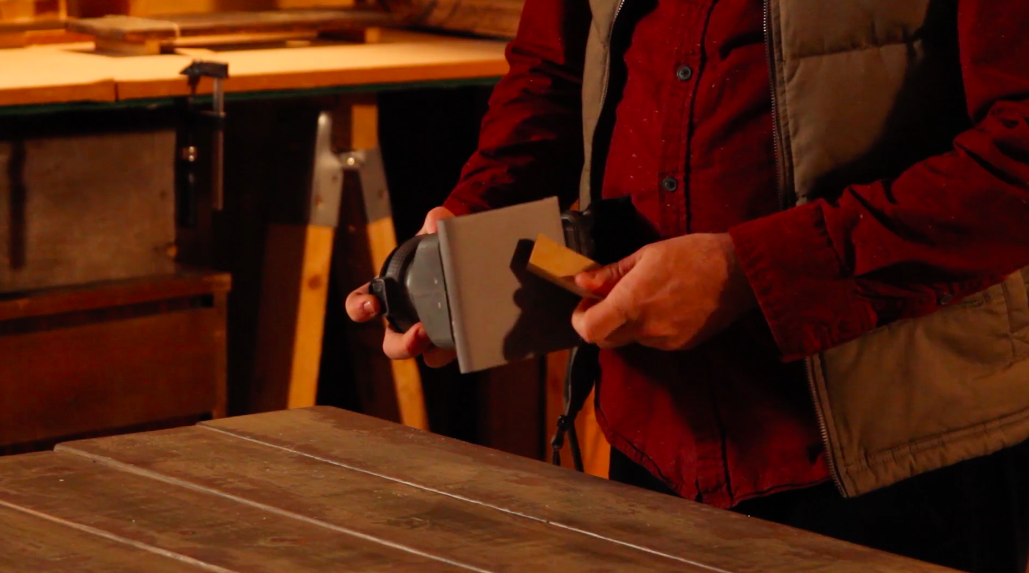
2. Sand and Smooth Your Boards
You don't want your lamp to have rough edges, so you need to do some light sanding.
I used a palm sander for this, but any small sander (including sanding by hand) would do for this job.
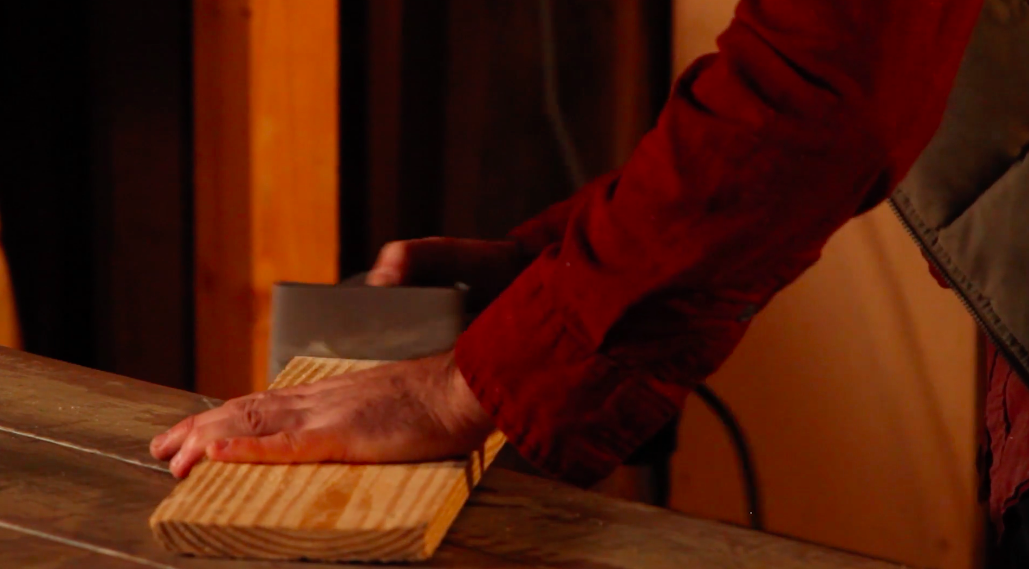
Start by sanding the ends and edges of your feet - again, with the goal of just smoothing them to the touch.
Next, sand the ends and edges of your pallet board. This should be a quick sanding - as you want to maintain a rustic look overall.
3. Lightly Paint The Pallet Board
Next, take some light gray paint (can be a paint sample if you don't have any on hand) and do a light coat of paint on the top and sides of your pallet board.
This is really all about achieving an aged look after we've stained the board. So don't think of this like traditional painting where you want complete coverage. It's really more of a light dusting of paint - one coat is plenty!

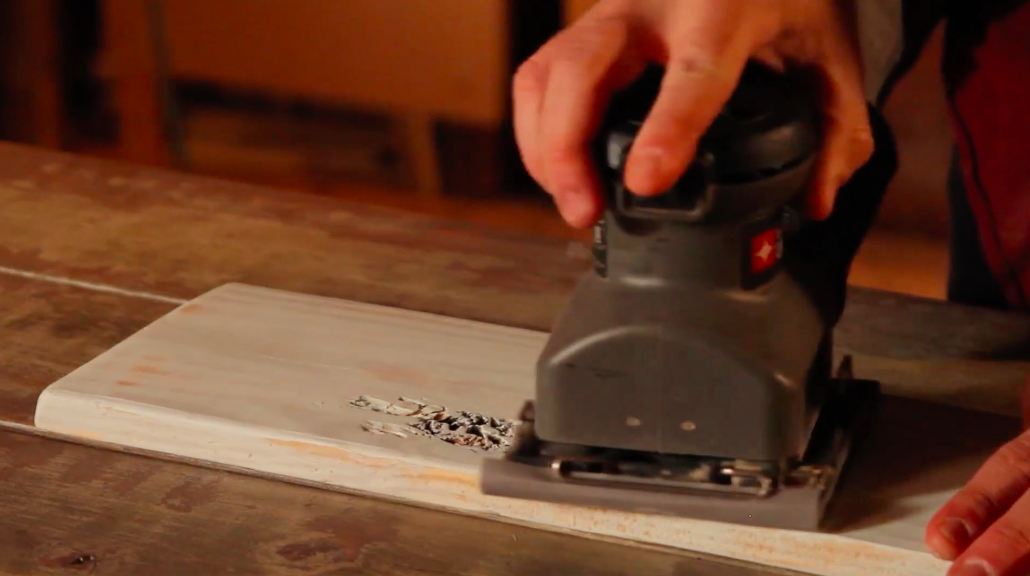
4. Sand The Painted Board
Going along with what I said about adding paint to help the rustic/aged feel of this project, take your palm sander and run it over your painted board. You'll just do this very lightly - trying to let some of the original wood grains show through a little bit.
5. Stain the Board and Feet
Now it's time to grab a rag and your stain.
You want to stain both the pallet board and the feet of the light. Make sure you hit the edges as well as the top and the bottom - just so you are covered from all angles.
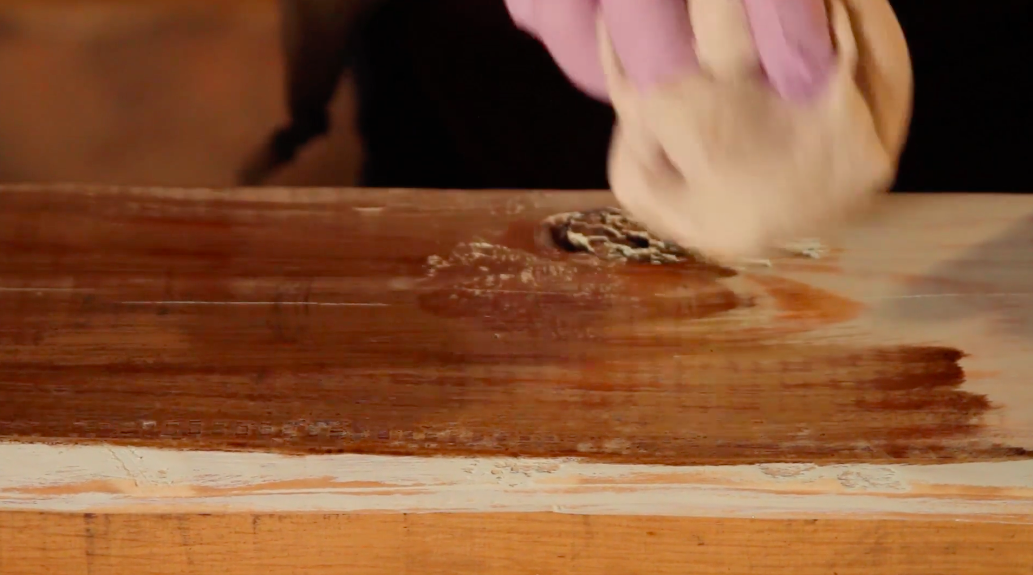
Tip: Use long strokes with your rag to achieve a smooth look
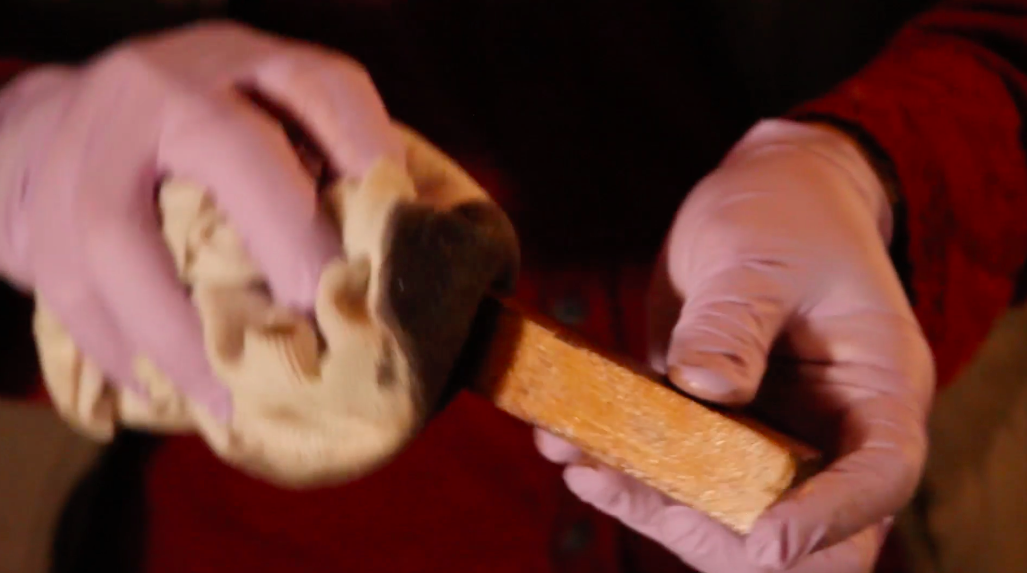
Let the stain dry for about 5 minutes, then go ahead and put on a second coat of stain on both the boards and the feet.
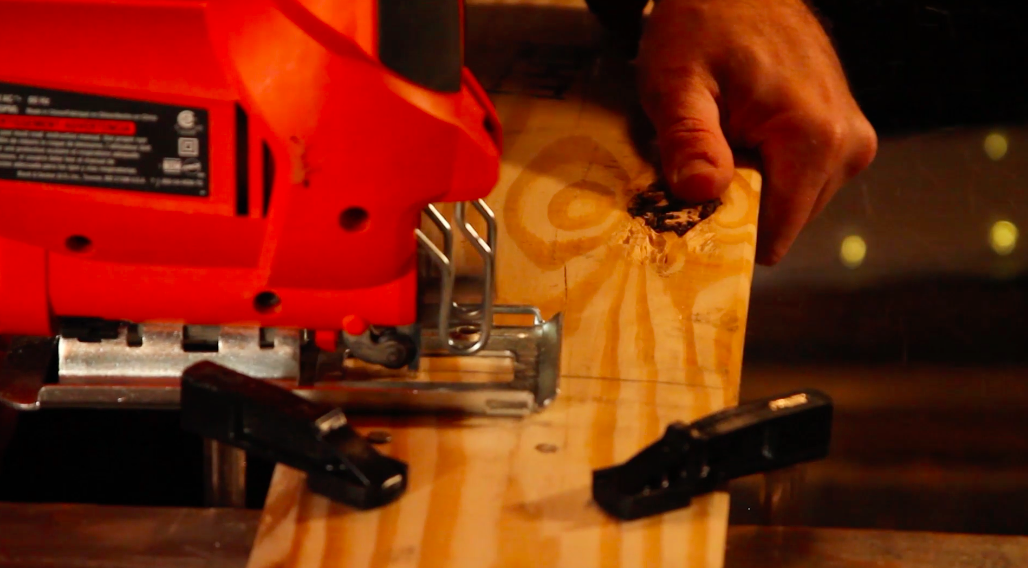
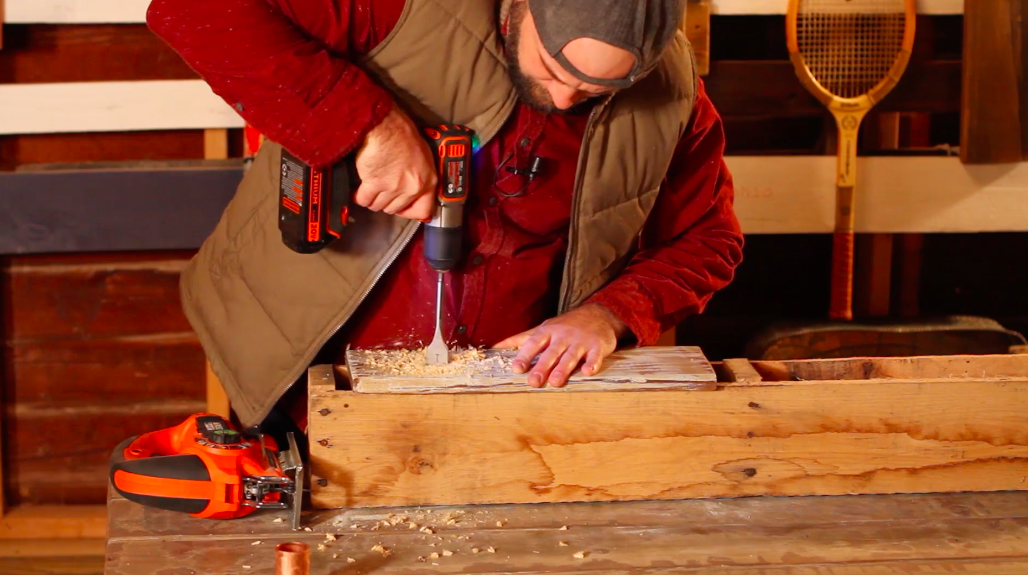
6. Cut the Hole for Your Light
Using a 1 inch drill bit, cut a hole for your light. Like with the length of your board, the placement is optional. However, I like having the light close to one end - so I drilled my hole about 3 inches from the edge of my pallet board.
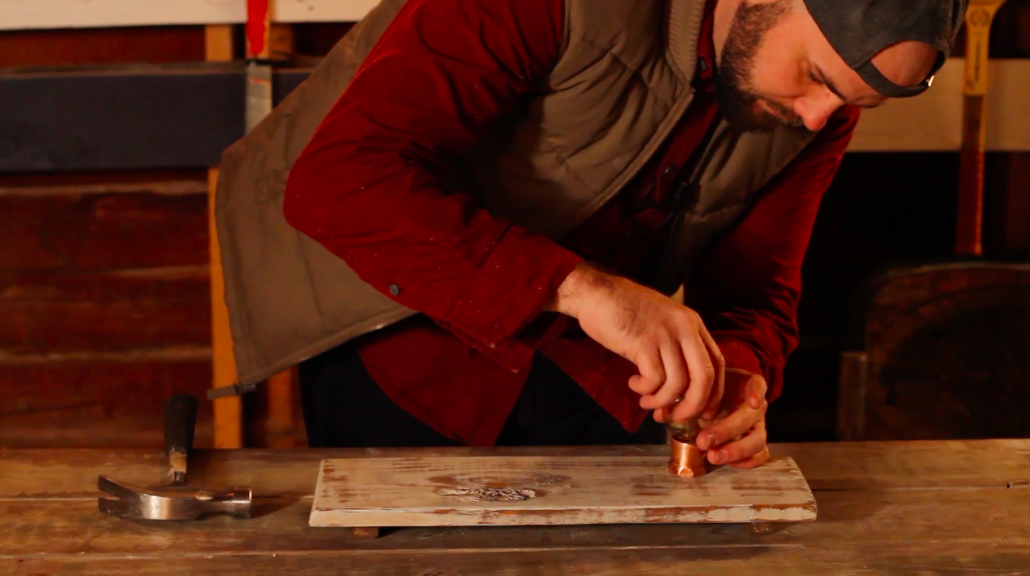
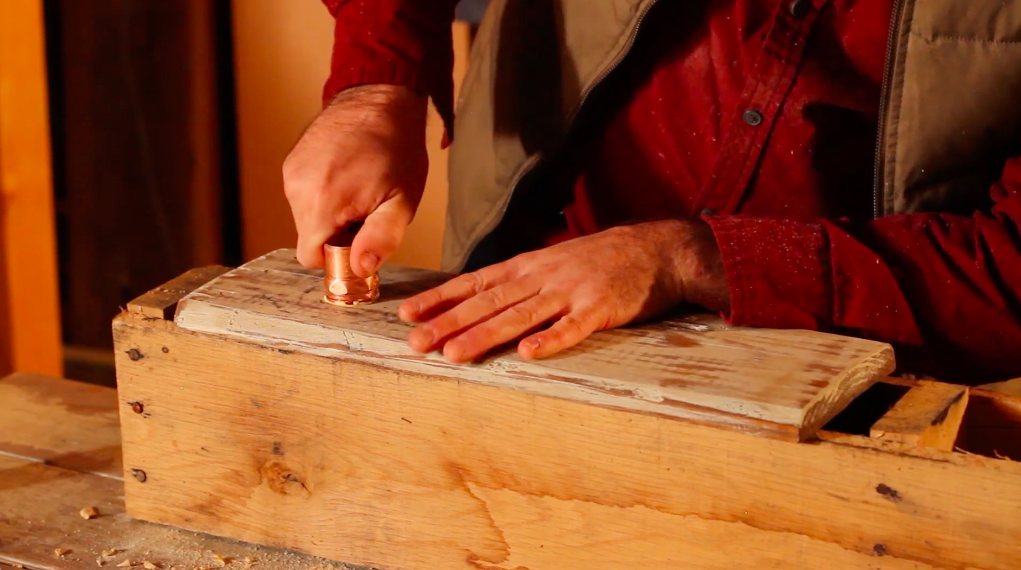
7. Add Your Copper Piece
Next, you'll take your copper piece and screw it into the hole. Technically, there aren't grooves to screw into, but using a twisting motion will help you get a snug fit. This copper serves a bit of a decorative purpose, as it will conceal the base of our light bulb.
8. Glue Your Wood Feet Onto the Pallet Board
Add a generous bead of wood glue to each of your wood feet, and then clamp them to the bottom of your pallet board. You want your feet to be about an inch and a half in from the outer edge of your board as shown below.
Use your clamps to secure the feet in place, and let them dry for about 20 minutes.

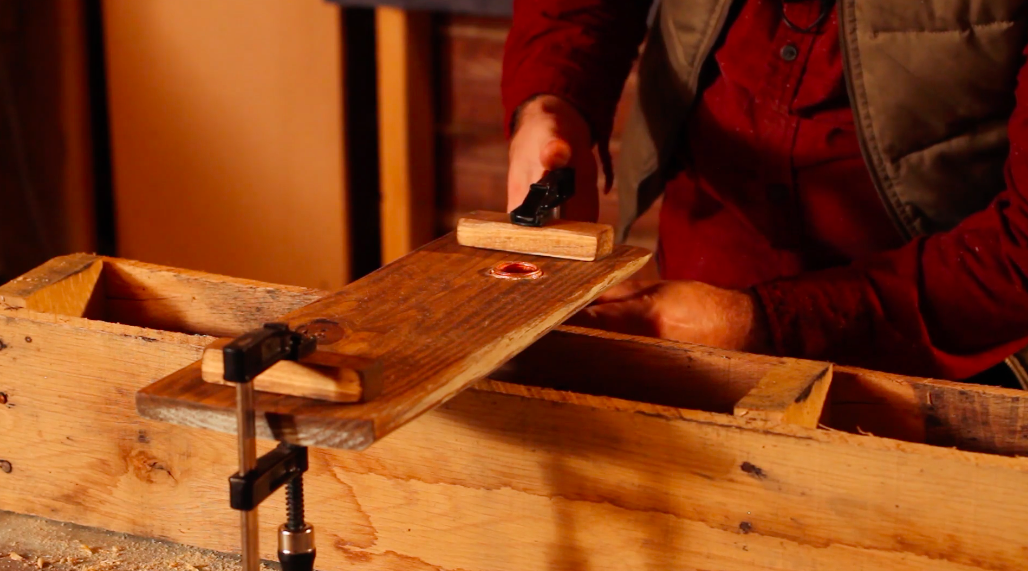
Note: Your feet should be on the bottom, which is the opposite side of the copper piece shown in the last step.
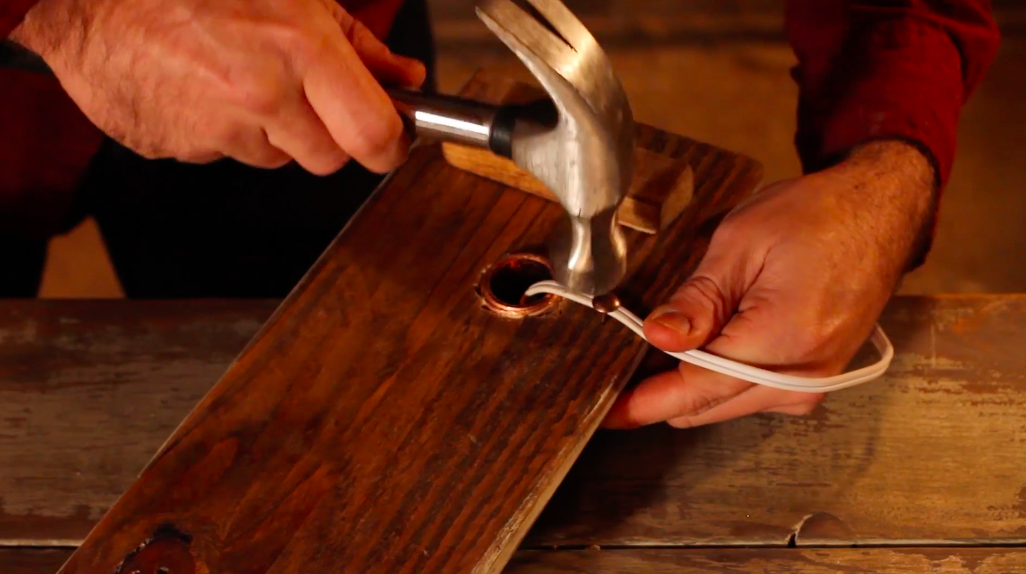
9. Insert Cord & Plug
Your cord and plug will slide right through your copper piece from the bottom. I'd suggest using a small tack and hammer to secure the cord to the bottom of your board.
This isn't mission critical, but it will let you control where the cord comes out from the bottom of your light.
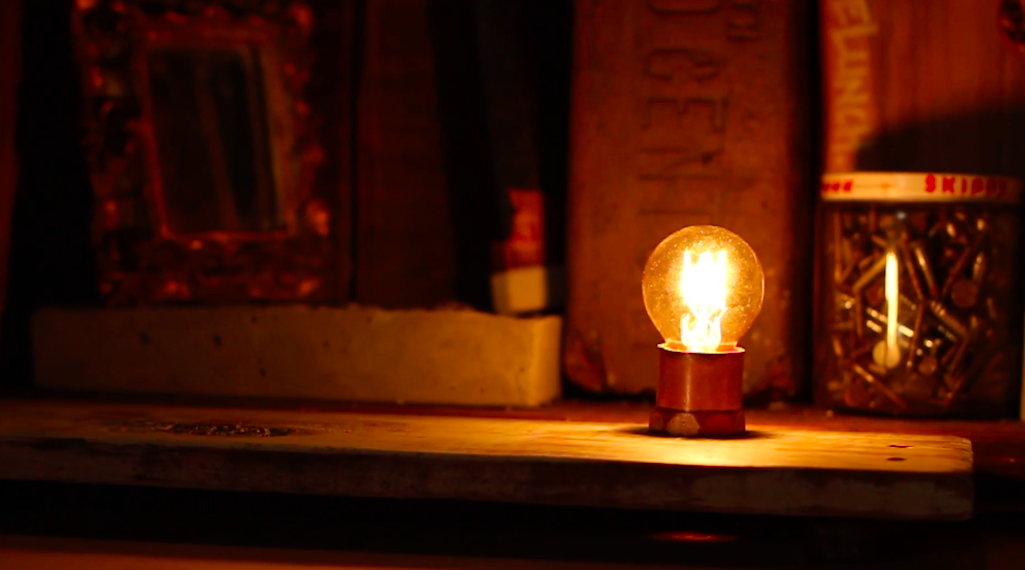
10. Screw in Light Bulb
As mentioned, I like using a small socket Edison style bulb to complete the rustic look of this piece. All that is left is to screw in your bulb, and plug this baby in.
After that, just figure out the perfect spot to put this mantle light and you're done!