Project Summary
If you've ever shopped for a nice desk, you know they can be quite pricey. Even the basic desks can be an investment. Thankfully, you are about to learn 9 simple steps that will give you the skills to build a rustic pallet desk on your own, and it will cost you almost nothing.
Level of Difficulty
Materials Required
- Pallet Wood
- 2 - 8ft 4x4's
- 8ft 2x2
- 1/4" 2'x4' plywood sheet
- 1 5/8" screws
- Drill Bit
- Clamps
- Wood Glue
- Stain & Polyurethane
Time to Complete
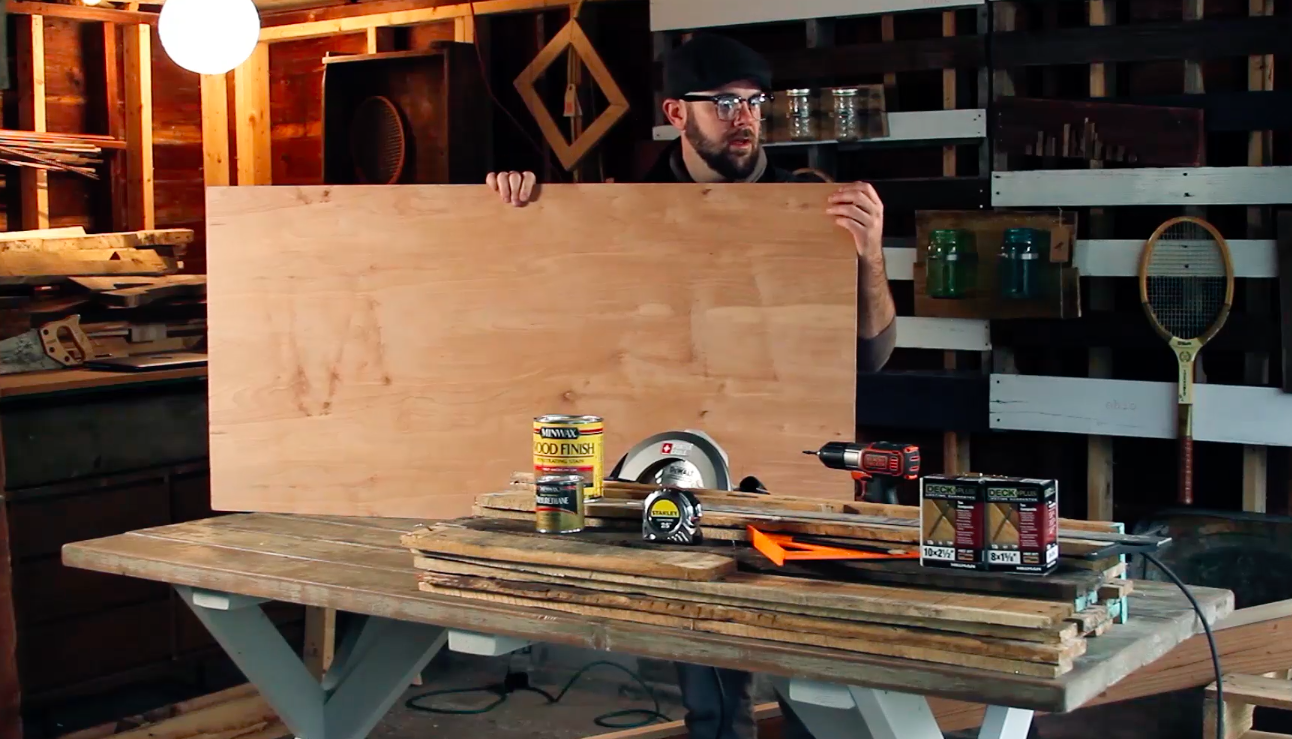
Tools Required
- Drill
- Straight Edge T and Triangle
- Orbital Sander
- Circular Saw
- Tape Measure
- Hand Planer (optional)
VIEW FULL CUT LIST
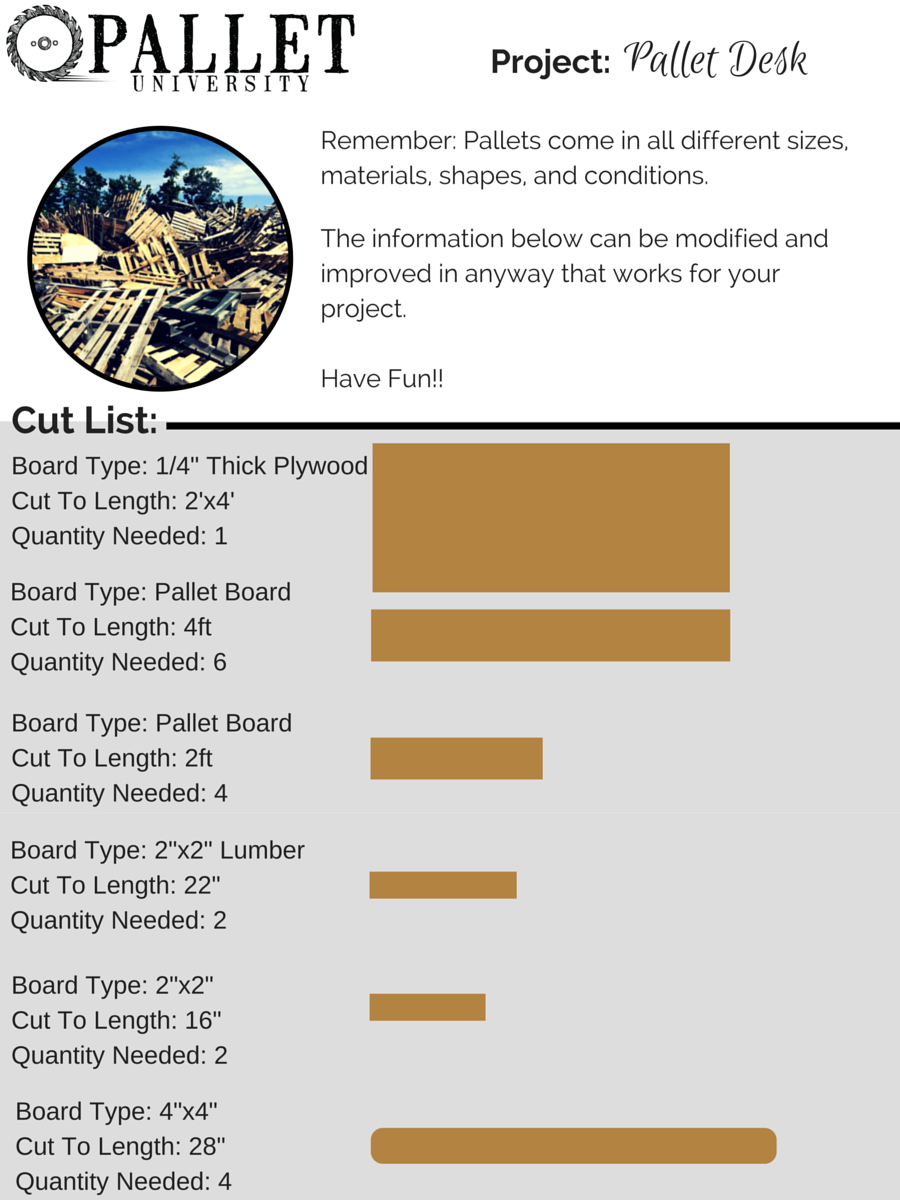
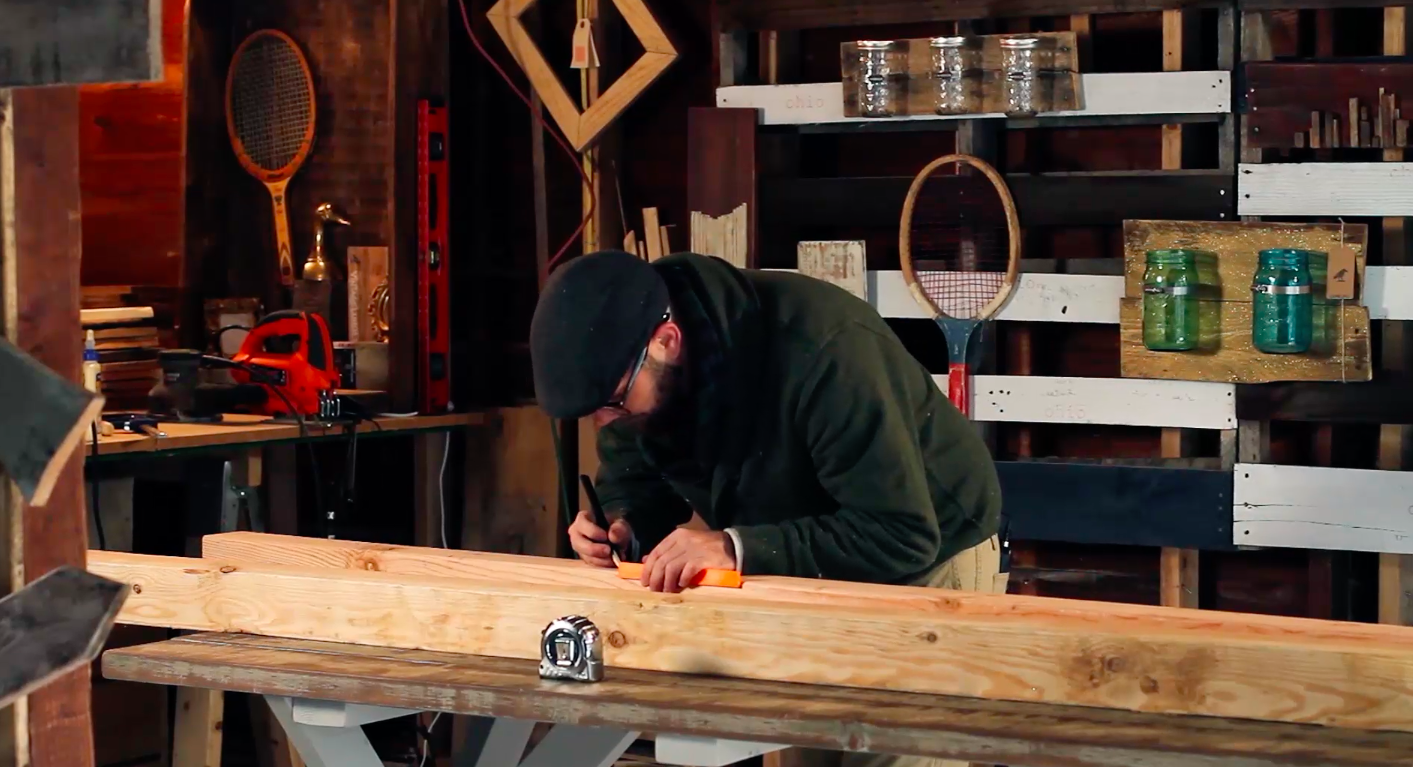
1. Cut Desk Top To Size
I decided to use a 2'x4' sheet of 1/4" plywood as a template for my desk top. Naturally, I just cut my pallet boards to be the same length. You may have to trim some of your plywood (lengthwise) because your pallet boards will likely not fit (widthwise) to the exact measurement of your plywood. I trimmed my plywood to fit 4 pallet boards side by side.
Please note, a 2'x4' sheet of plywood probably doesn't measure to be exactly 2'x4'. So, be sure to measure the plywood and cut the boards to the exact measurement.

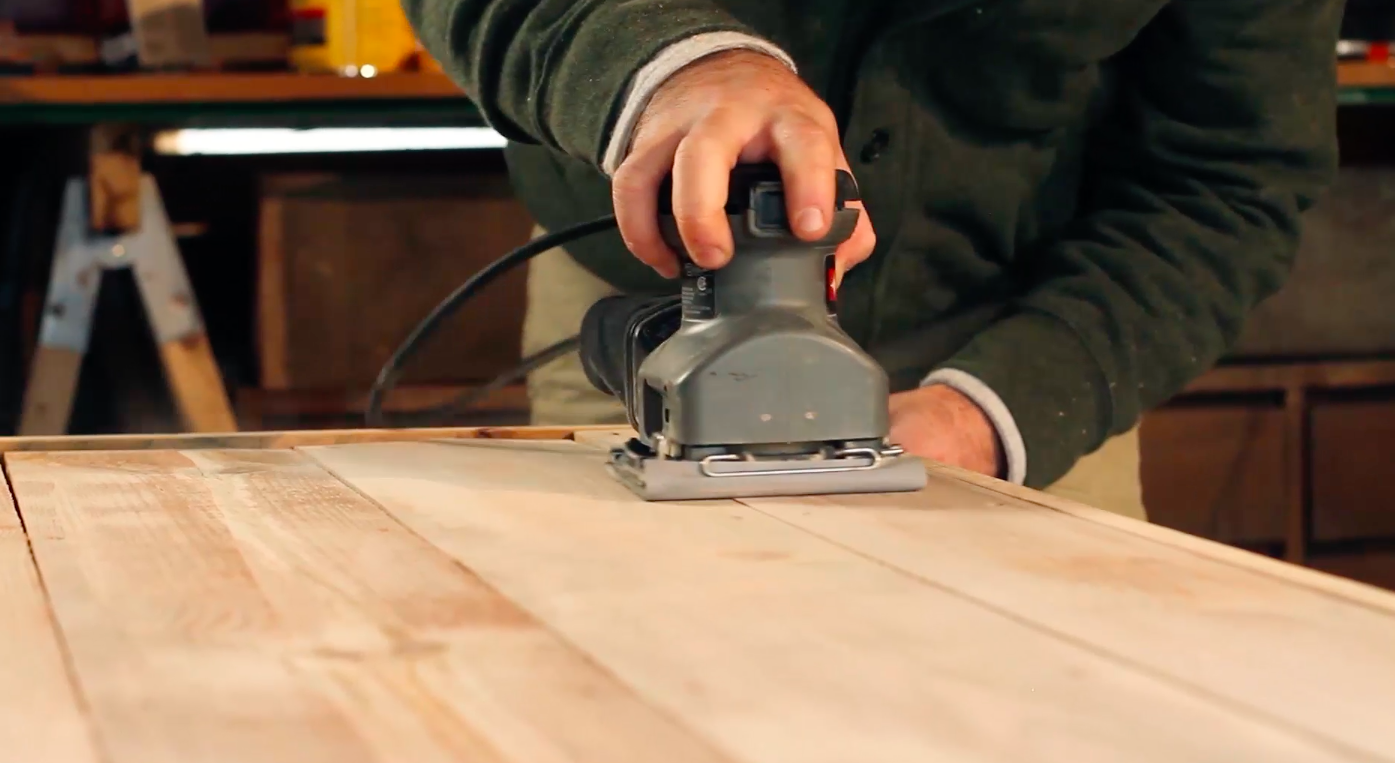
In the picture above, I am using a powered hand planer. The purpose is to clean up the top of the pallet boards by removing a few layers of wood. A powered hand planer will run you about $50 and can be a handy tool. This isn't always necessary and a lot of sanding will essentially get you the same effect.
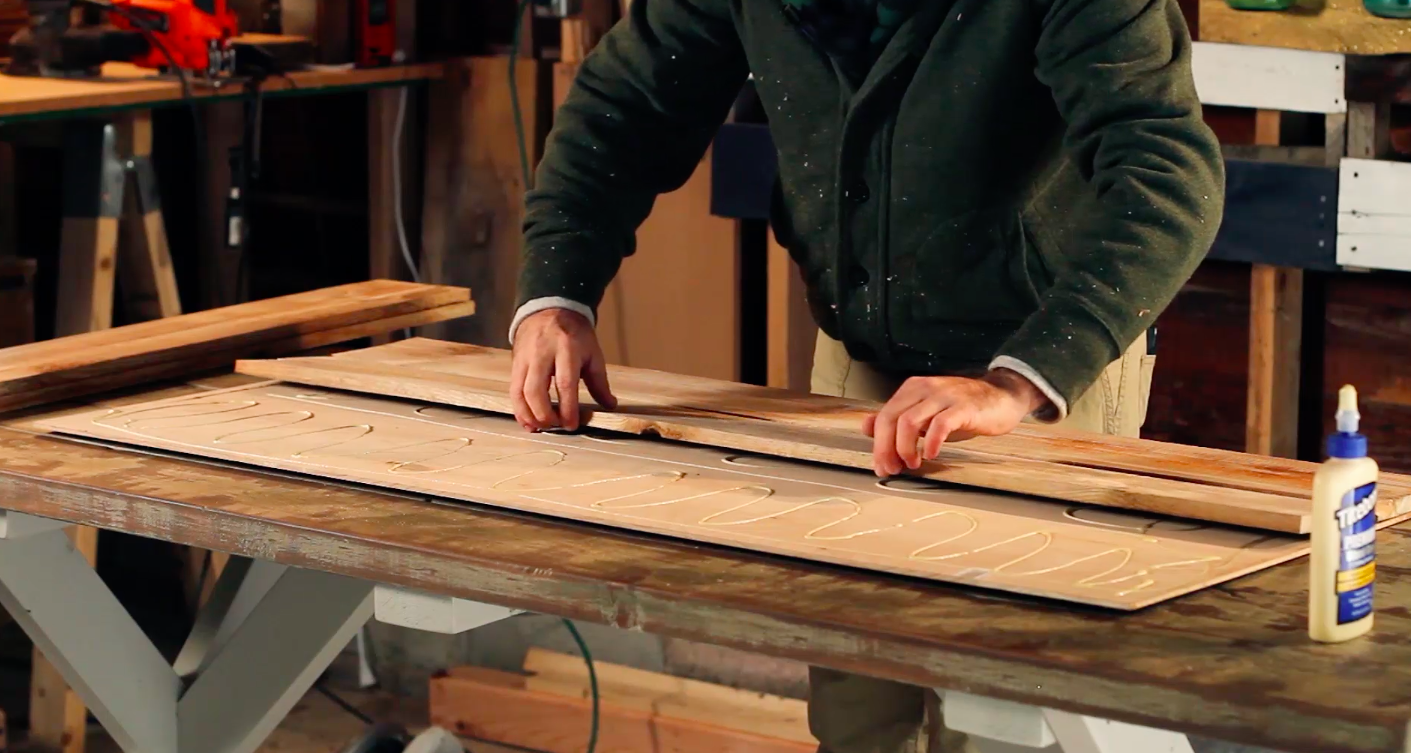
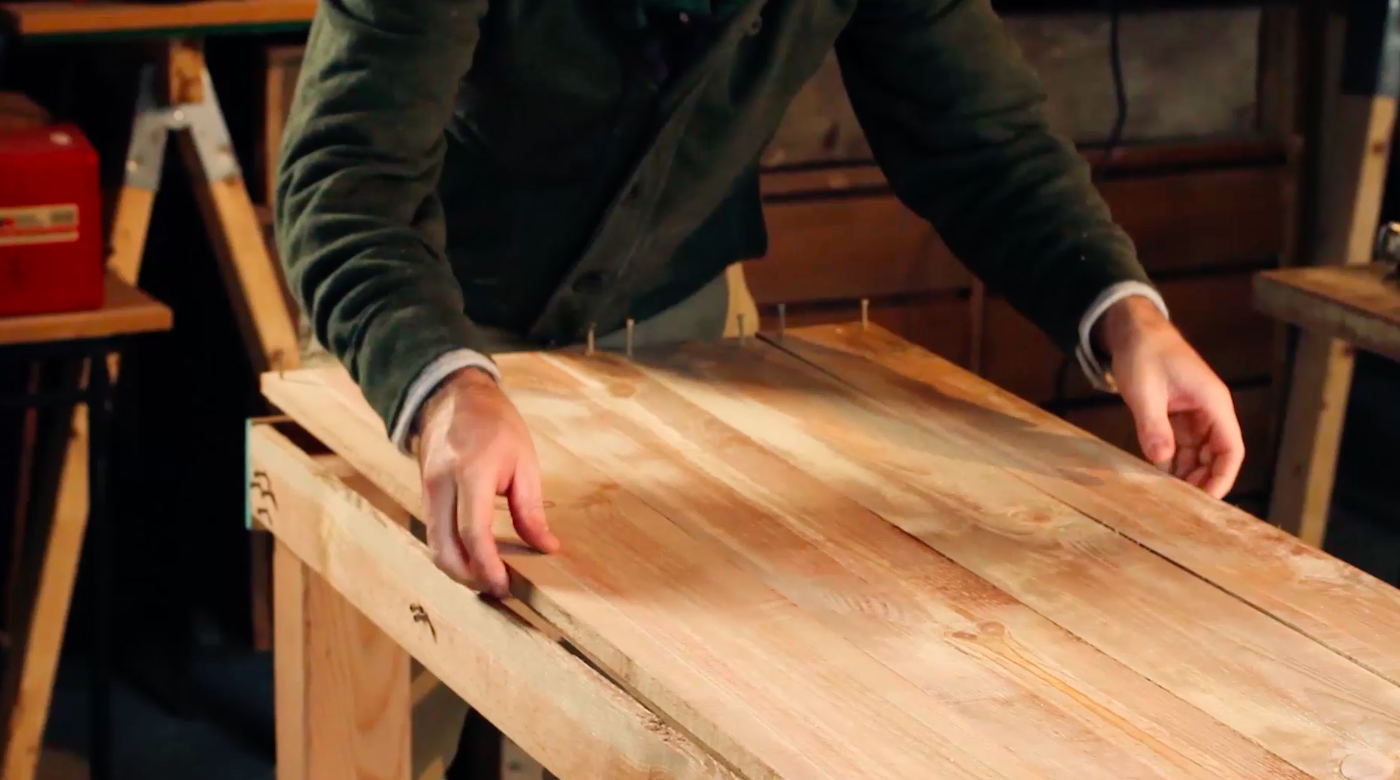
After every thing is cut and you layout your pallet boards on the plywood, generously spread some glue on the plywood and apply the boards.
Throw something heavy on top of the boards and let it dry for approximately 12-24 hours. This is always a great step to complete the day before you begin your build.
Also, it is not entirely necessary to attach the pallet boards to the plywood. You can forego the plywood all together if need be.
2. Measure and Cut Your Legs
The standard height of a desk is around 29". Because the desk top will be resting on top of the legs, I cut my legs about an inch short of 29".

It is possible, although not easy, to cut 4x4's with a circular saw. Generally, you want to use a miter saw, but they can be expensive.
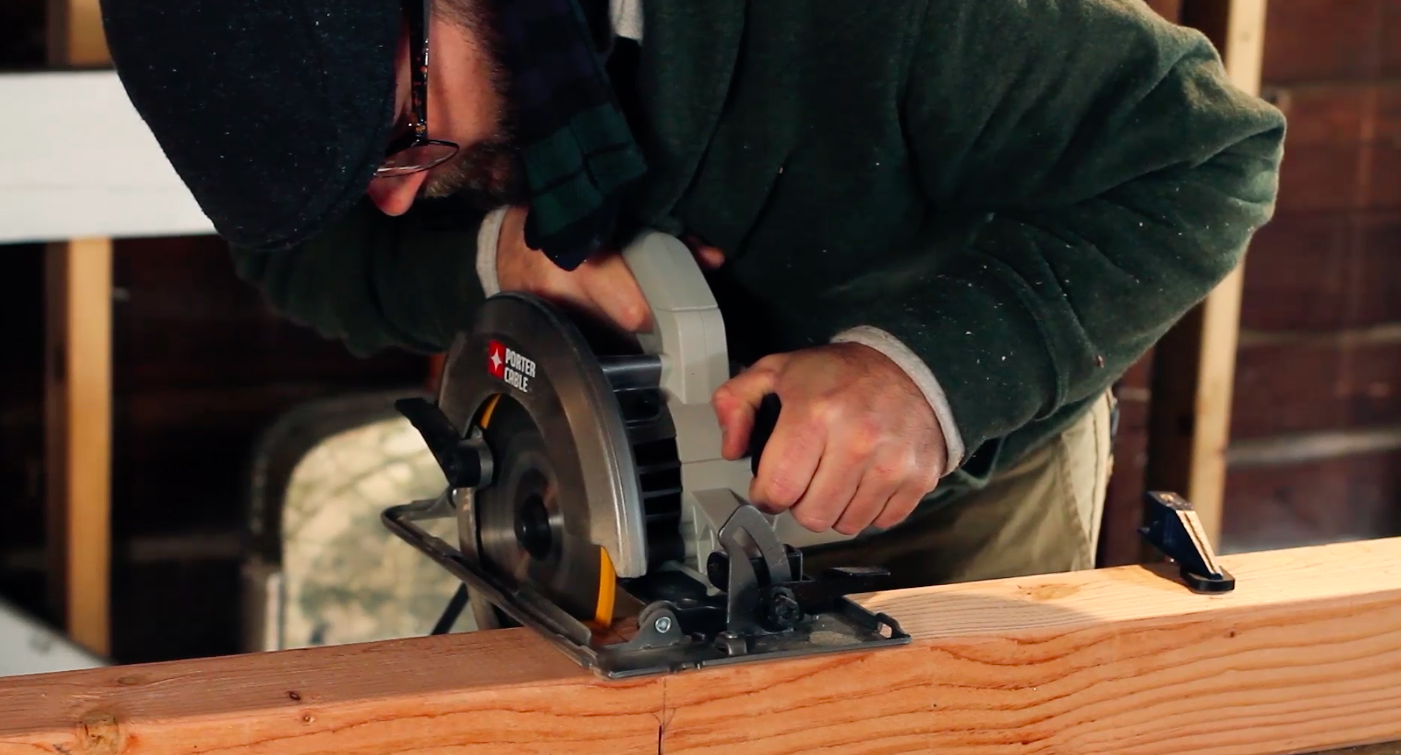
To cut your 4x4 leg's with a circular saw, you will simply need to measure and mark all 4 sides the same length. Next, you cut each side where marked and that should get you pretty close. You will likely need to do some sanding to even out some of your cut's and ensure the leg bottom is flat..
3. Cut and Attach Desk Side Boards
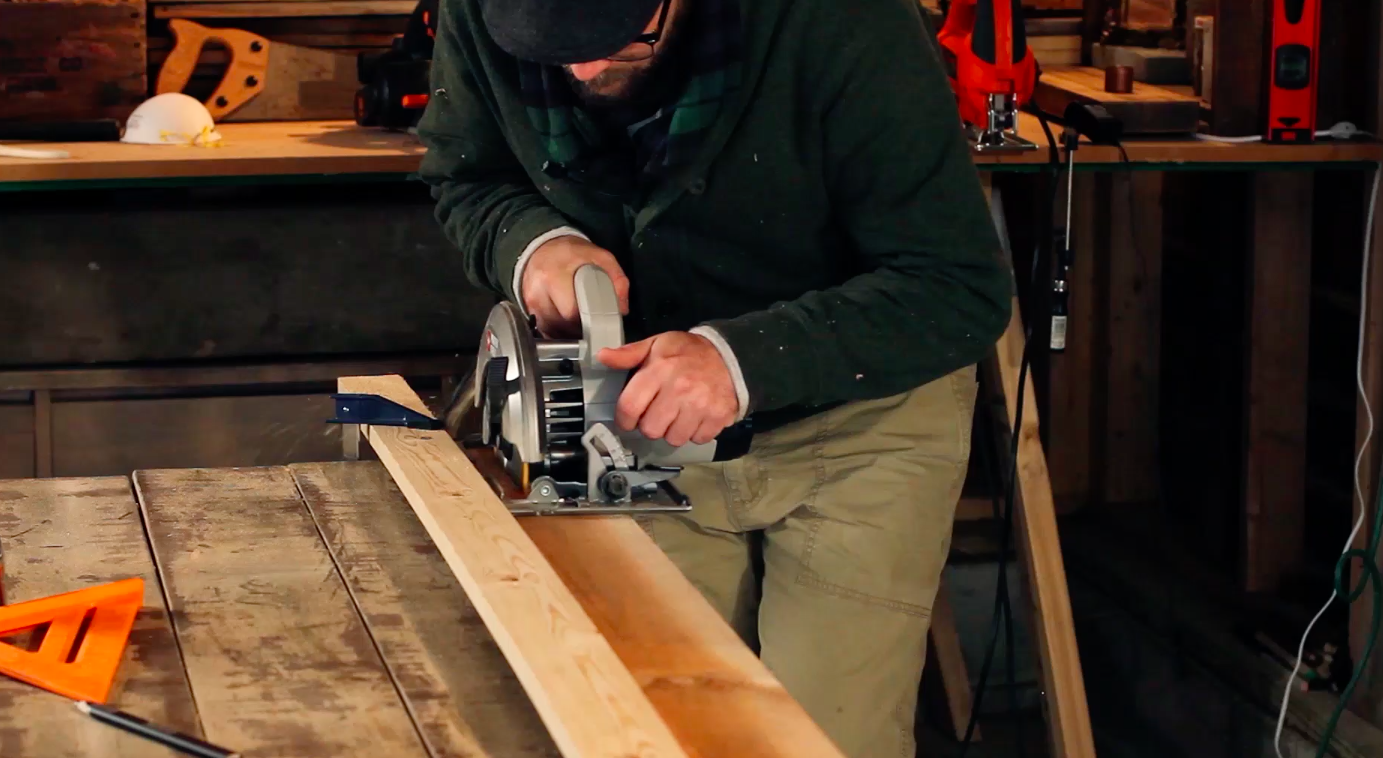
The picture above demonstrates how to make a lengthwise cut along a piece of pallet board. You simply want to mark your board where the edge of the circular saw guide will be as you cut the board. Mark both sides of the board you want to cut. Next, clamp a piece of straight board along those marks. Now, as you cut the board, because your circular saw guide is against the clamped board, your cut should remain straight.
Now it's time to cut some pallet boards for the sides (where the desk will sit into). Cut your boards to the same length as your top boards (approximately 4ft).

Follow the same procedure for the end pieces using the width of your desk top.
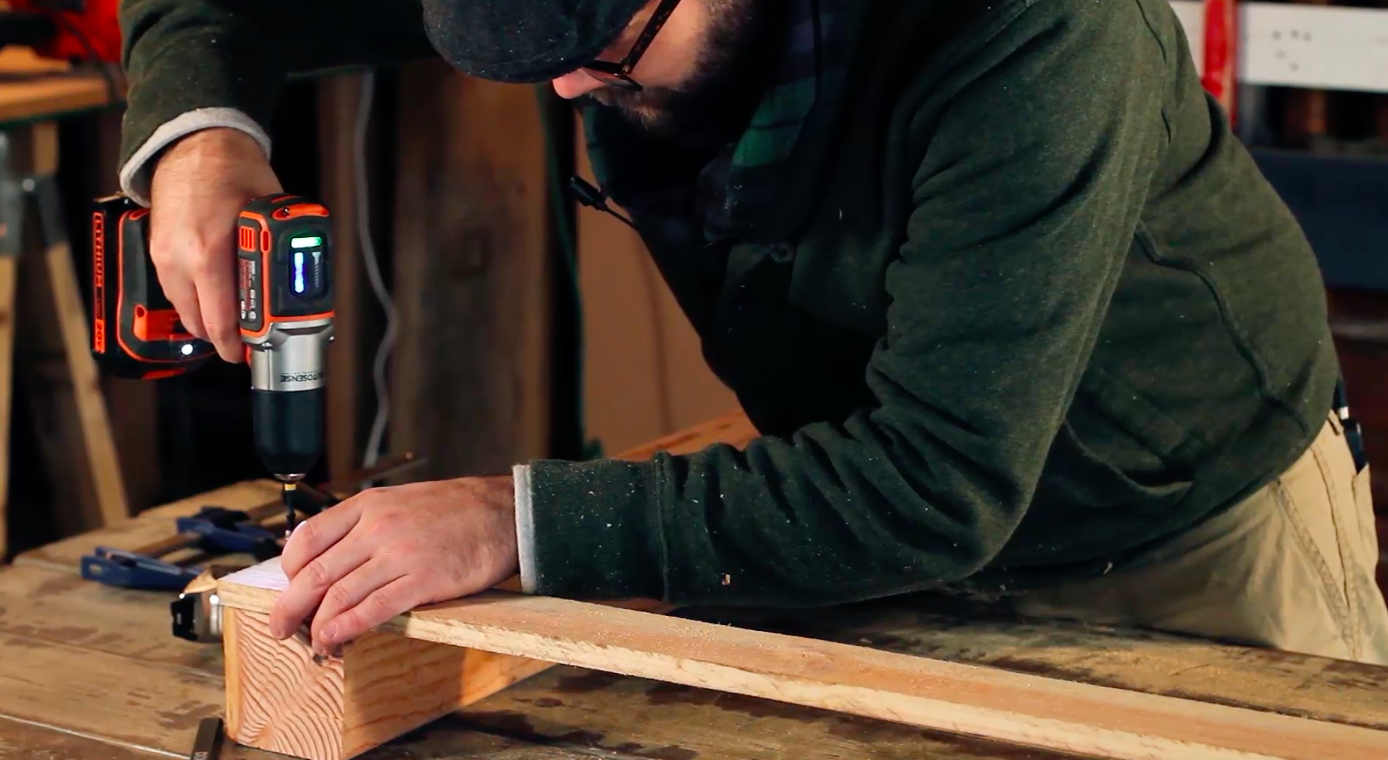
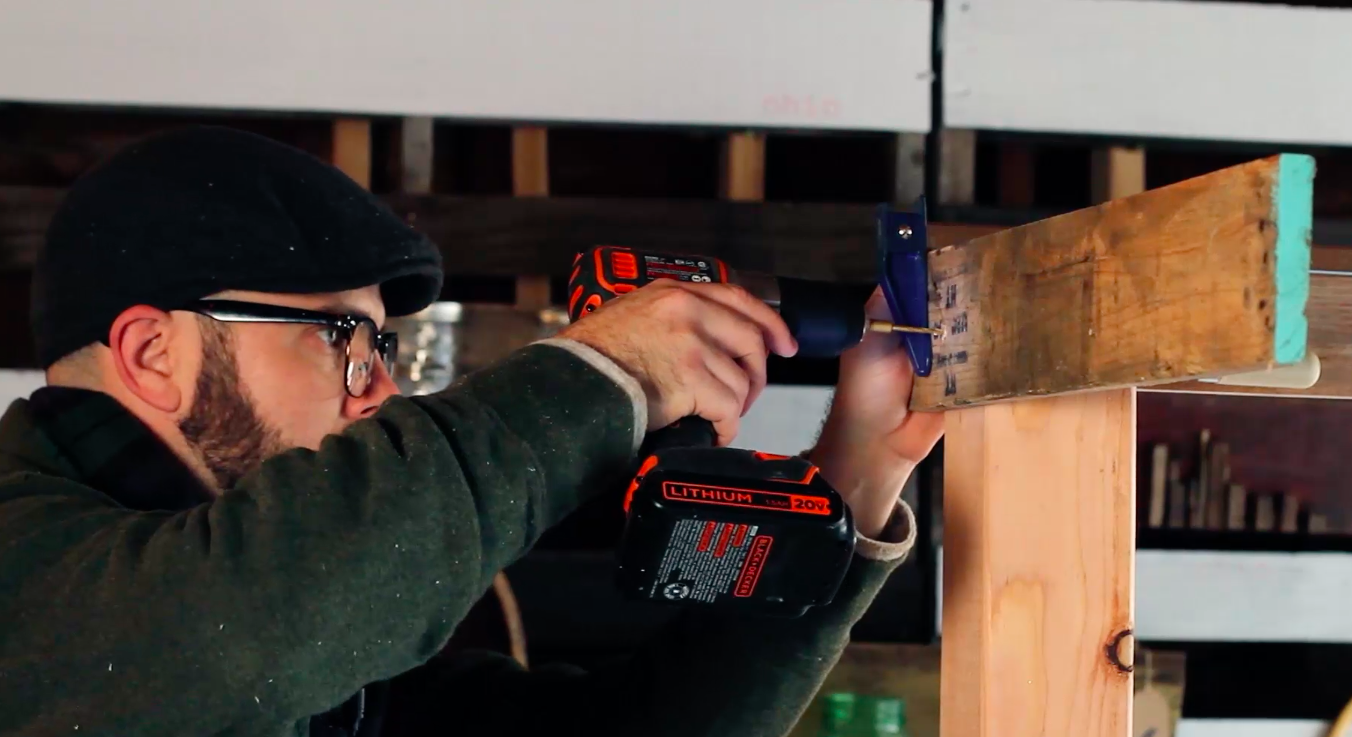
Time to attach the lengthwise boards. Use an1/8" drill bit for pilot holes, and attach the boards using an 1 5/8" screw. Allow the boards to hang over the top of your legs (about an inch) so your desk top can sit into it (see photo in step 5 for reference). Measure the board width of your desk top to get the exact measurement.
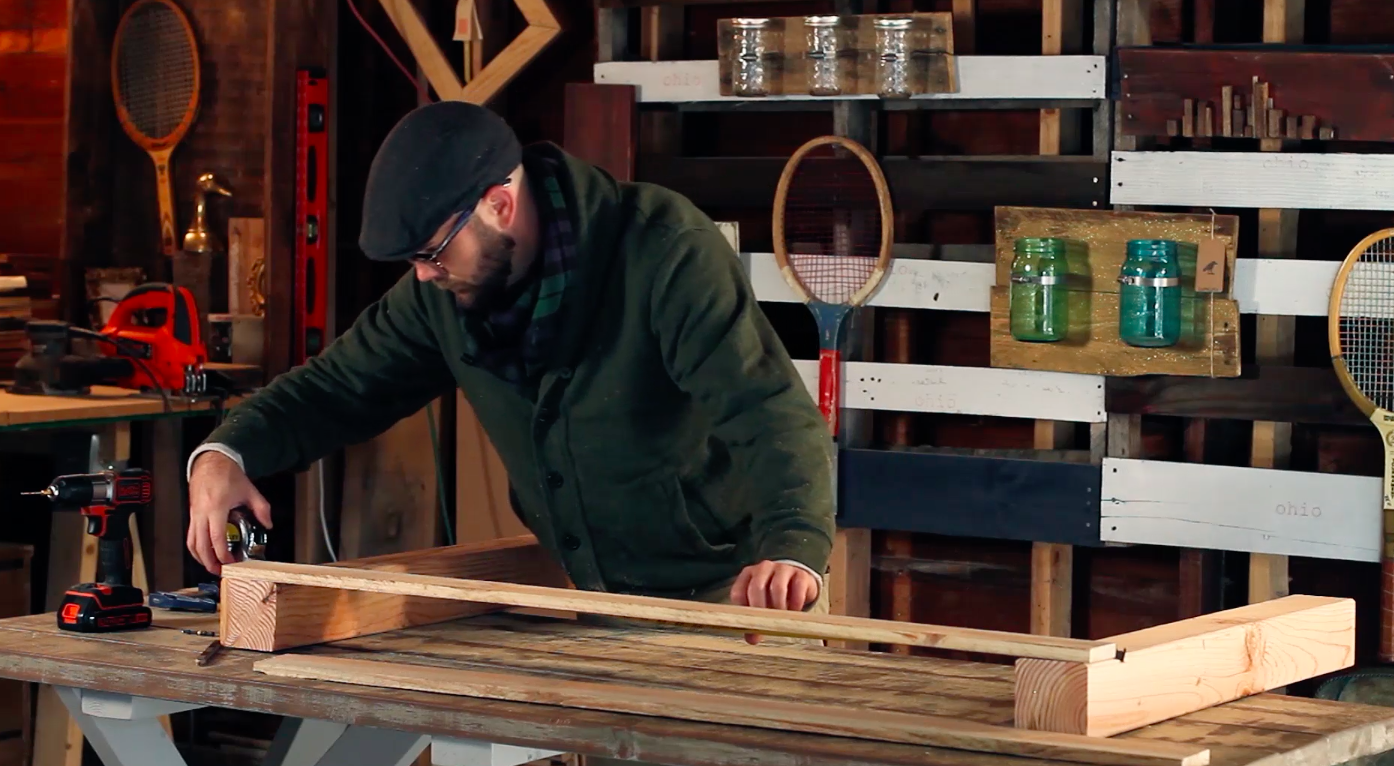
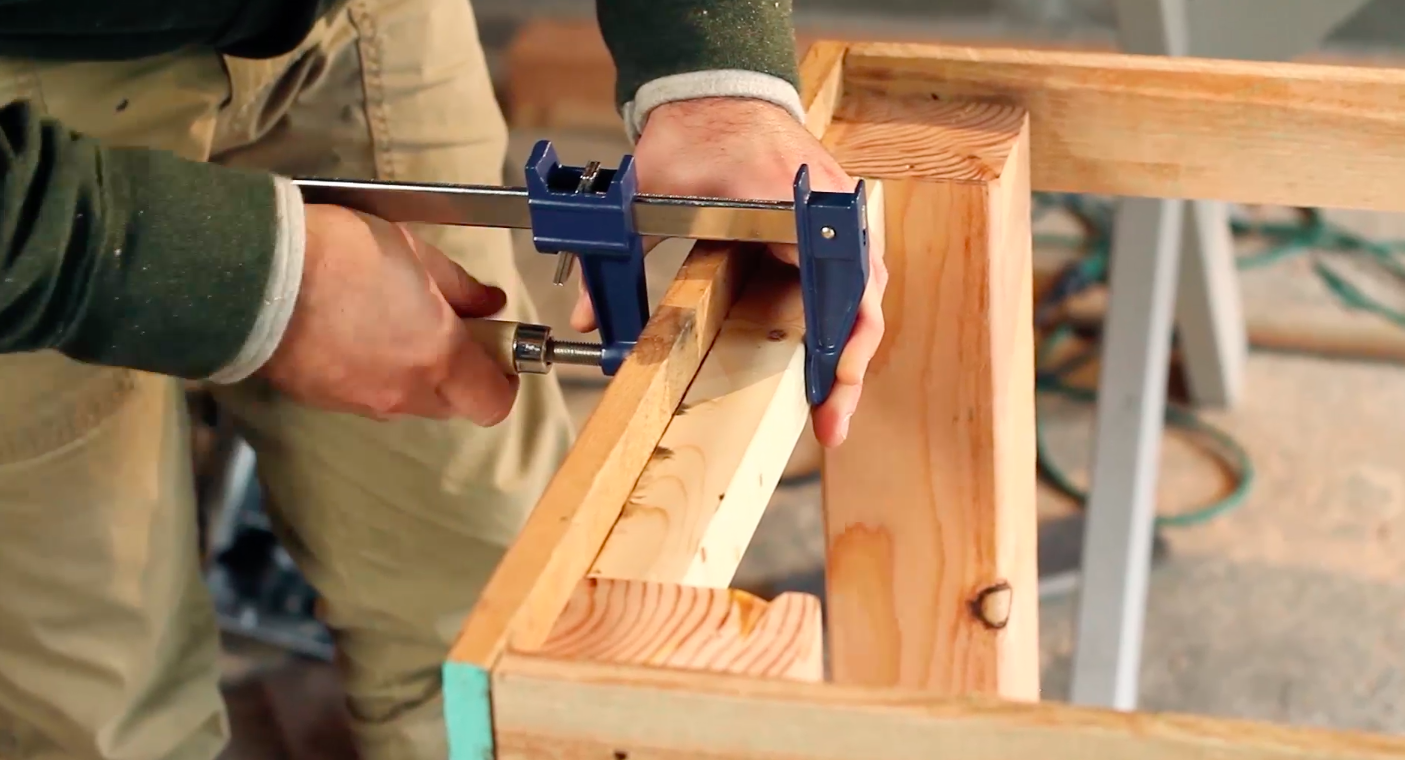
4. Assemble Desk Base
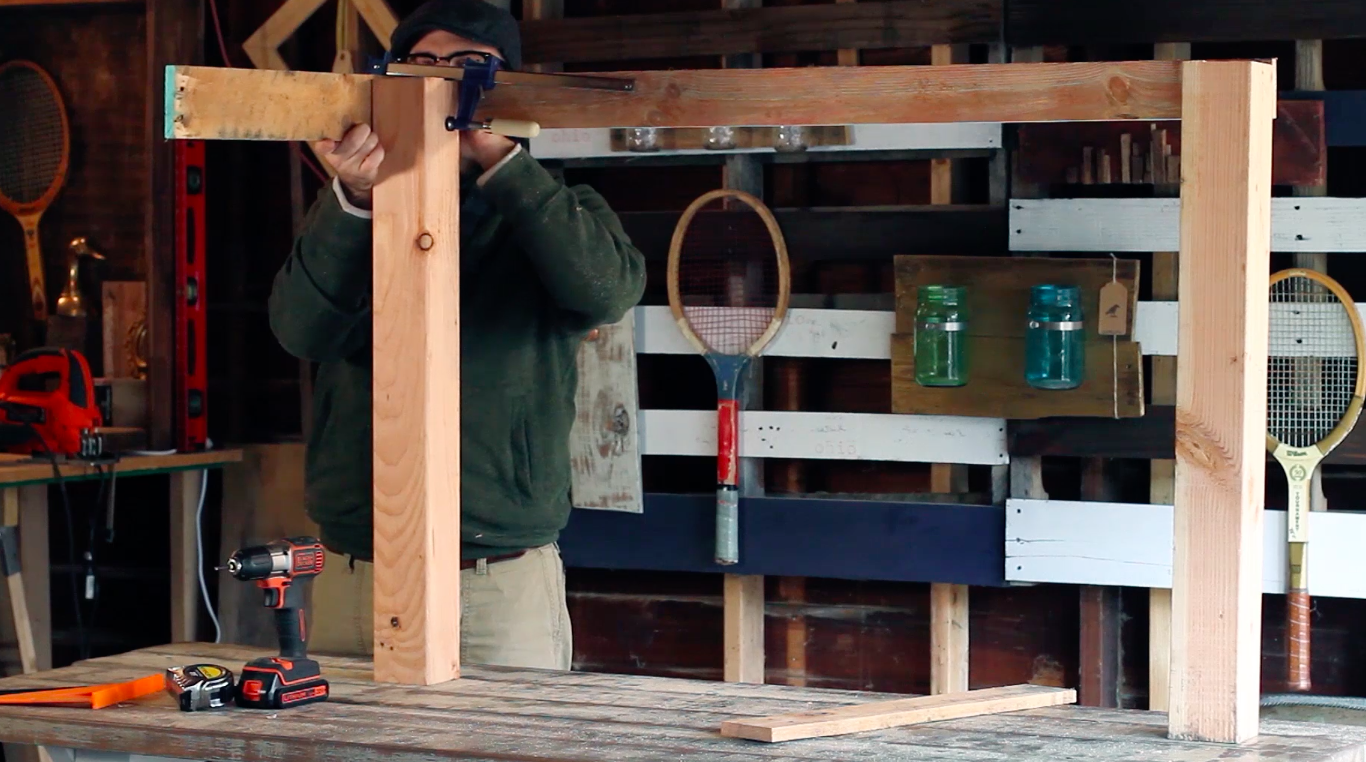
Clamp the boards cut to the width of your desk top.
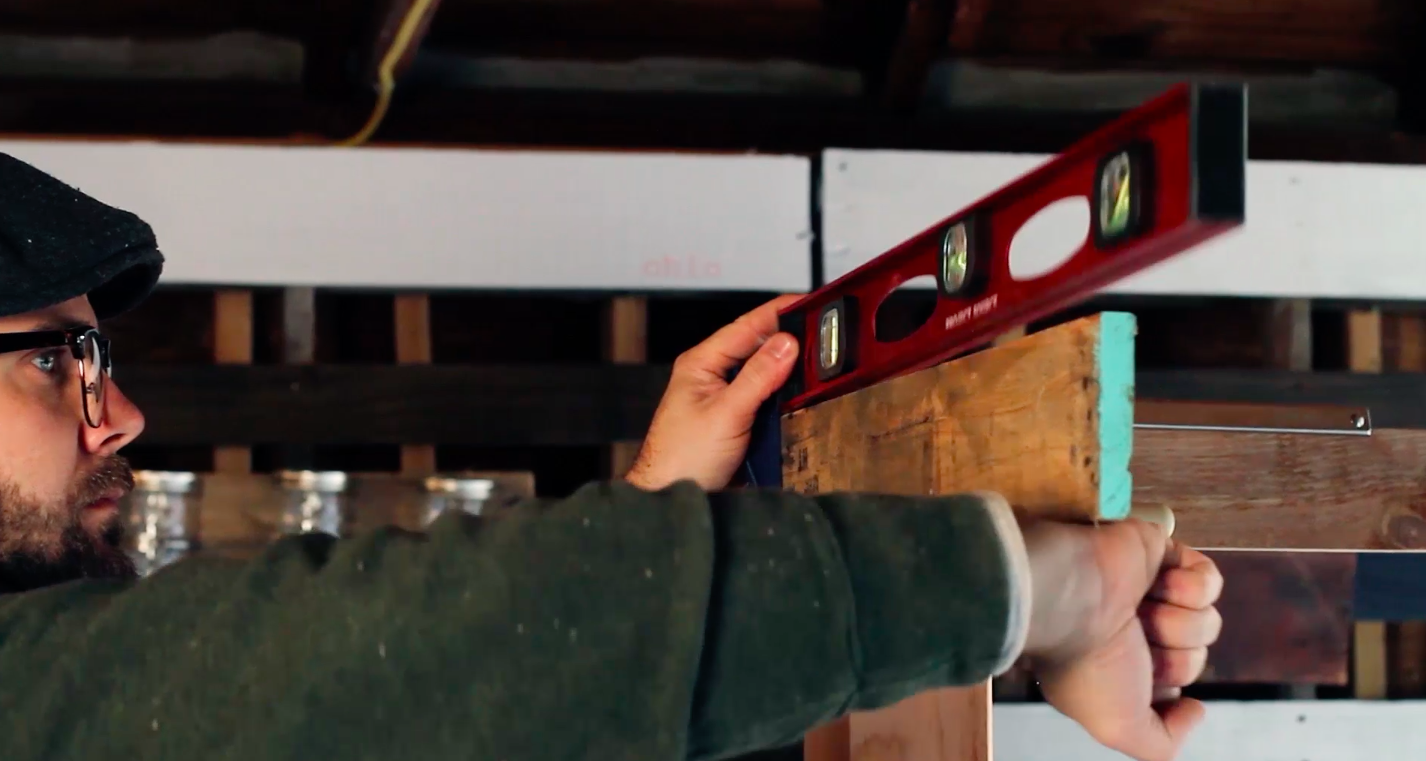
Use a level to ensure it's straight.
Now, pilot drill and screw the boards in place.
5. Add 2x2 Bracing for Desk Top

In order to attach the desk top to the base, the desk top needs something to screw into. Measure the distance between the legs on each end and cut two 2x2 boards to that length.
Clamp the boards so the top is the same height as the top of the legs. Pilot drill and attach using 1 5/8" screws.
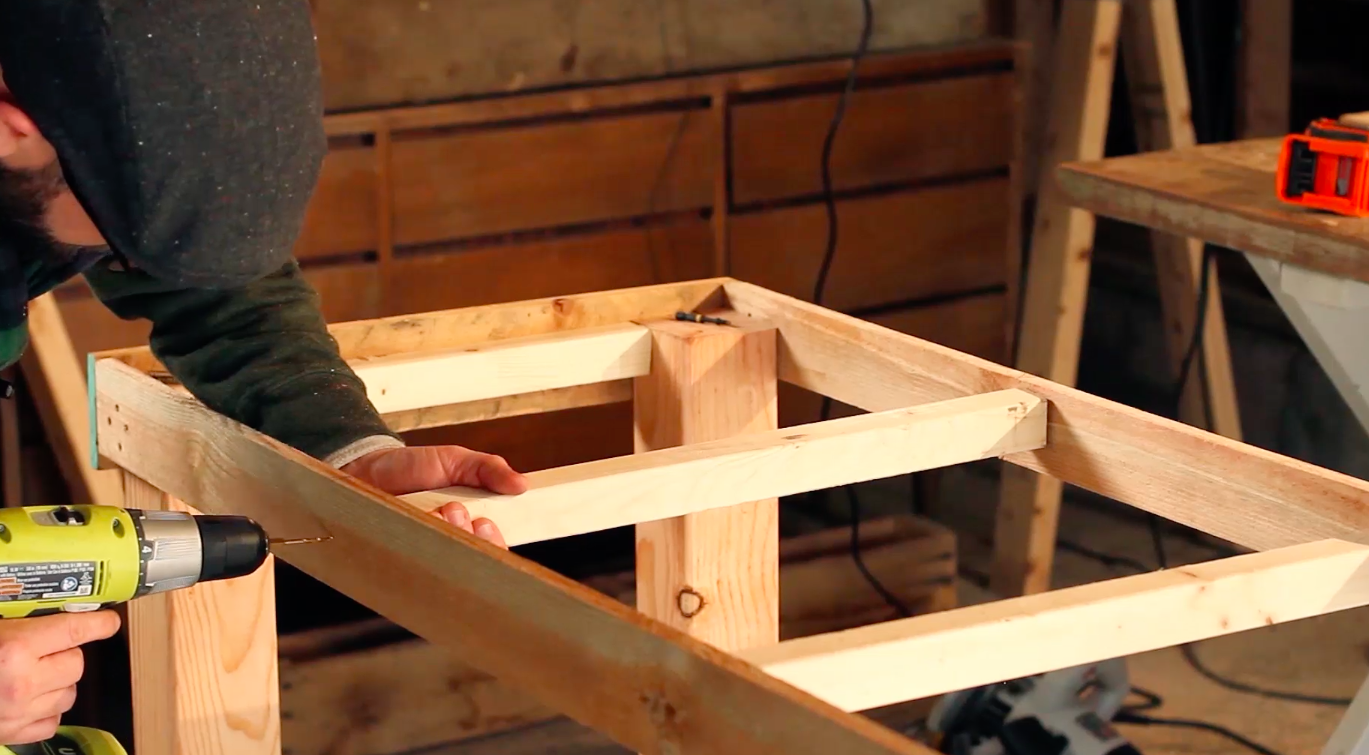
Measure and cut two 2x2 boards the same length as the width of your desk top. Pilot drill and attach using 1 5/8" screws. Ensure all the bracing boards are the same height.
Using a pencil, make a mark on the outside of your side boards directly in the middle of the two middle 2x2's. This will save some trouble later when you have your desk top in place and you can't see where the 2x2's are, and need to screw the desk top into them (see step 6).
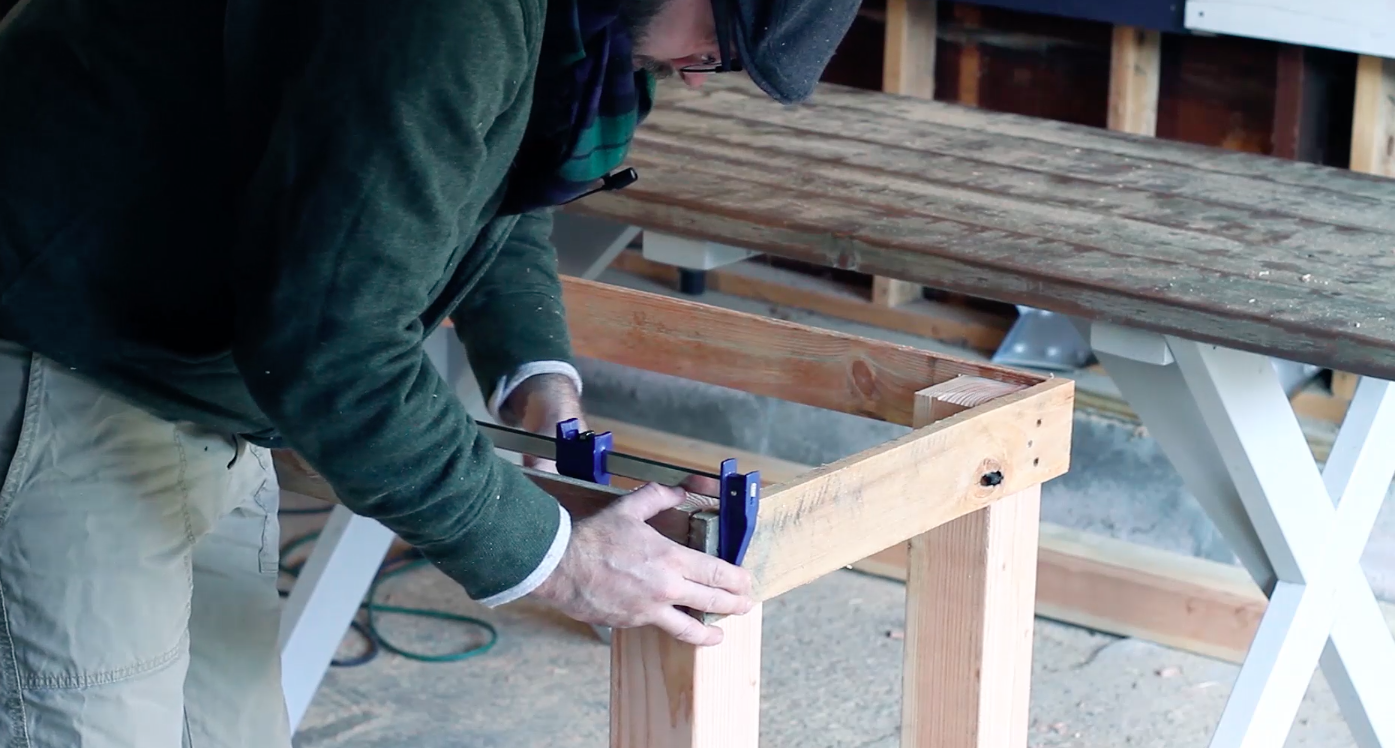
6. Add Leg Braces
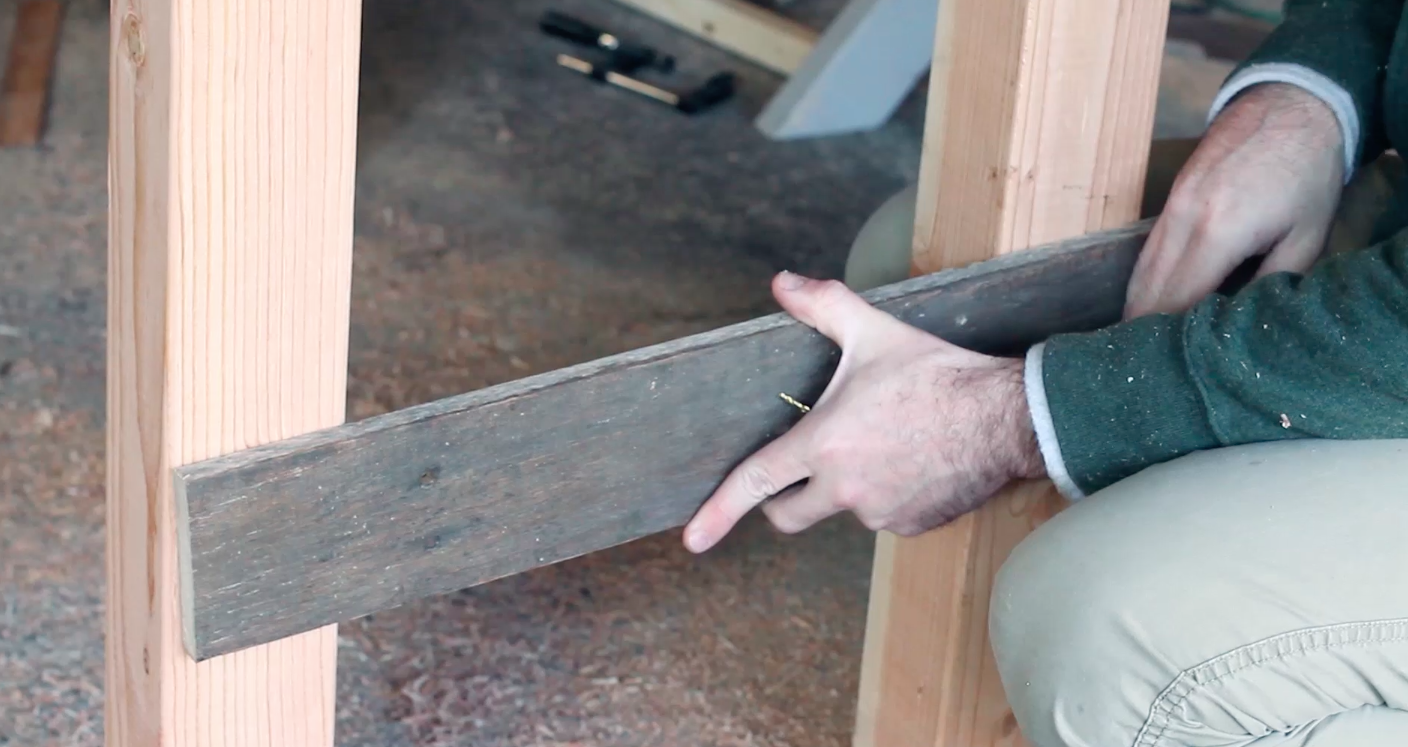
Because your legs are fairly long, you will want to add braces so they do not separate.
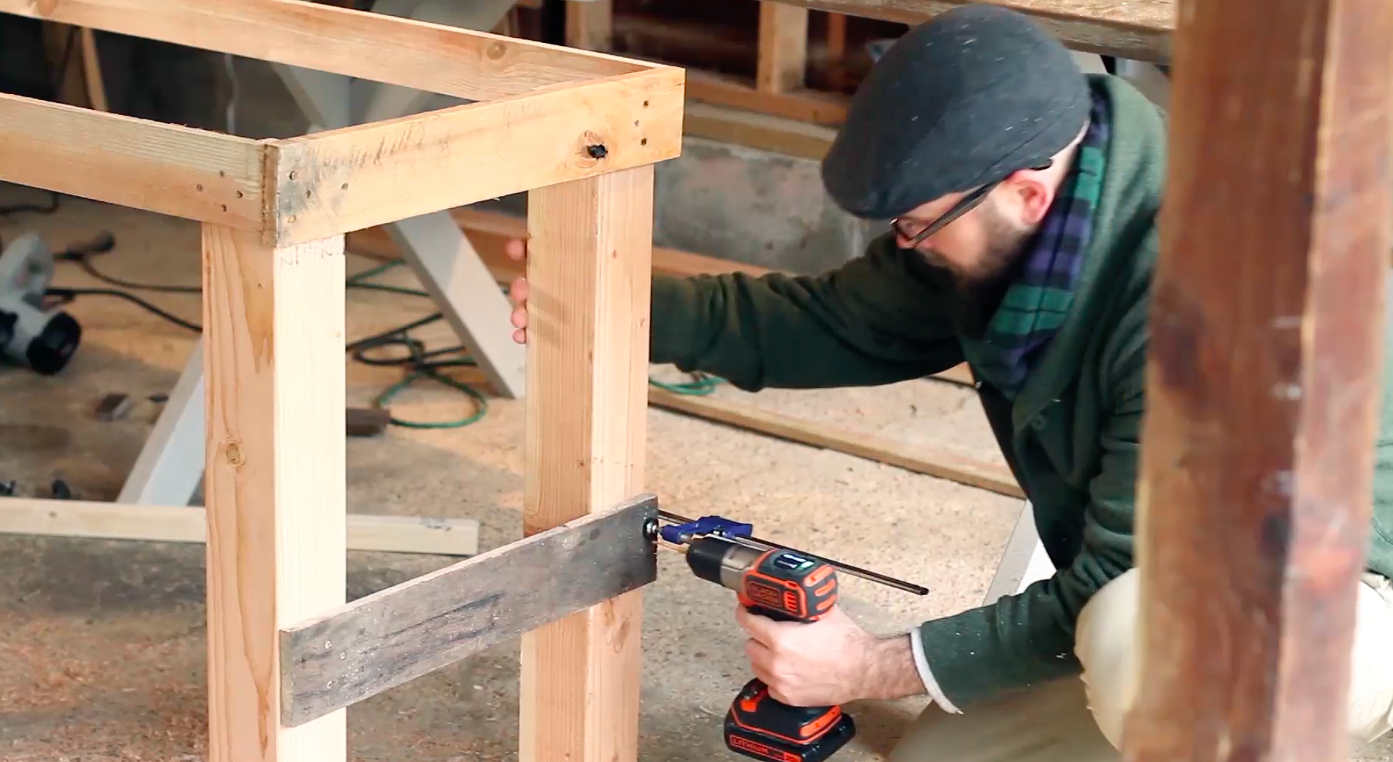
Approximately 3/4 of the way down the legs, measure the distance between the legs and clamp the board in place. Make sure the the boards on each side are the same height.

Pilot drill and screw in place.
7. Attach Desk Top
Now it's time to attach the desk top. First, loosen the screws on one side of the leg base. This will give your desk top a little room to fit snuggly into place.

Once the desk top is in, re-secure the screws on the leg base.

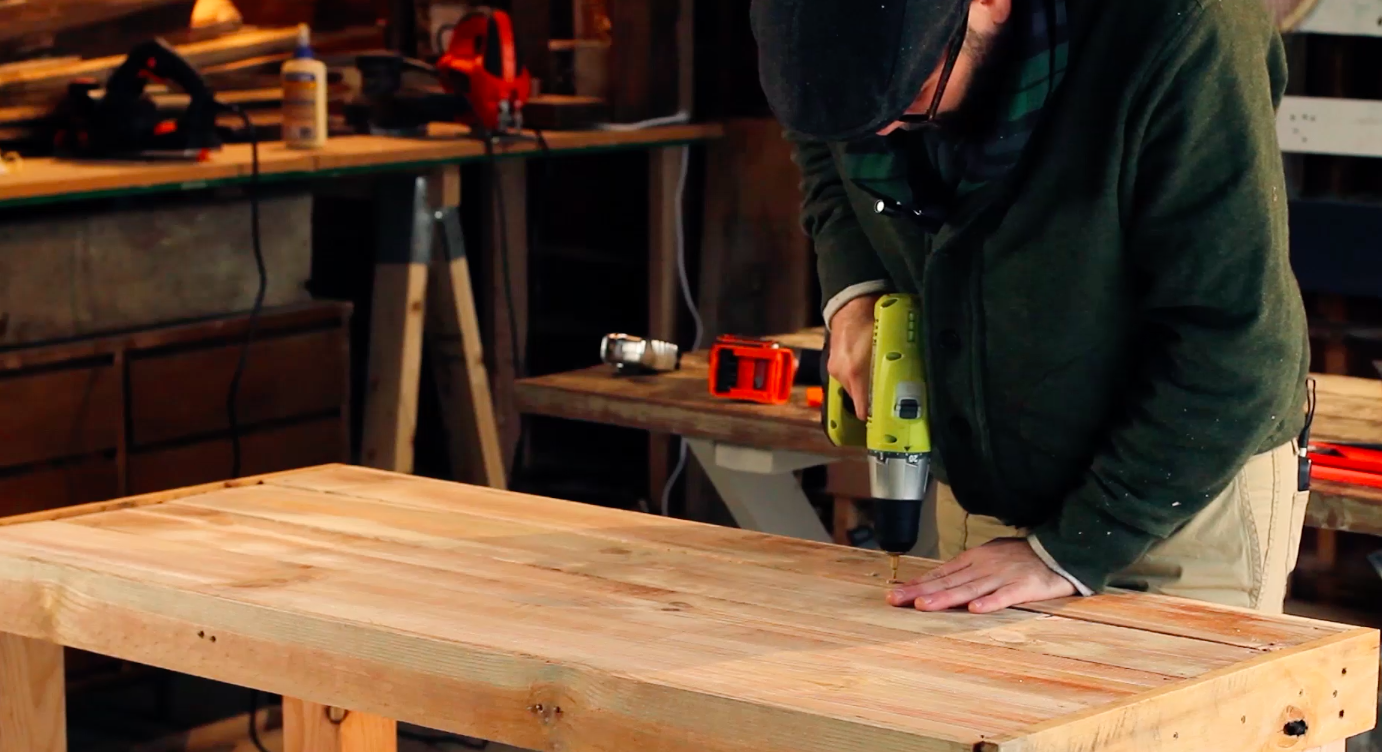
Pilot drill the holes on each end of your desk top, and attach using 1 5/8" screws.
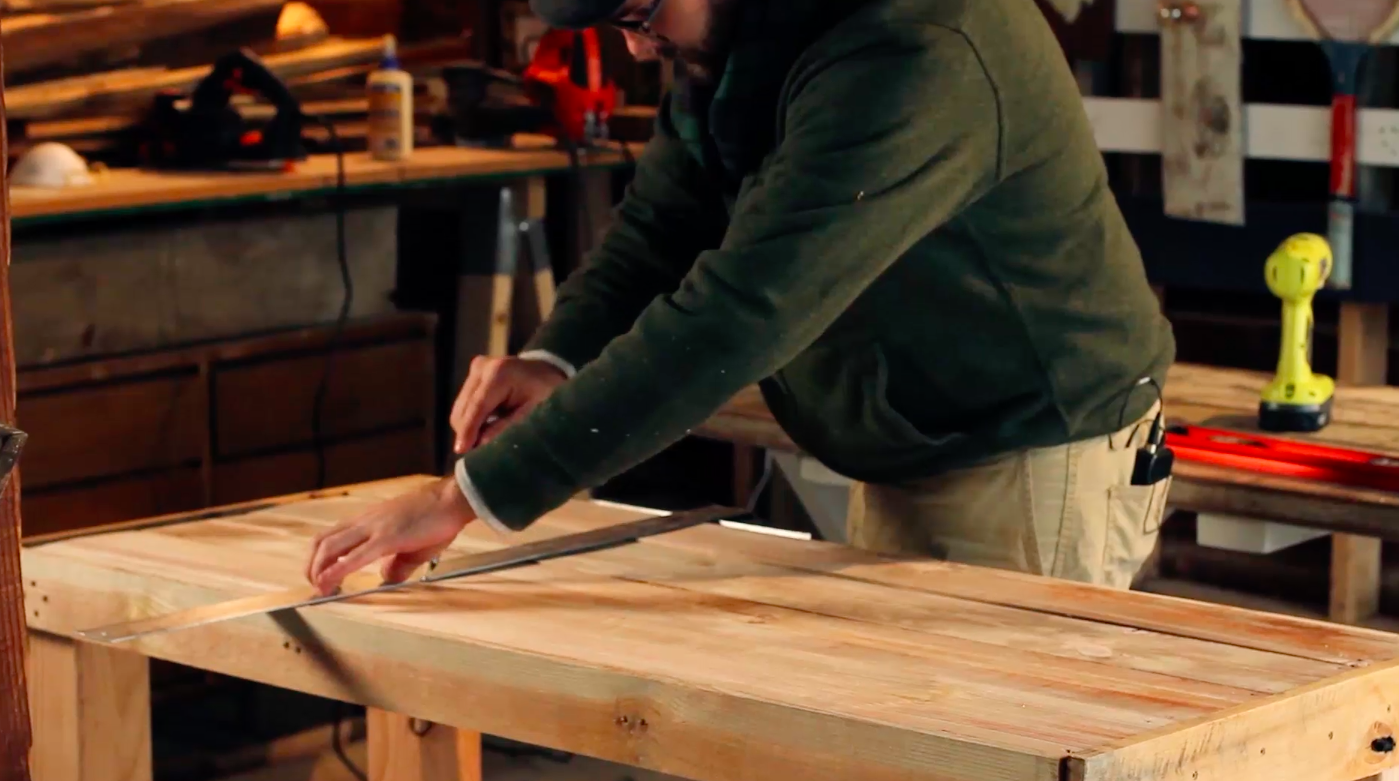
Now you want to attach the desk top to the 2x2 boards you placed in the base earlier. Using the marks you made in step 5, draw a line between the marks on each side using a straight edge. Now you know where to drill pilot holes and attach using 1 5/8" screws.
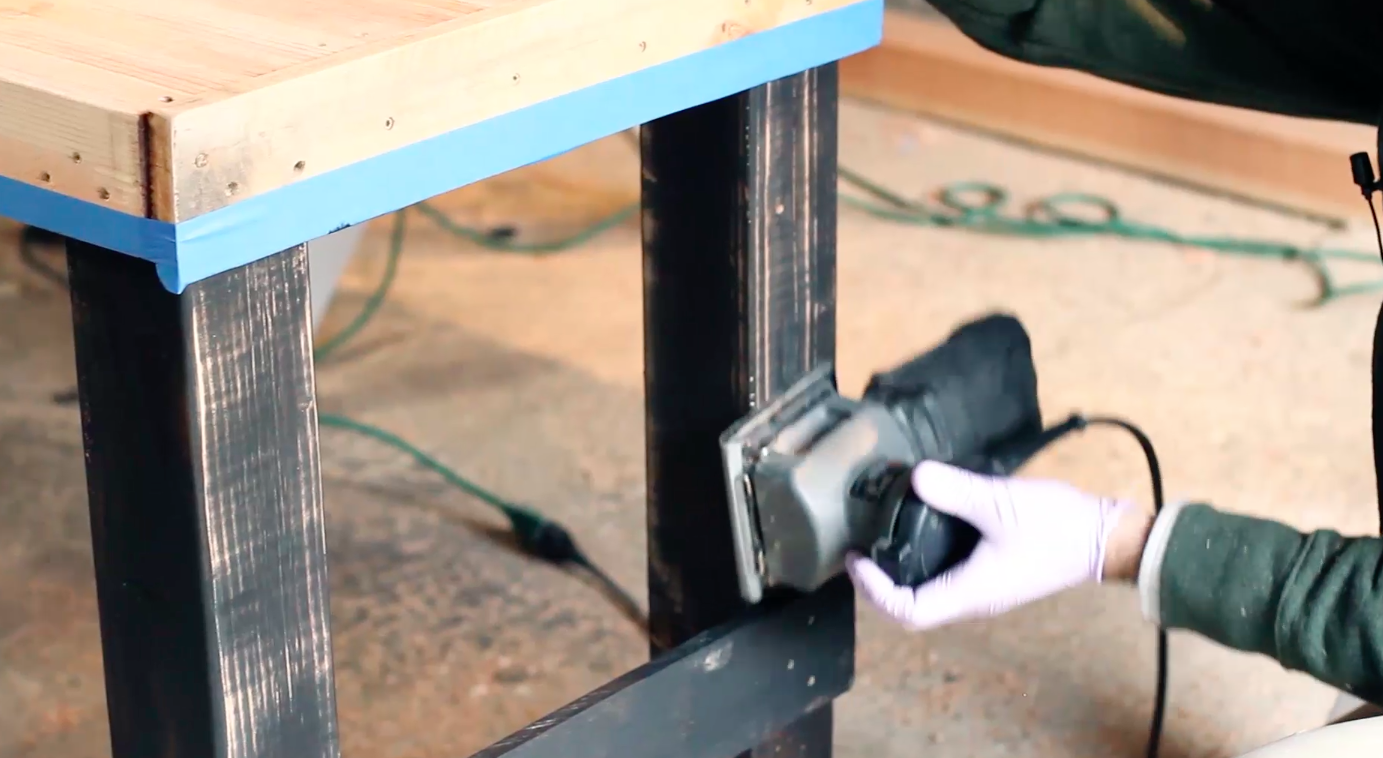
8. Sand, Stain, and Polyurethane
Sand, Sand, Sand
This is purely preference, but I like to add stain to the legs and let it dry before sanding them again to bring out the wood grain. Then I add a last coat of stain, and it gives the legs some contrast.
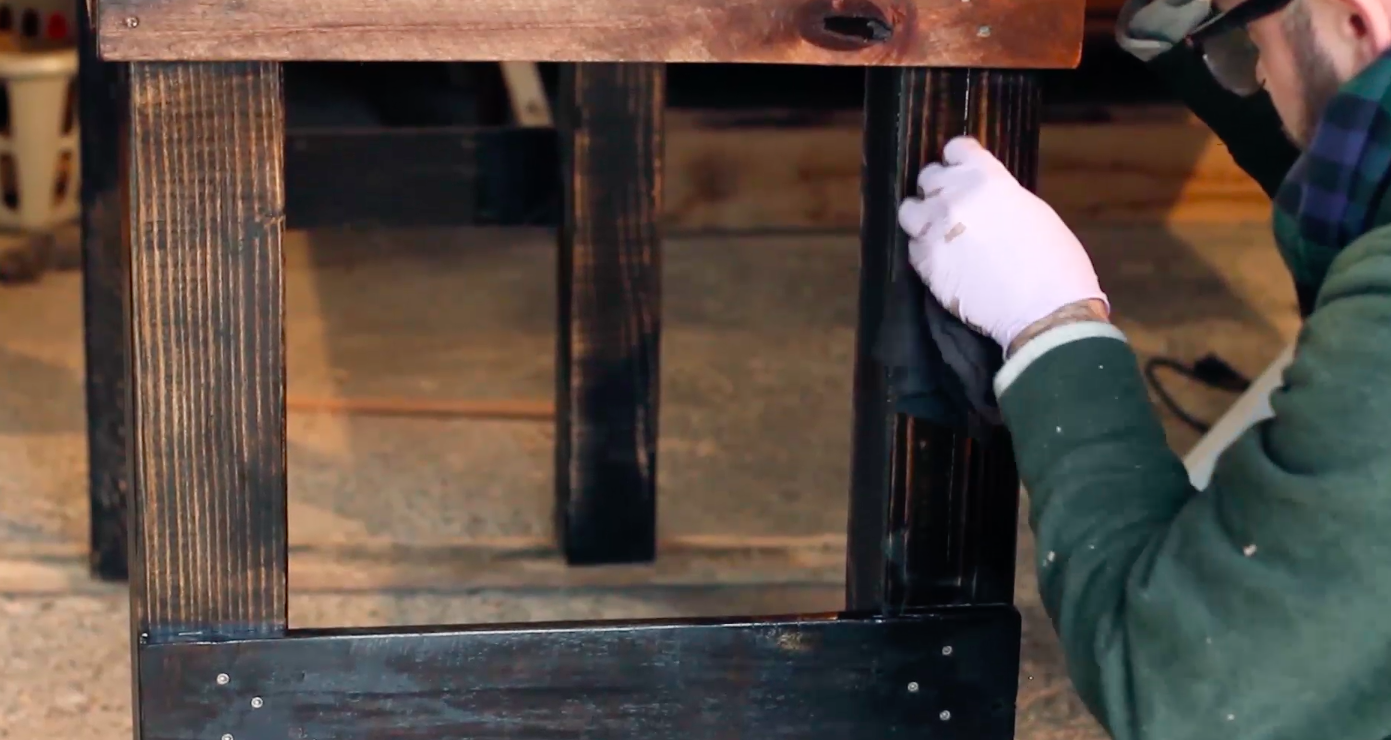
I prefer to wipe on stain with a rag or old t-shirt.
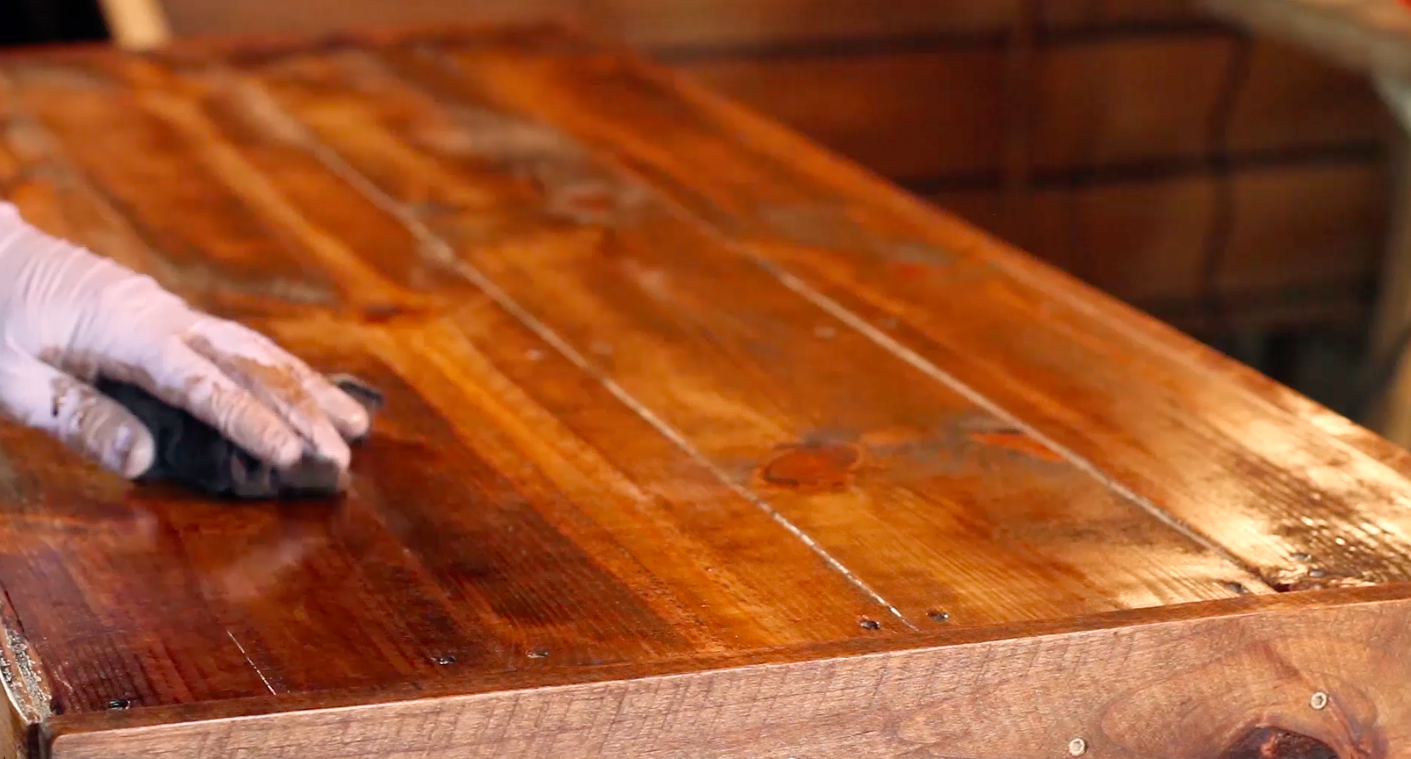
This particular color of stain is called "Old American" from Minwax.

Use a brush to ensure you get the stain between all the boards and cracks.
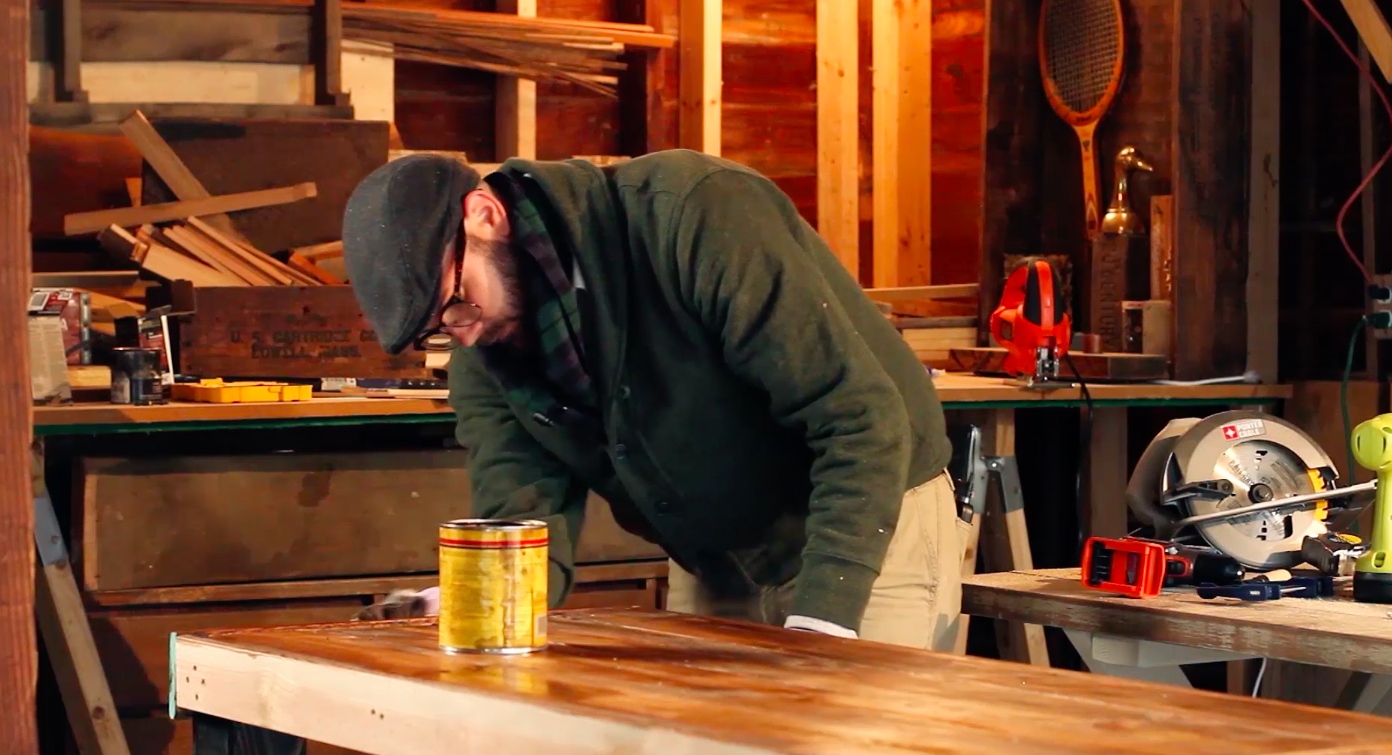
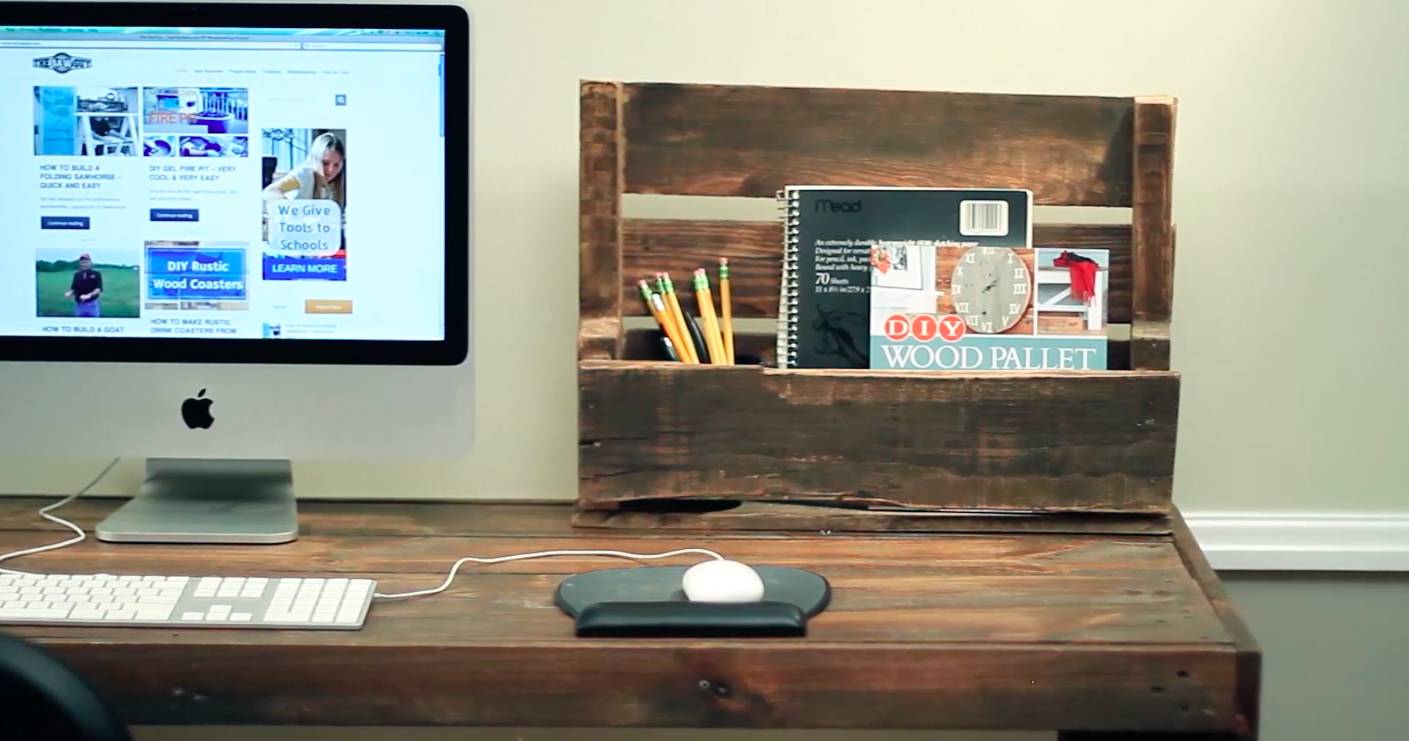
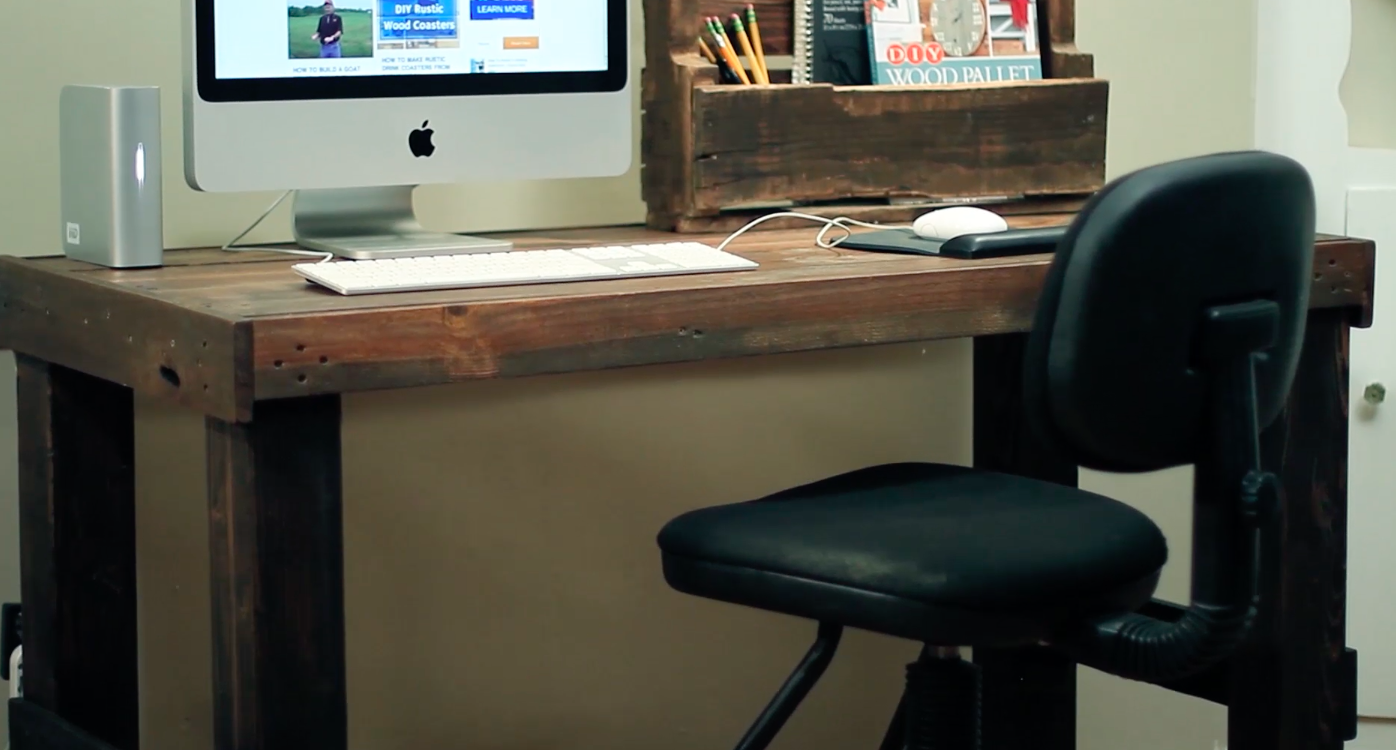
9. You're Finished!
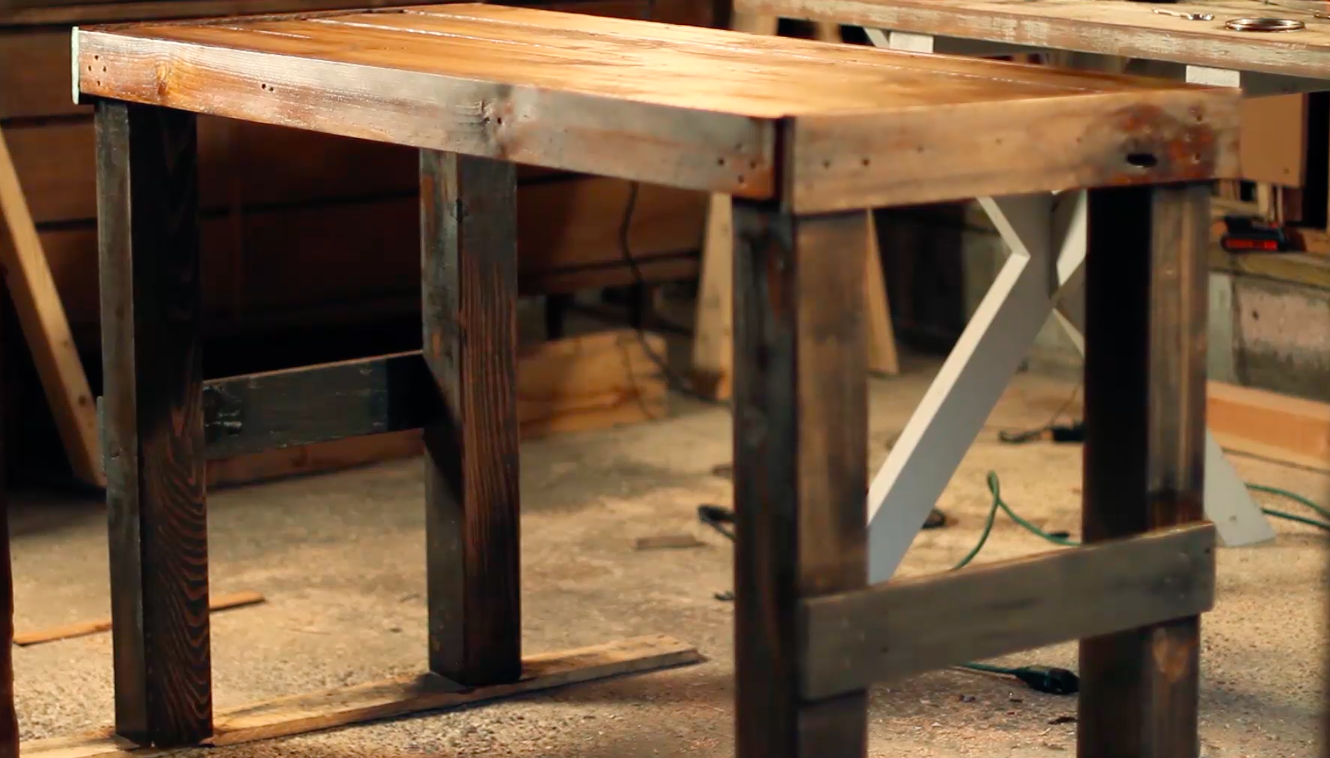
Now, it's time to enjoy your rustic desk that is sure to turn some heads.
Please note, if you prefer to not allow the screw holes to show, you can apply some wood putty and let it dry for a few hours. After it is dry, just sand it down and continue with step 8.