Project Summary
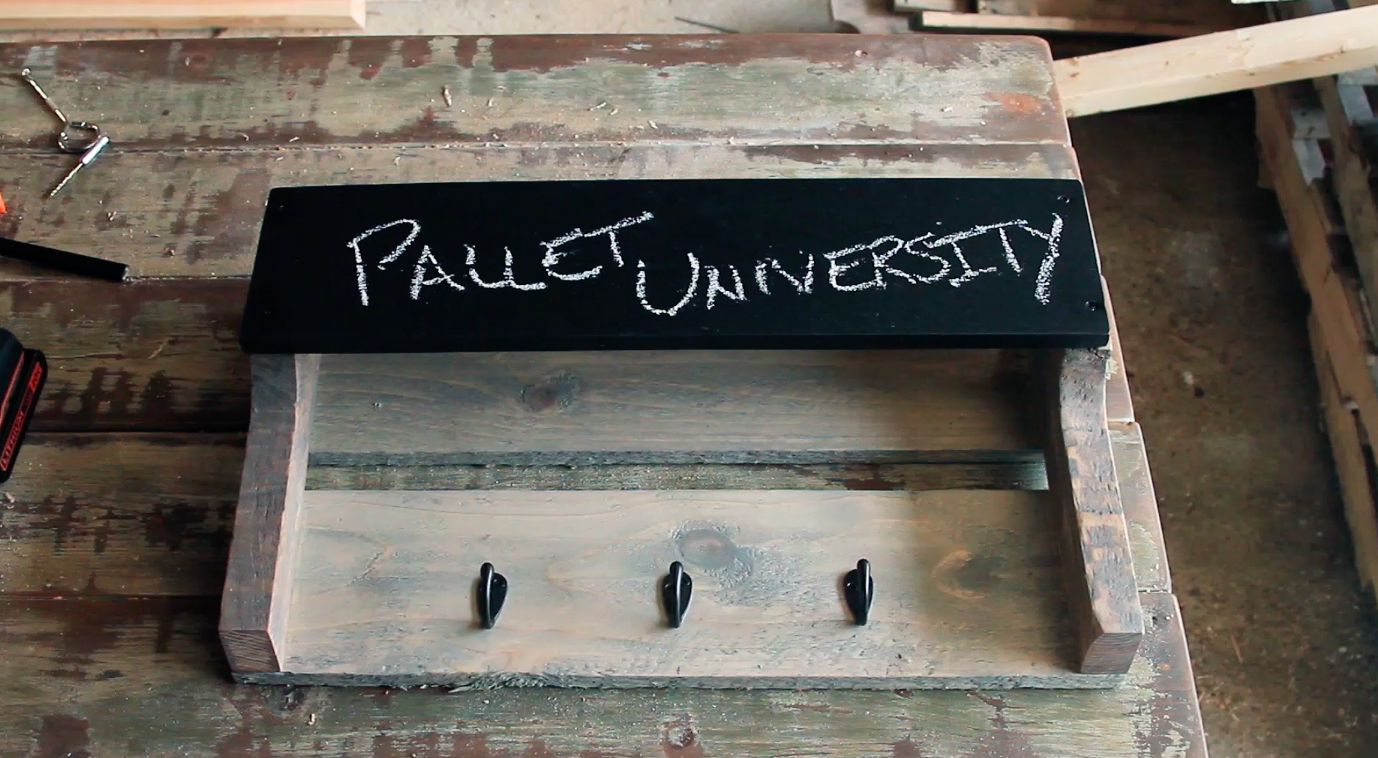
This rustic farmhouse coat hanger is very easy and an extremely satisfying project. The blackboard element adds that little icing on the cake. Time to transform some old pallet wood into a functional Coat Hanger that will set the tone for the day.
Level of Difficulty
Materials Required
- Pallet Wood
- 1 5/8" Screws
- Blackboard Paint
- Stain
Time to Complete
Tools Required
- Drill
- Paint Brush/Paint Roller
- Orbital Sander
- Circular Saw
- Tape Measure
VIEW FULL CUT LIST
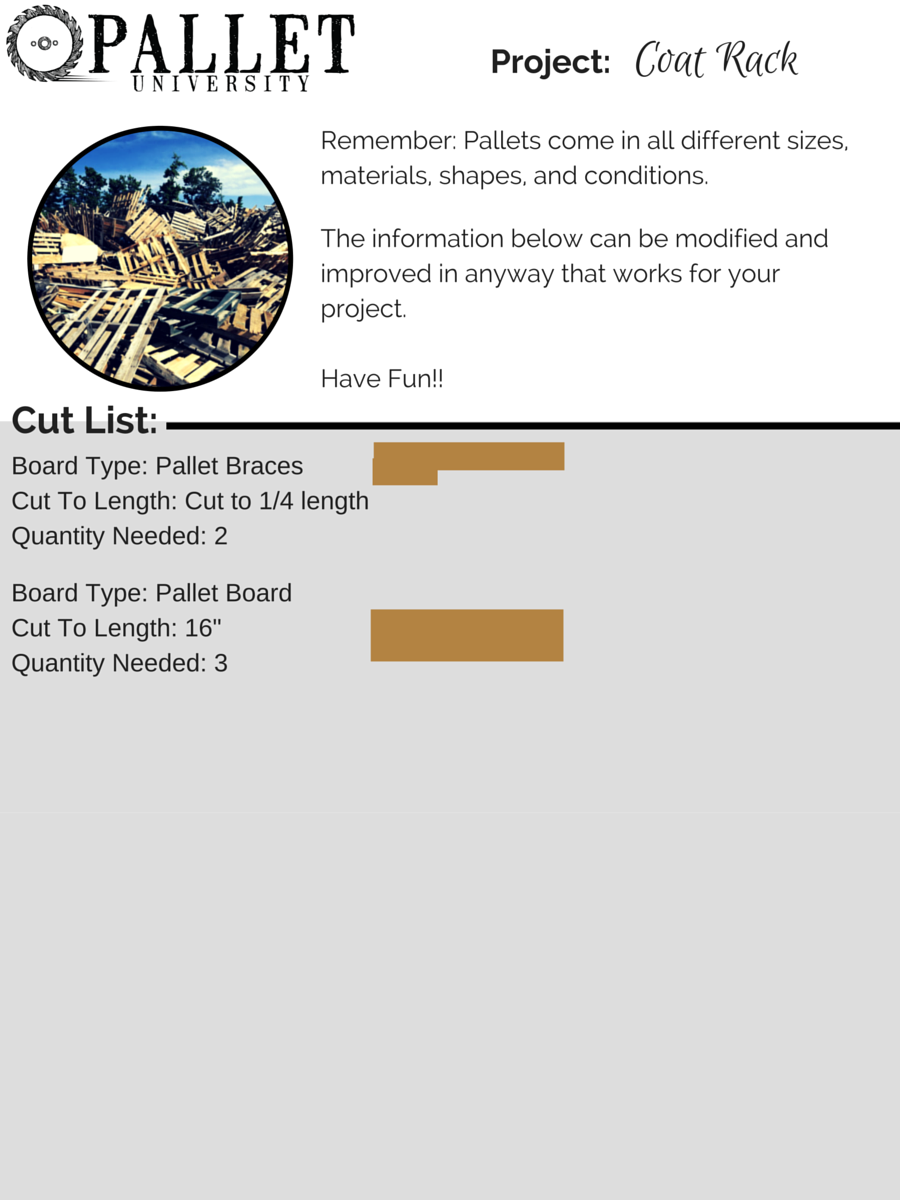
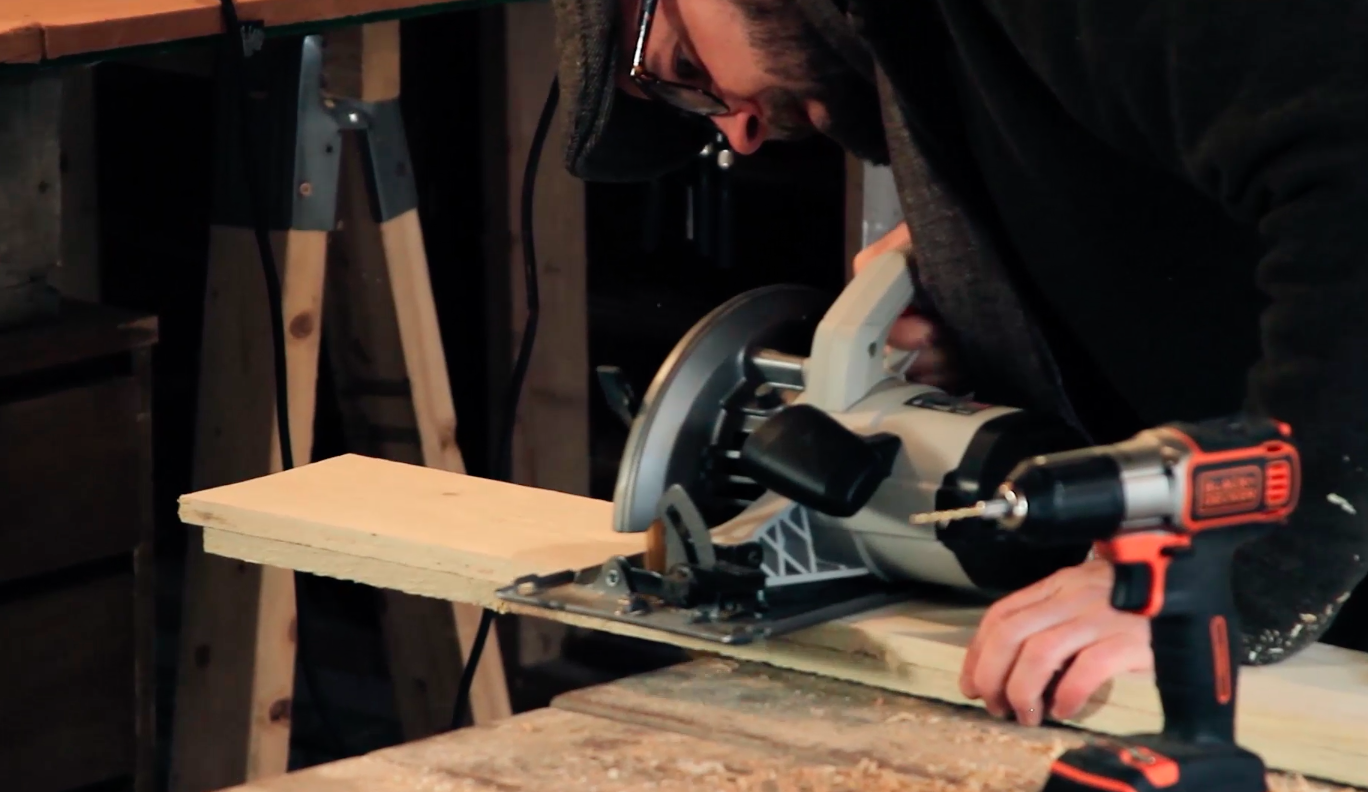
1. Cut Pallet Bracing Board
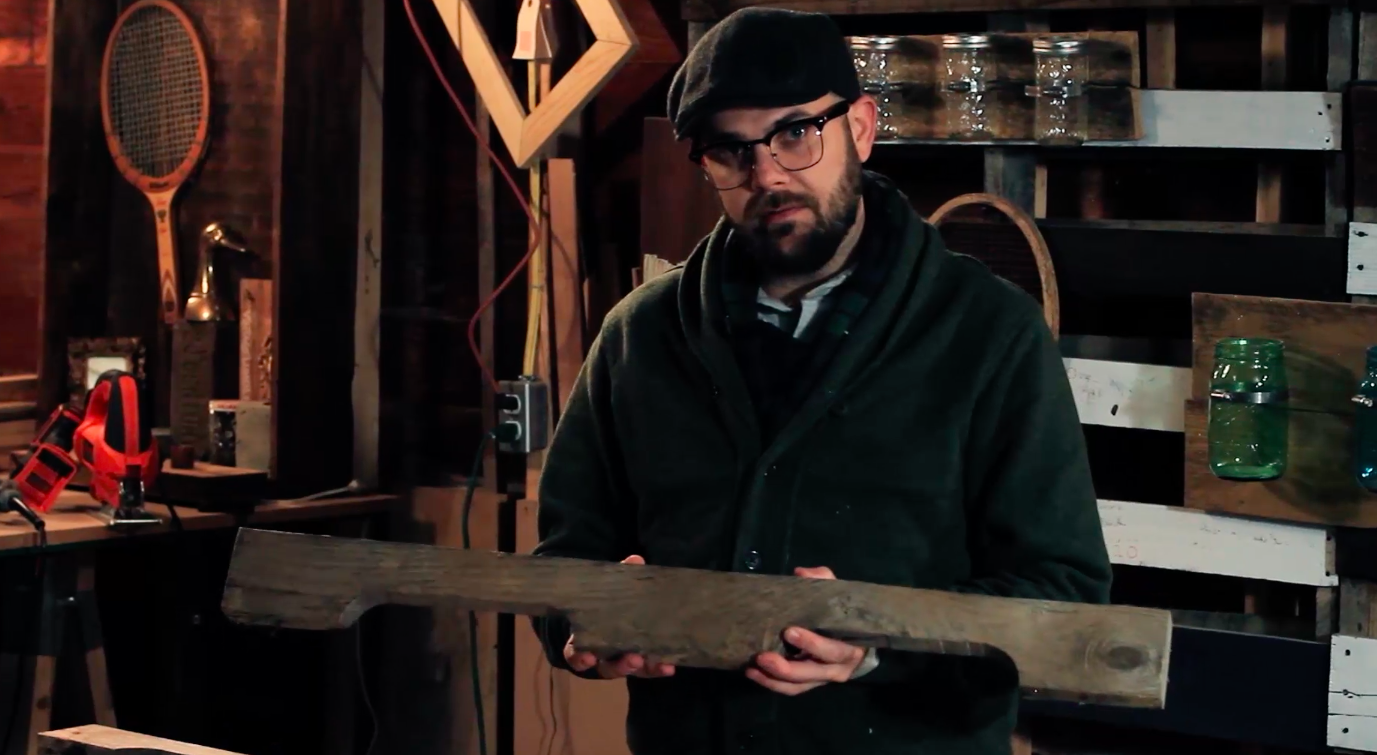
These are generally the boards in between the bottom and top boards. They essentially have two coves cut out to enable a forklift to pick them up.
Cut the board right above the middle part as shown in the picture above.

This doesn't always work, but if your boards aren't too thick you can clamp them together and cut them at the same time. This will guarantee they are the same length. However, if the boards are too thick, you can still follow the same procedure and the blade will score the bottom board so you know exactly where to cut.
2. Measure and Cut Front and Back Boards

For this particular coat hanger the width is about 21.5. Per usual, you can make yours whatever length you feel is right for your space.

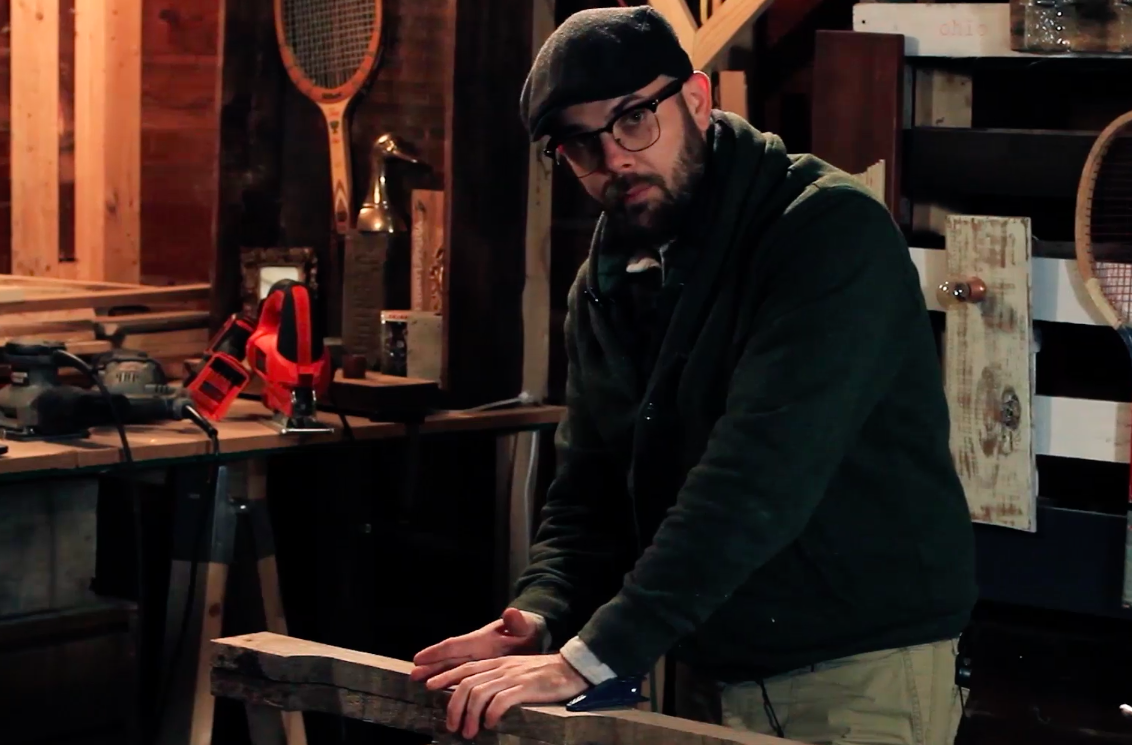
3. Sand


Time to sand. You don't have to make the wood perfect, but you do want to sand enough to ensure the boards are splinter free and fairly smooth. Sanding also gets rid of most of the grime and dirt that pallets tend to collect over time.
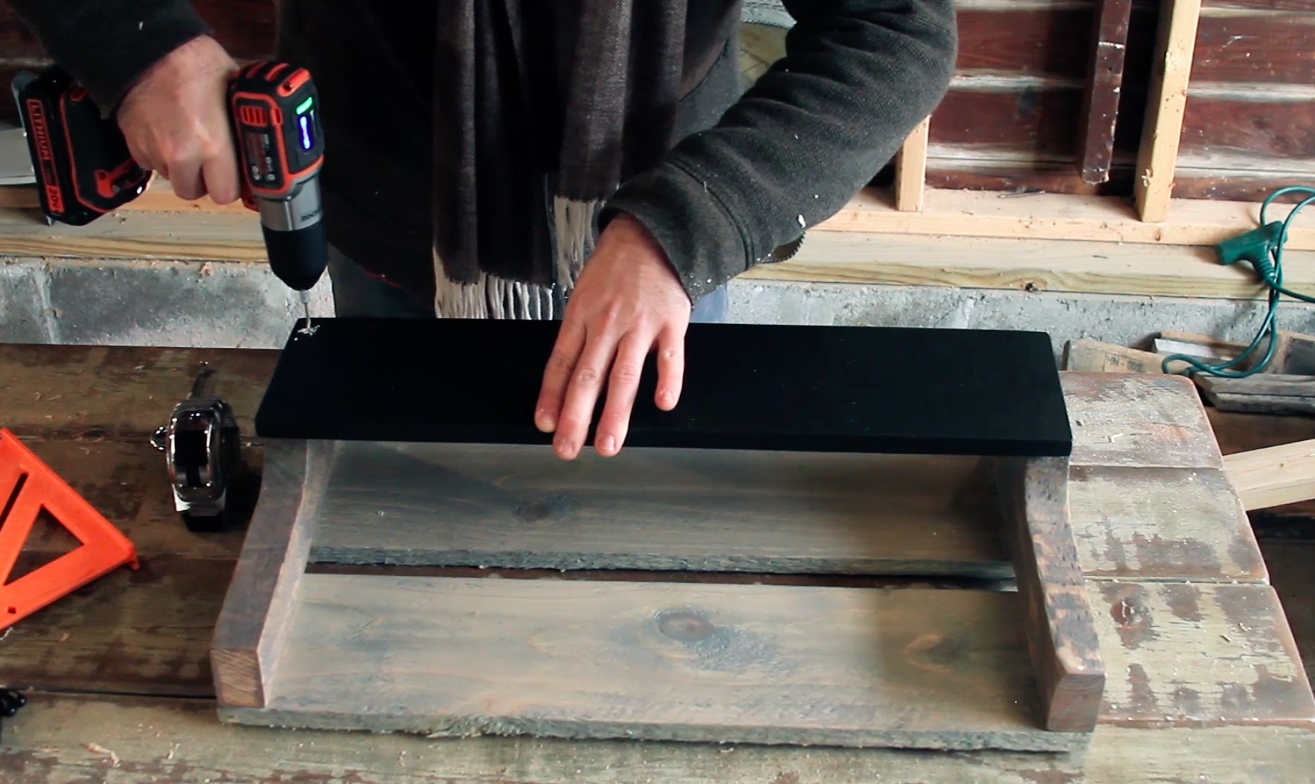
4. Apply Blackboard Paint to Message Board

Now, take one of the three boards you cut to 21.5" and apply some blackboard paint with a roller. You can use a brush, but because it will be a functional message board, I find the roller creates a more even surface.
5. Attach Back Boards
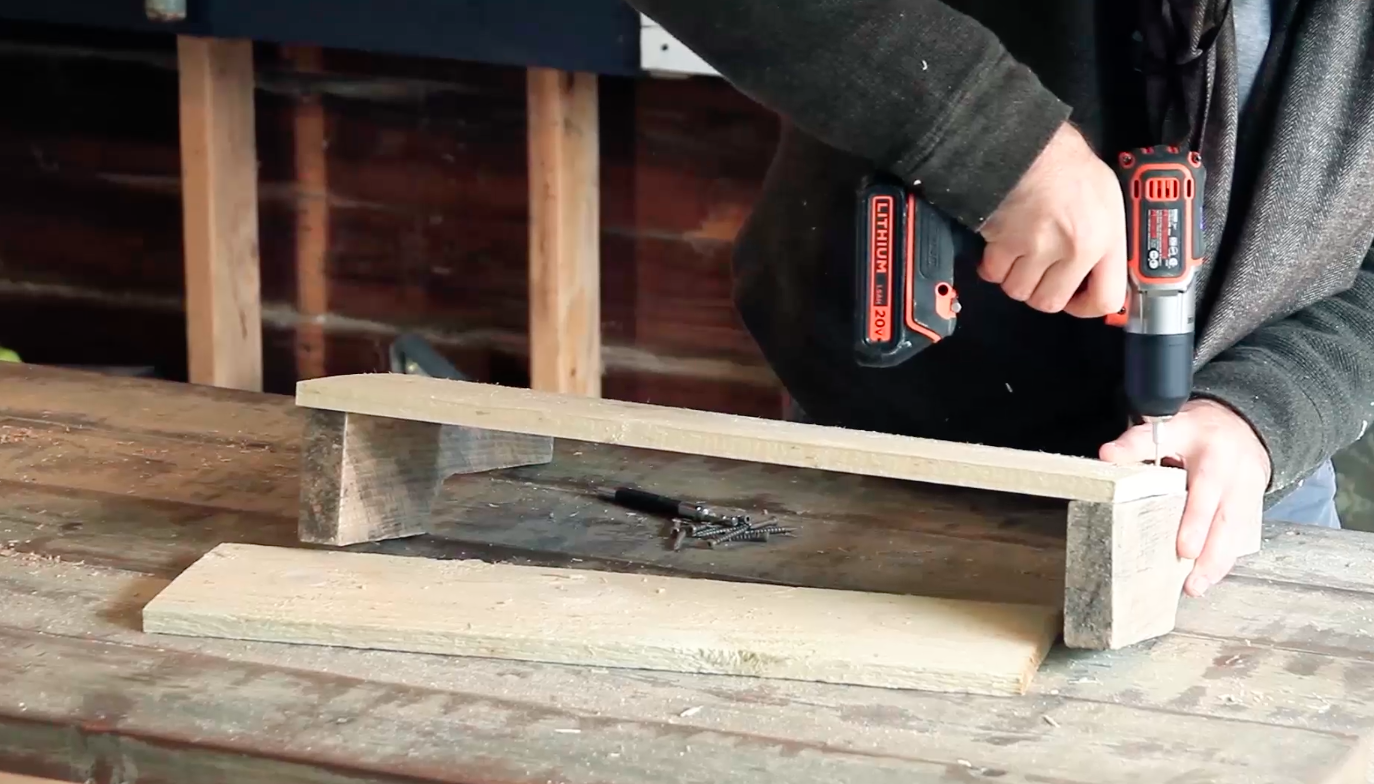
Pre drill the boards with a 1/8 inch drill bit.
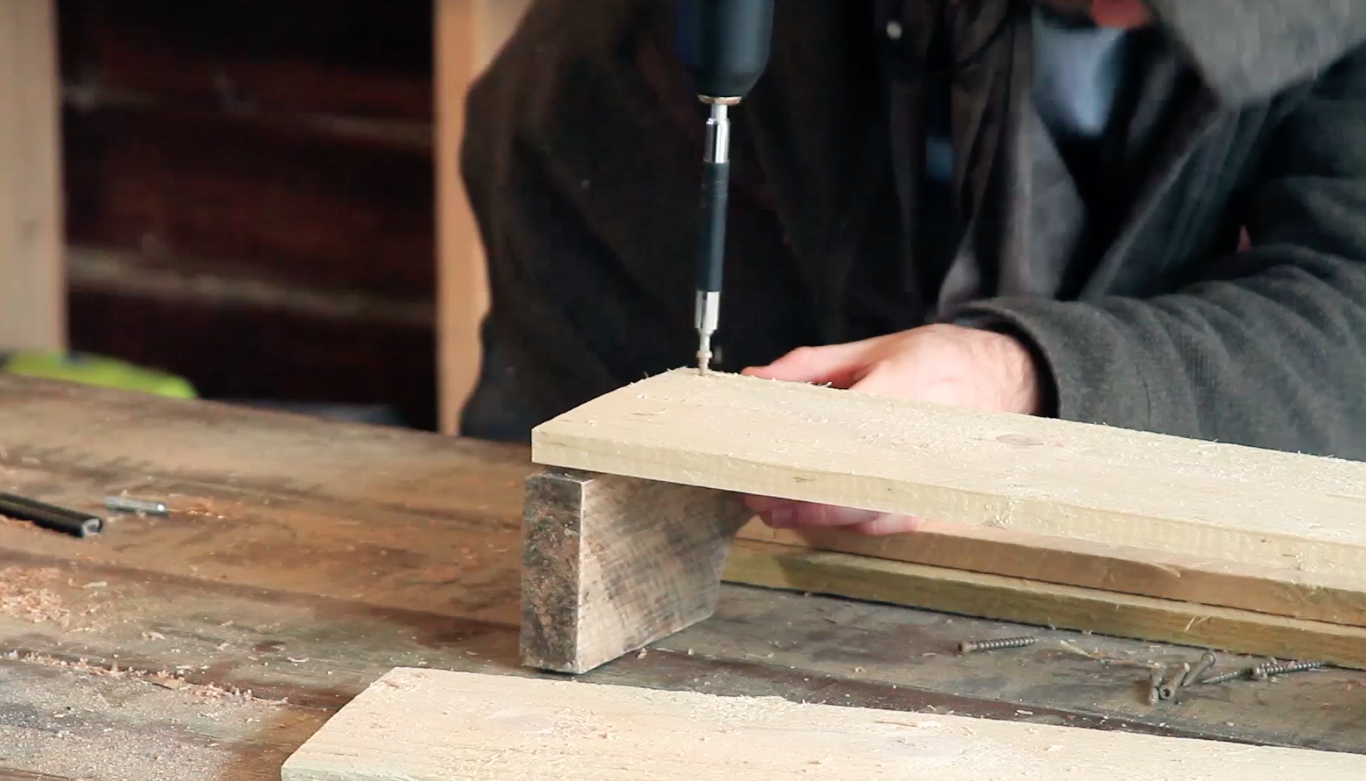
Attach the back boards using an 1 5/8" screw.
Once the boards are attached, you can apply a coat of stain.
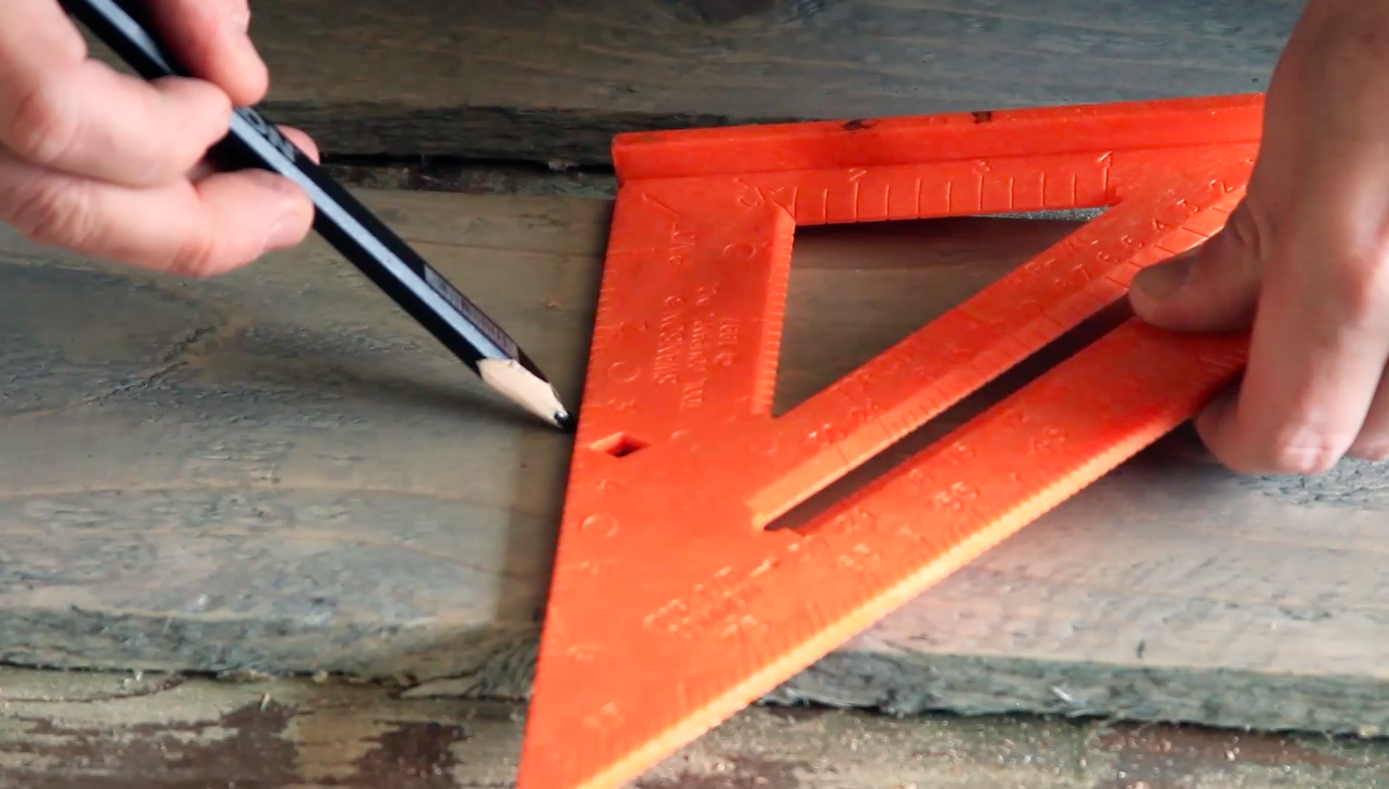
6. Drill Holes for 16" on Center
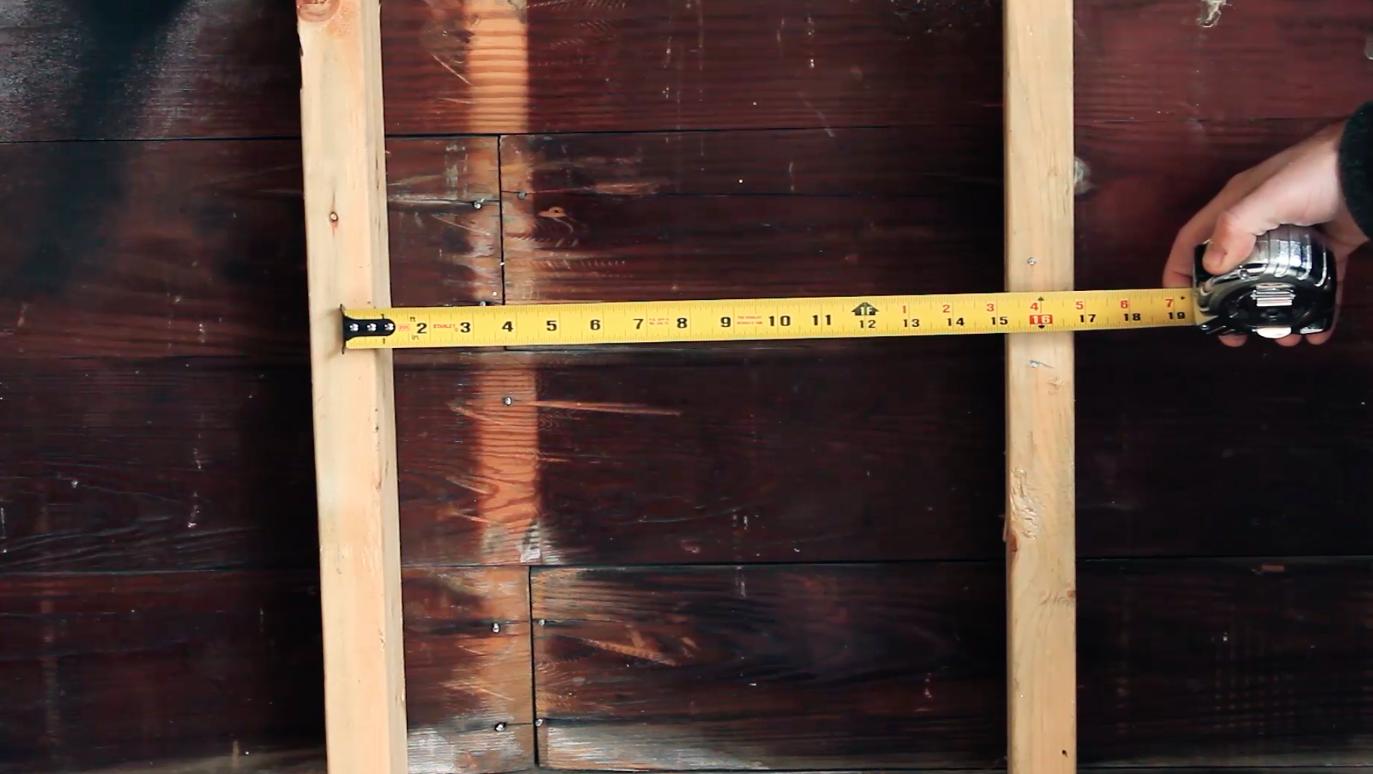
When houses are framed the studs are generally built an equal distance from one another. That distance can be measured at 16" from the center of one 2x4 to the center of the next. You can use a stud finder to find the studs within your wall. Or, if necessary, you can measure 16" from the edge or corner of a wall to the center of the next stud. The exception to the "16" on center" rule can be older houses, but this rule has been around since 1833, so 99% of the time, the rule stands true.

Because you will likely be hanging heavy coats, you will need to mount this coat hanger directly to the studs behind your drywall. The best way to accomplish this is to pre drill the holes evenly at 16" apart into the top back board. Do not attach the top message board until the coat hanger is mounted onto the wall.
7. Attach Message Board (after mounting on wall)
Once the coat hanger is mounted, pre drill the message board and attach to coat hanger.

Use some blackboard paint to cover the screw holes.
8. Attach Hooks
First, measure the coat hooks an equal distance apart and in a straight line using a straight edge.
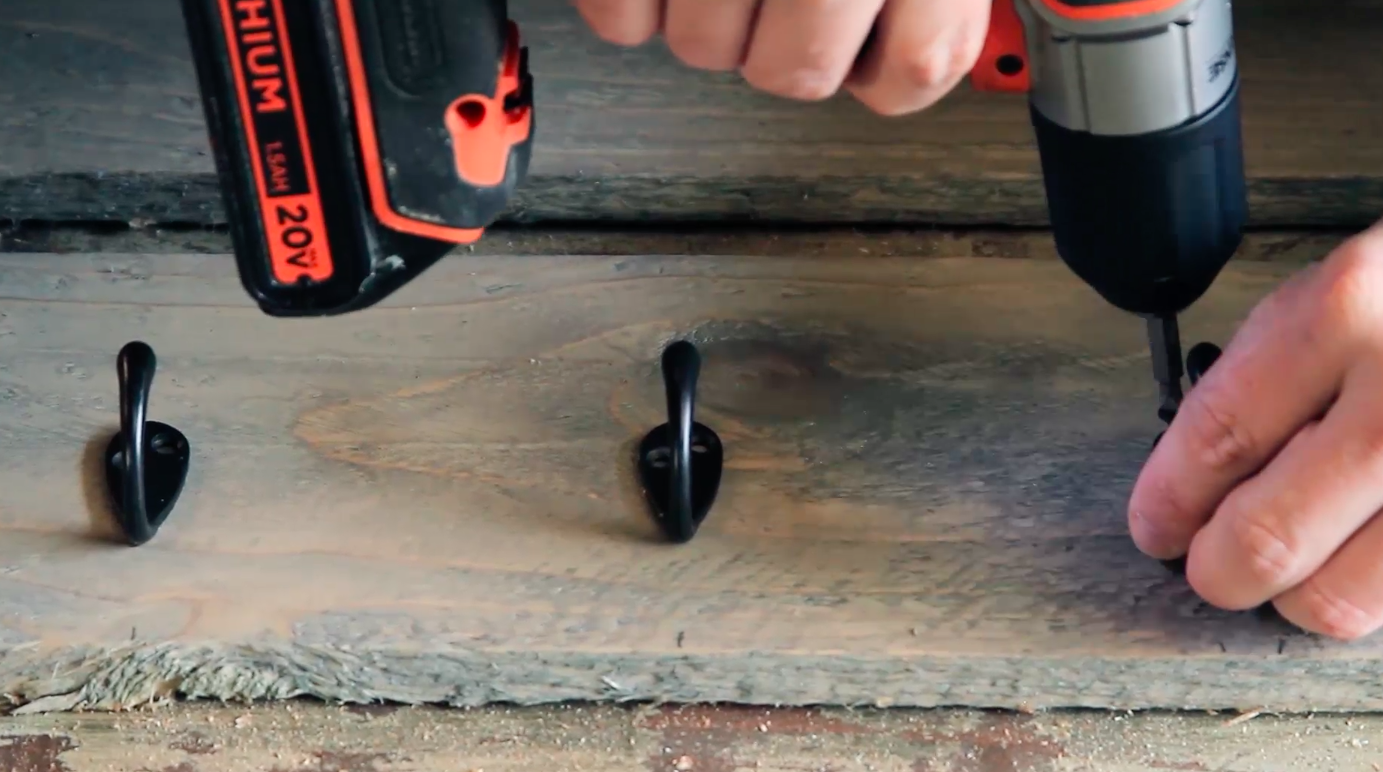
Lay out the hooks and pre drill the holes using an 1/8" drill bit and attach. The hooks should come with small screws.
9. You're Done!